Retrotec DM32 User Manual
Page 57

Page 57 of 94
©Retrotec Inc. 2014
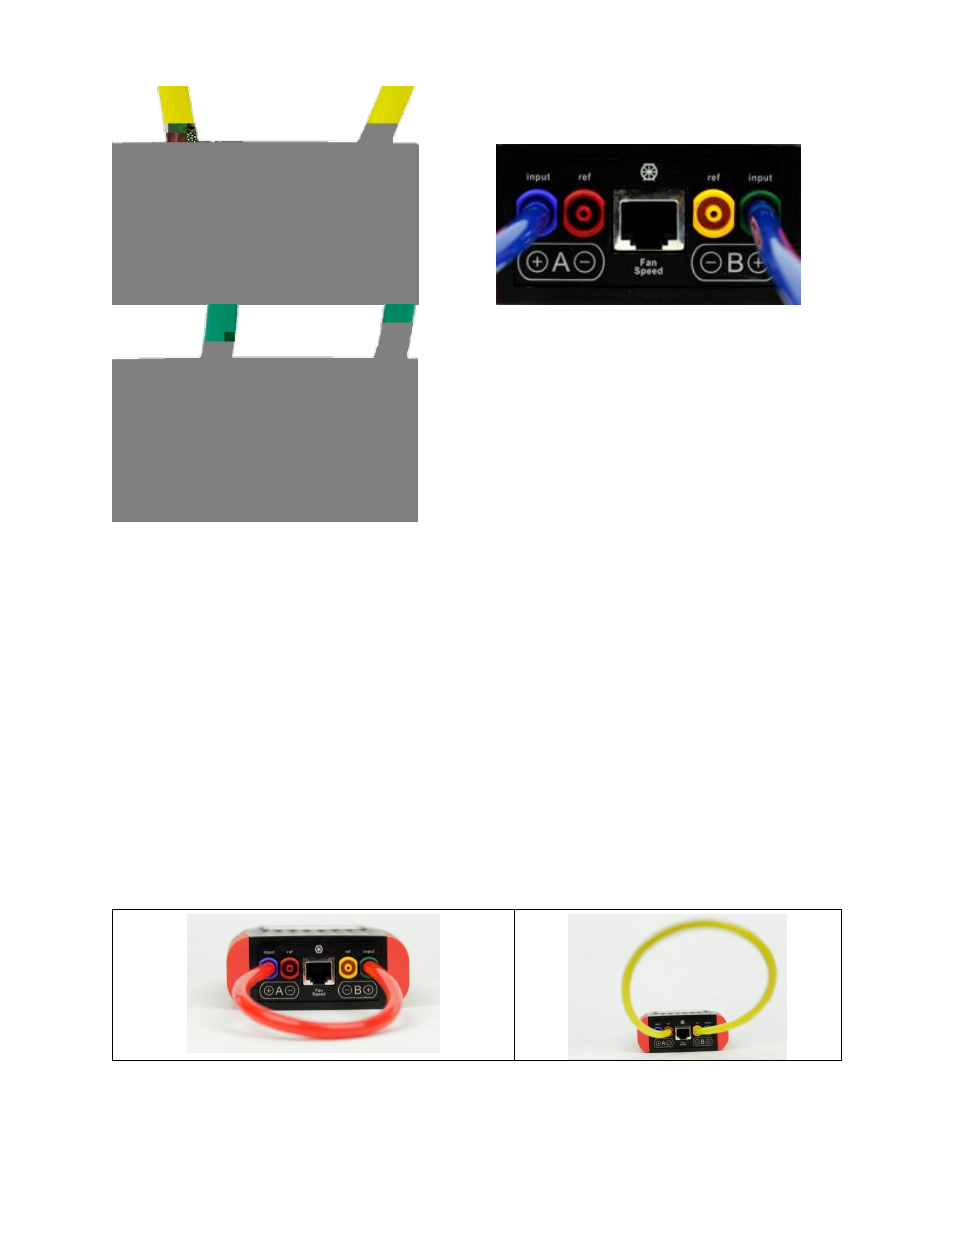
Figure 64: Yellow tube between Channel A & B. Blue tube check of positive ports. Green from negative to positive ports.
If the readings are different, either one tube is blocked or the gauge is faulty. Try another tube to see if it’s
the tube or the gauge. Check each tube separately. If differences on the gauge persist with different tubes
connected, repeat the test against another gauge. Only then should a gauge return be considered.
The gauge does not really need calibration until the difference between the channels is 2% or more. If you
do see a difference greater than 2%, make sure the Time Average is set to 4 seconds and that there is no
Baseline reading in the label for [Channel A]. Only if you see a huge problem, should send your gauge back
for factory calibration.
Pressure dropping to zero in 10 seconds indicates a leak somewhere; try another tube and try the same
tube on a different port to see which piece is faulty. If the tube end is damaged, slice 1/8 inch off the tube
and try again.
To verify the gauge itself, now that you know the tubes are in working order:
To verify the calibration of a gauge, the easiest method is the cross port check shown in Figure 65, which
compares the readings of one channel with respect to the other channel. If the pressures are equal, then it
is likely the gauge is accurate, because the chance of both channels being out of calibration by the same
amount is very small.
Figure 65: Gauge field check configuration: Cross port check, input ports (left) and reference ports (right)
To perform a cross port check
