Removing a memory module – Epson AcuLaser C9300 User Manual
Page 127
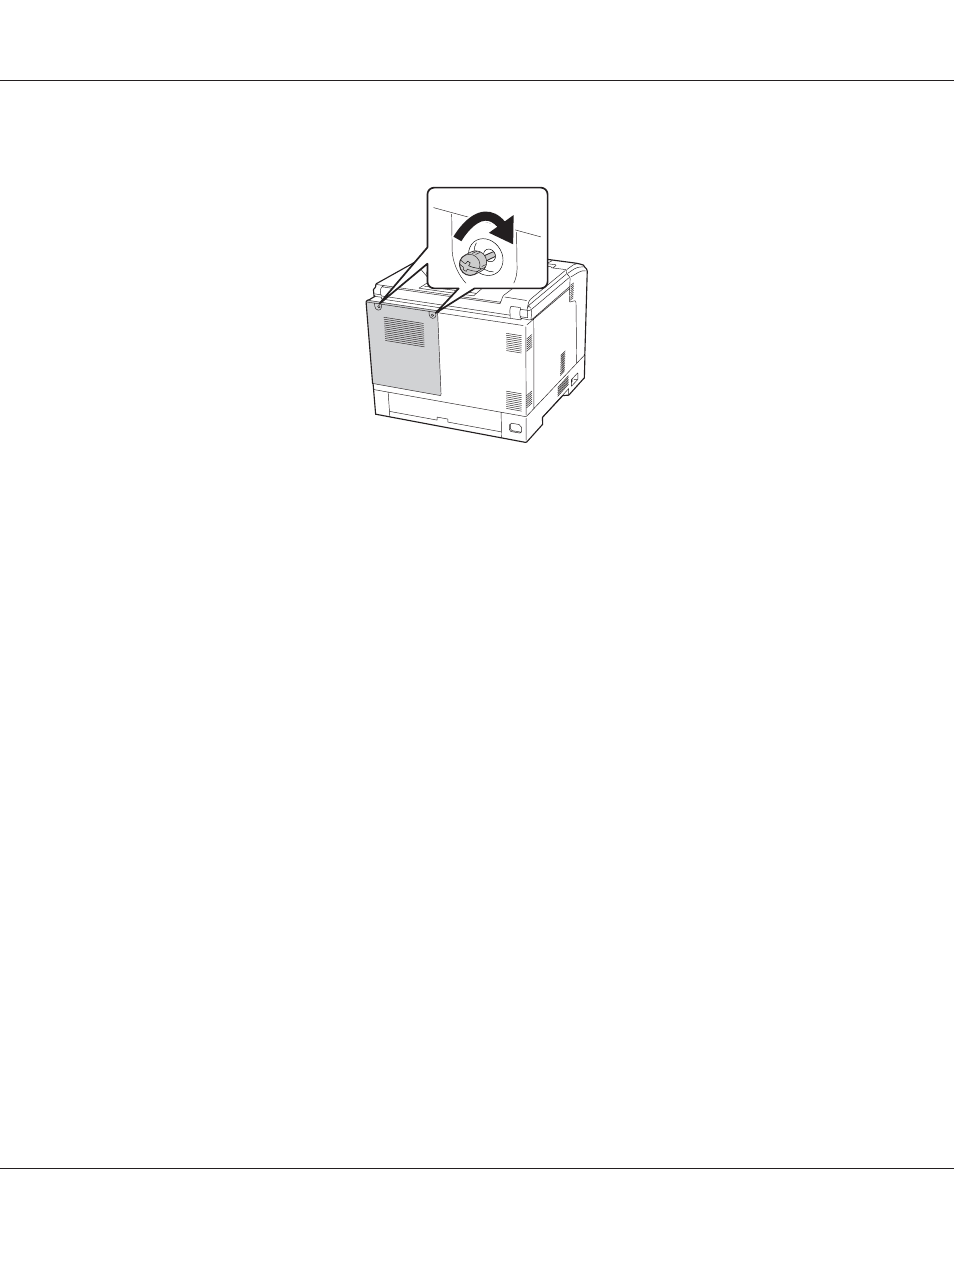
6. Fasten the back cover with the two screws.
7. Reconnect the interface cable and power cord and turn the printer on.
To confirm that the option is installed correctly, print a Status Sheet. See “Printing a Configuration
Status Sheet” on page 154.
Note for Windows users:
If EPSON Status Monitor is not installed, you have to make settings manually in the printer driver. See
“Making Optional Settings” on page 174.
Removing a memory module
w
Warning:
Be careful when working inside the printer as some components are sharp and may cause injury.
c
Caution:
Before you remove a memory module, be sure to discharge any static electricity by touching a
grounded piece of metal. Otherwise, you may damage static-sensitive components.
Perform the installation procedure in reverse.
Epson AcuLaser C9300 Series User's Guide
Installing Options 127
- Stylus Pro 7800 (11 pages)
- Stylus Pro 4000 (49 pages)
- Stylus Photo R300 (2 pages)
- Stylus Pro 7000 (147 pages)
- AcuLaser C3000 (316 pages)
- Stylus Pro 7900 (24 pages)
- Stylus Pro 4450 (21 pages)
- 1000 (272 pages)
- T034120 (4 pages)
- T580300 (4 pages)
- 300 (91 pages)
- B 510DN (190 pages)
- B 510DN (218 pages)
- Stylus NX510 (8 pages)
- Stylus Photo RX580 (95 pages)
- T549300 (4 pages)
- B 500DN (168 pages)
- AculaserCX11NF (5 pages)
- 480SXU (24 pages)
- 4500 (317 pages)
- STYLUS RX500 (99 pages)
- 2100 (13 pages)
- Stylus NX215 (2 pages)
- T098320 (4 pages)
- T041020 (4 pages)
- R210 (8 pages)
- All-In-One Stylus Photo RX600 (164 pages)
- 777I (53 pages)
- T033120 (4 pages)
- Stylus CX7000F (8 pages)
- 60 (113 pages)
- T034220 (4 pages)
- WorkForce 40 Series (36 pages)
- T054220 (4 pages)
- Stylus CX3200 (11 pages)
- Stylus CX7800 (18 pages)
- T060220 (4 pages)
- 2500 (180 pages)
- AcuLaser CX11N (32 pages)
- AcuLaser CX11N (4 pages)
- 2000P (16 pages)
- T606600 (4 pages)
- Stylus CX6000 (18 pages)
- FS-4000DN (2 pages)
- MSDS T544700 (4 pages)