Setting the dip switches, Changing a dip switch setting – Epson 4500 User Manual
Page 85
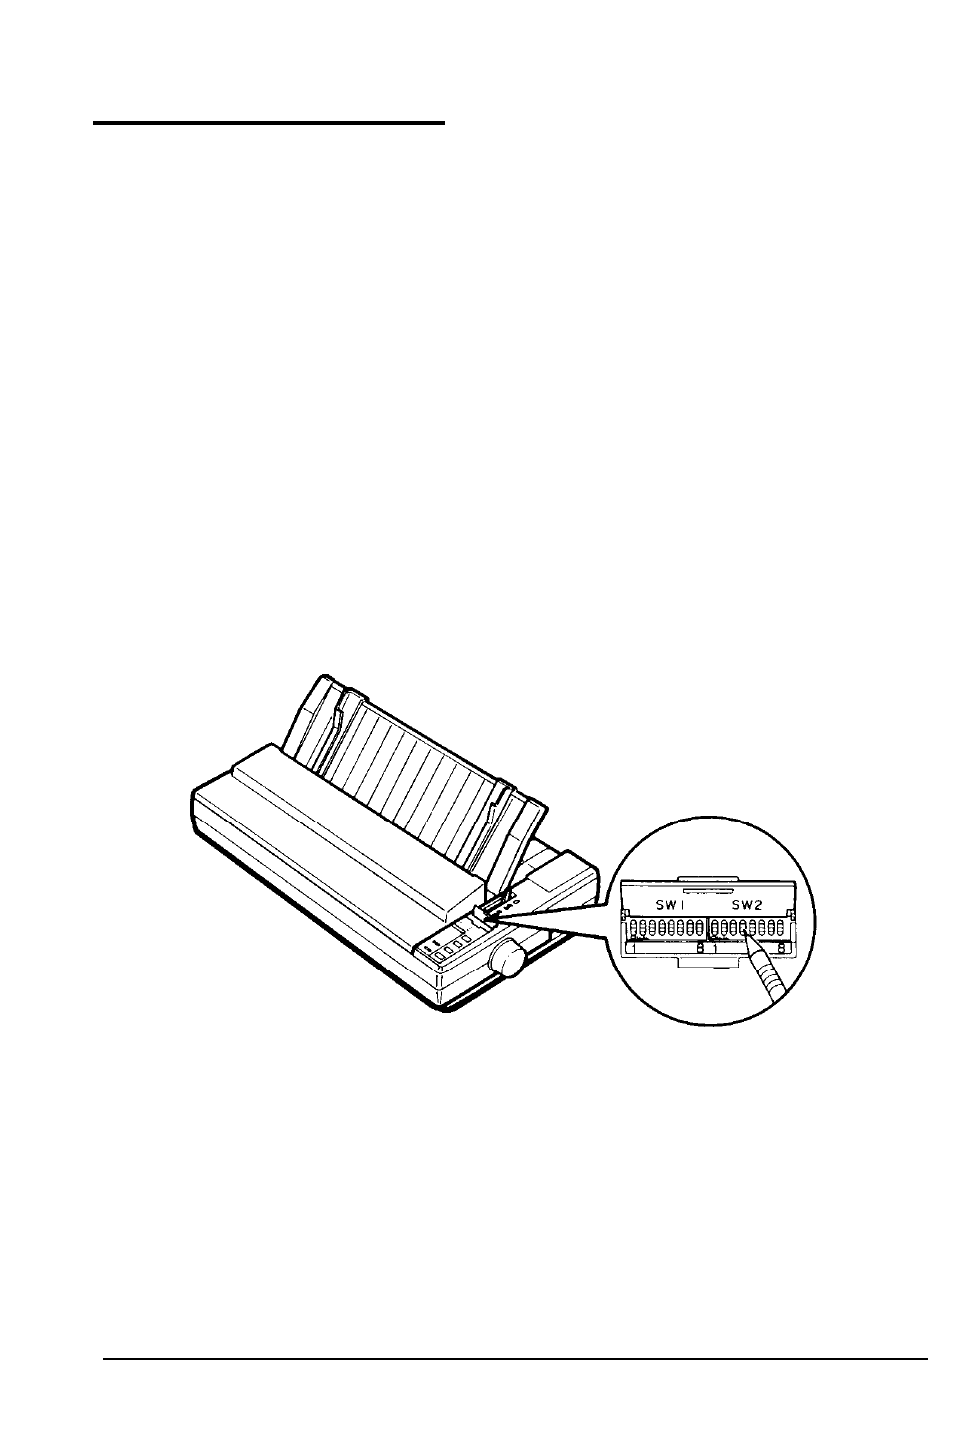
Setting the DIP Switches
Your printer has two sets of DIP (Dual Inline Package) switches located
under a small cover above the control panel. By changing the settings
of these switches, you can control various printer features, such as the
character set and page length. The new settings become effective when
the printer is turned on, reset, or initialized.
DIP switch settings are shown in the DIP switch tables starting on page
3-7. Descriptions of all the DIP switch functions begin on page 3-9.
Changing a DIP Switch Setting
To change a DIP switch setting, first turn off the printer. Then open the
DIP switch cover and use a pointed object, such as a pen, to change the
DIP switch settings. A DIP switch is on when it is up, and off when it is
down.
The new DIP switch settings take effect when the printer is turned on.
3-6
Using the Printer
- Stylus Pro 7800 (11 pages)
- Stylus Pro 4000 (49 pages)
- Stylus Photo R300 (2 pages)
- Stylus Pro 7000 (147 pages)
- AcuLaser C3000 (316 pages)
- Stylus Pro 7900 (24 pages)
- Stylus Pro 4450 (21 pages)
- 1000 (272 pages)
- T034120 (4 pages)
- T580300 (4 pages)
- 300 (91 pages)
- B 510DN (218 pages)
- B 510DN (190 pages)
- Stylus NX510 (8 pages)
- Stylus Photo RX580 (95 pages)
- T549300 (4 pages)
- B 500DN (168 pages)
- AculaserCX11NF (5 pages)
- 480SXU (24 pages)
- STYLUS RX500 (99 pages)
- 2100 (13 pages)
- Stylus NX215 (2 pages)
- T098320 (4 pages)
- T041020 (4 pages)
- R210 (8 pages)
- All-In-One Stylus Photo RX600 (164 pages)
- 777I (53 pages)
- T033120 (4 pages)
- Stylus CX7000F (8 pages)
- 60 (113 pages)
- T034220 (4 pages)
- WorkForce 40 Series (36 pages)
- T054220 (4 pages)
- Stylus CX3200 (11 pages)
- Stylus CX7800 (18 pages)
- T060220 (4 pages)
- 2500 (180 pages)
- AcuLaser CX11N (32 pages)
- AcuLaser CX11N (4 pages)
- 2000P (16 pages)
- T606600 (4 pages)
- Stylus CX6000 (18 pages)
- FS-4000DN (2 pages)
- MSDS T544700 (4 pages)