Powerplus POWXQ5360 TABLE SAW 1800W 254MM EN User Manual
Page 17
POWXQ5360
EN
Copyright © 2010 VARO
P a g e
| 17
www.varo.com
Fig 24
First unlock the sliding table by moving the transport lock and unscrewing the screw nut
below the table.
Remove the rip fence and place the miter gauge in the miter gauge groove on the table.
Raise the blade until it is approximately 1/8” (3.2 mm) above the top of the work piece.
Hold the work piece firmly against the miter gauge, with the path of the blade in line with
the desired cutting lin
e. Move the work piece to within 1” (2.5 cm) of the blade.
Start the saw, and wait for the blade to reach full speed. Do not stand directly in line with
the saw blade’s path. Instead, stand on the side where the cut is being made.
Keep the work piece against the face of the miter gauge and flat against the table. Slowly
push the sliding table with the work piece through the blade.
Do not attempt to pull the work piece backward while the blade is turning. Turn the switch
OFF, and wait until the blade has come to a complete stop before carefully sliding the
work piece out.
In order to avoid instability, always place the larger surface of the
workpiece on the table when crosscutting and/or bevel crosscutting.
9.9
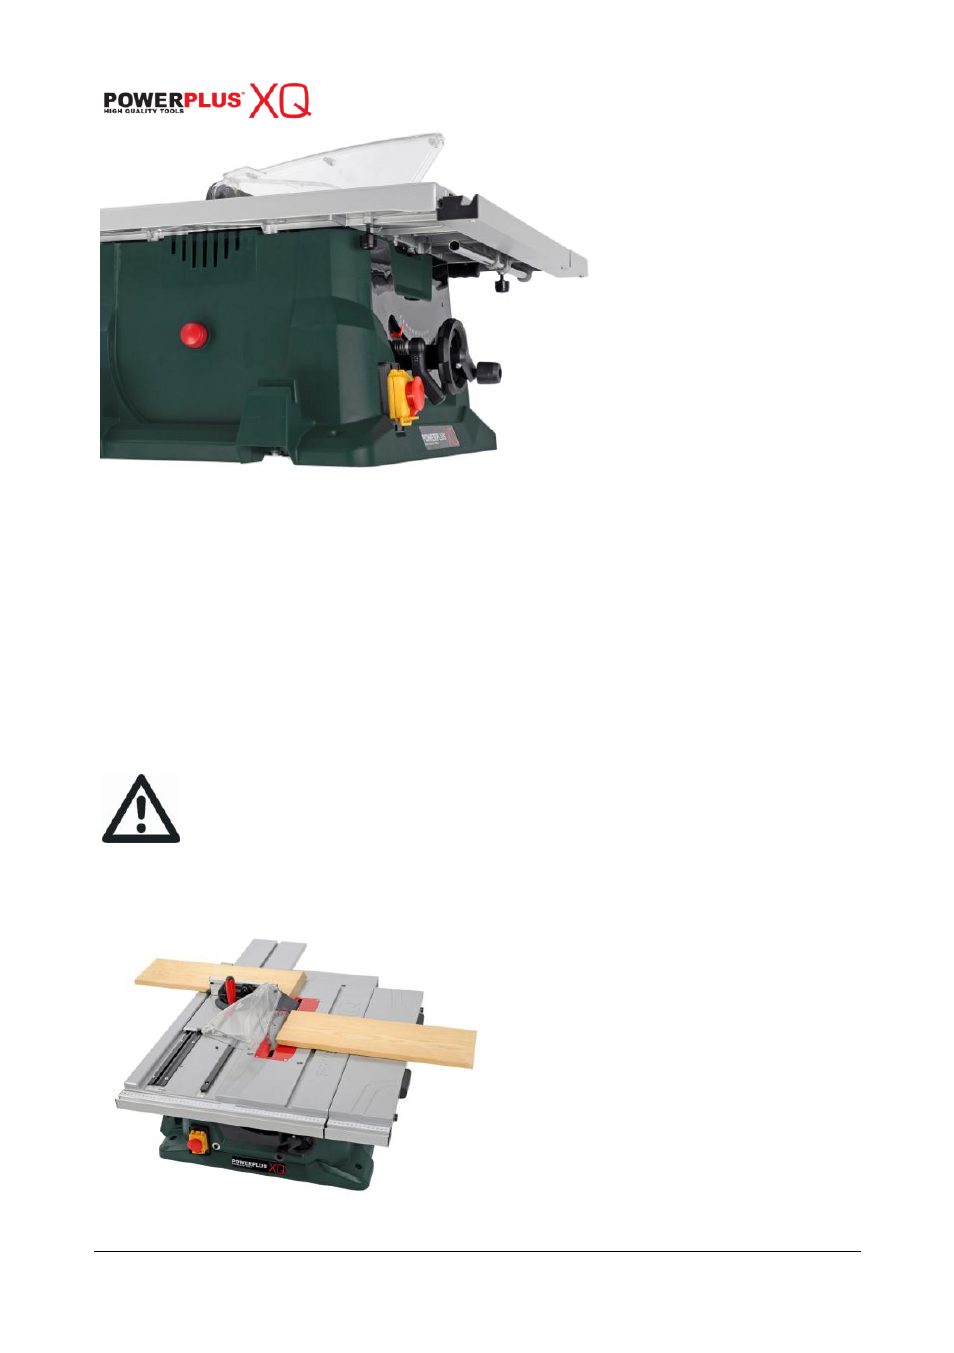
Bevel crosscutting 0° - 45° blade bevel & 90° miter angle (fig25)
This operation is the same as crosscutting, except that the blade is at a bevel angle other than
0°.
Fig 25
Adjust the blade to the desired
angle, and then tighten the blade
bevel locking knob.
Tighten the miter locking handle at
90°.
Hold the work piece firmly against
the face of the miter gauge
throughout the cutting operation.