Rear module installation – Grass Valley 8949SVM-LOC User Manual
Page 12
12
8949SVM-LOC/-UMD—Instruction Manual
Introduction
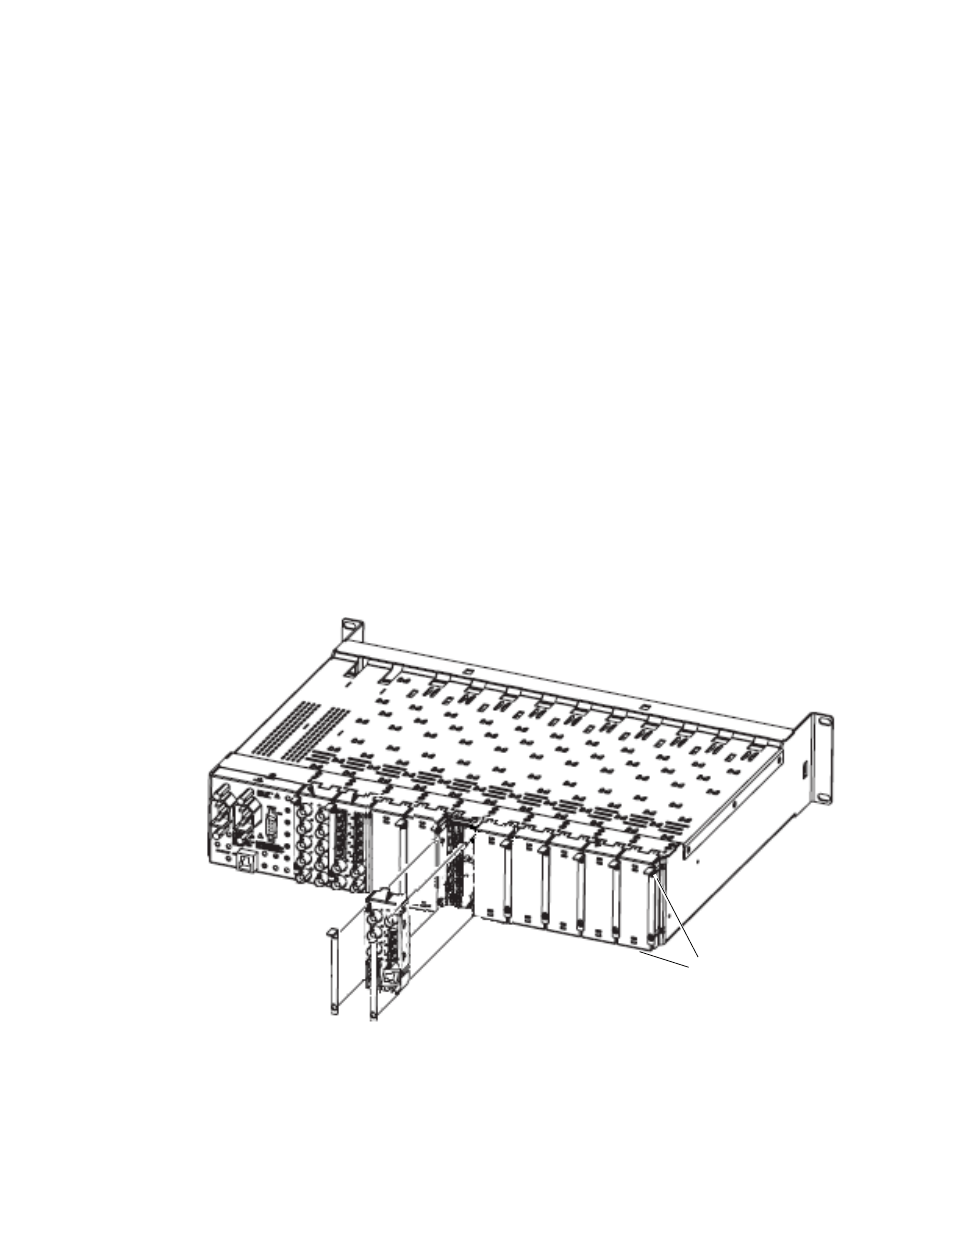
Rear Module Installation
for the rear module installation.
1.
Loosen (but do not remove completely) the two screws holding each
retainer clip to the frame with a 2 mm (5/64”) hex screwdriver. Pull up
on the retainer clip to remove it, leaving the screws in place.
CAUTION Be careful to leave the screws in place as they can be easily lost or fall into
equipment below the frame creating a shorting hazard.
2.
Remove the blank rear adapter cover slot by inserting needlenose pliers
into the slots in the top and bottom of the blank and pulling it off.
Note
To remove a rear module already installed, follow the same steps. It is helpful
to first remove the front module so the rear can be pulled out more easily.
3.
Insert the rear module into the empty slot.
4.
Replace each retainer clip over the two screws on both sides of the
module and push down to seat the retainer.
5.
Tighten the screws for each retainer clip just until they are snug. Do not
force or torque the screws too tightly.
Figure 1. Installing Rear Module
Use needlenose pliers
to pull out blank after
removing retainers.