Step 5: install the camera to the tilted mount, Step 6: close the cover, Step 7: access the camera live view – ACTi Outdoor Hemispheric / Fisheye Dome on Vertical Pole with Tilted Mount (PMAX-0310) User Manual
Page 19
Installation Guide
Step 5: Install the Camera to the Tilted Mount
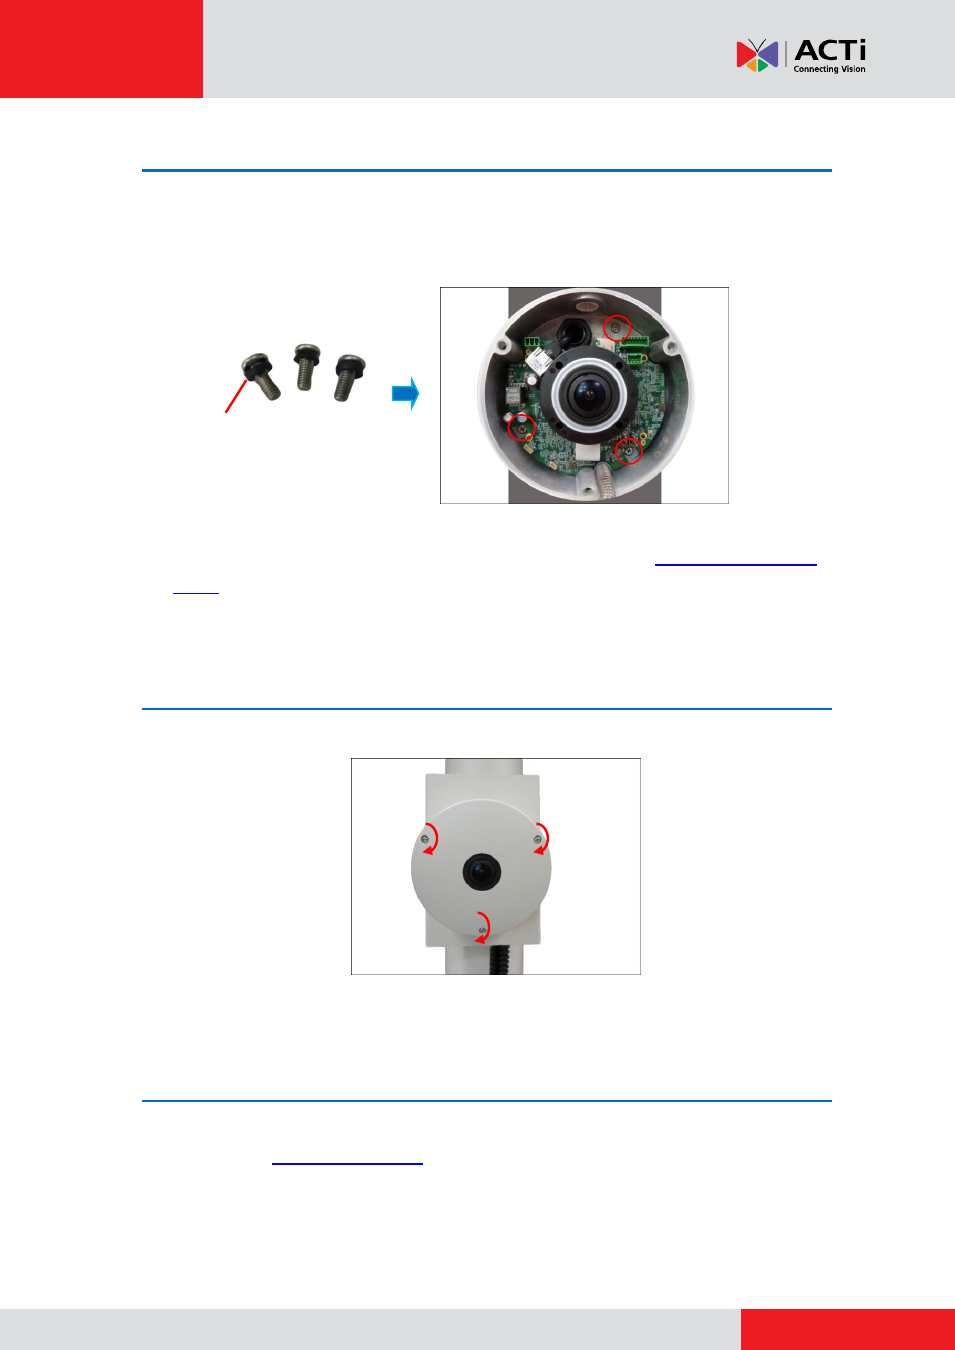
1.
If necessary, insert a memory card into the card slot of the camera.
2.
Attach the camera to the tilted mount using the three (3) screws supplied in the Tilted Mount
package.
NOTE:
Make sure the tilted mount screws have rubber rings. If the screws you received do
not have rubber rings, please contact your local sales agents or our
for support.
Step 6: Close the Cover
Tighten the three (3) screws to secure the cover.
Step 7: Access the Camera Live View
For information on how to access the camera Live View, download the camera Hardware Manual
from the website
.
Rubber Ring
This manual is related to the following products: