Wimax demo, Figure 20: basic video processing example on dvip, Smt6040 – Sundance SMT6040 User Manual
Page 26: Sundance simulink toolbox
Sundance Multiprocessor Technology Limited
Form : QCF32
SMT6040
“Sundance Simulink Toolbox”
Date : 6 July 2006
It is easy to understand the two simple processing steps applied by the SMT6040 task. The
result of the element-by-element subtraction of the input vectors is sent to output 1. Output 2
is a simple passthrough of input 2. However, the second output of the Simulink task becomes
the first input of the Diamond “demo_pal” DSP task. So the processing has two results: the
second line of the image is copied in place of the first line, while the result of the subtraction
replaces the second line passed to the Simulink task.
This process is executed on each of the three frames loaded by the DVL.
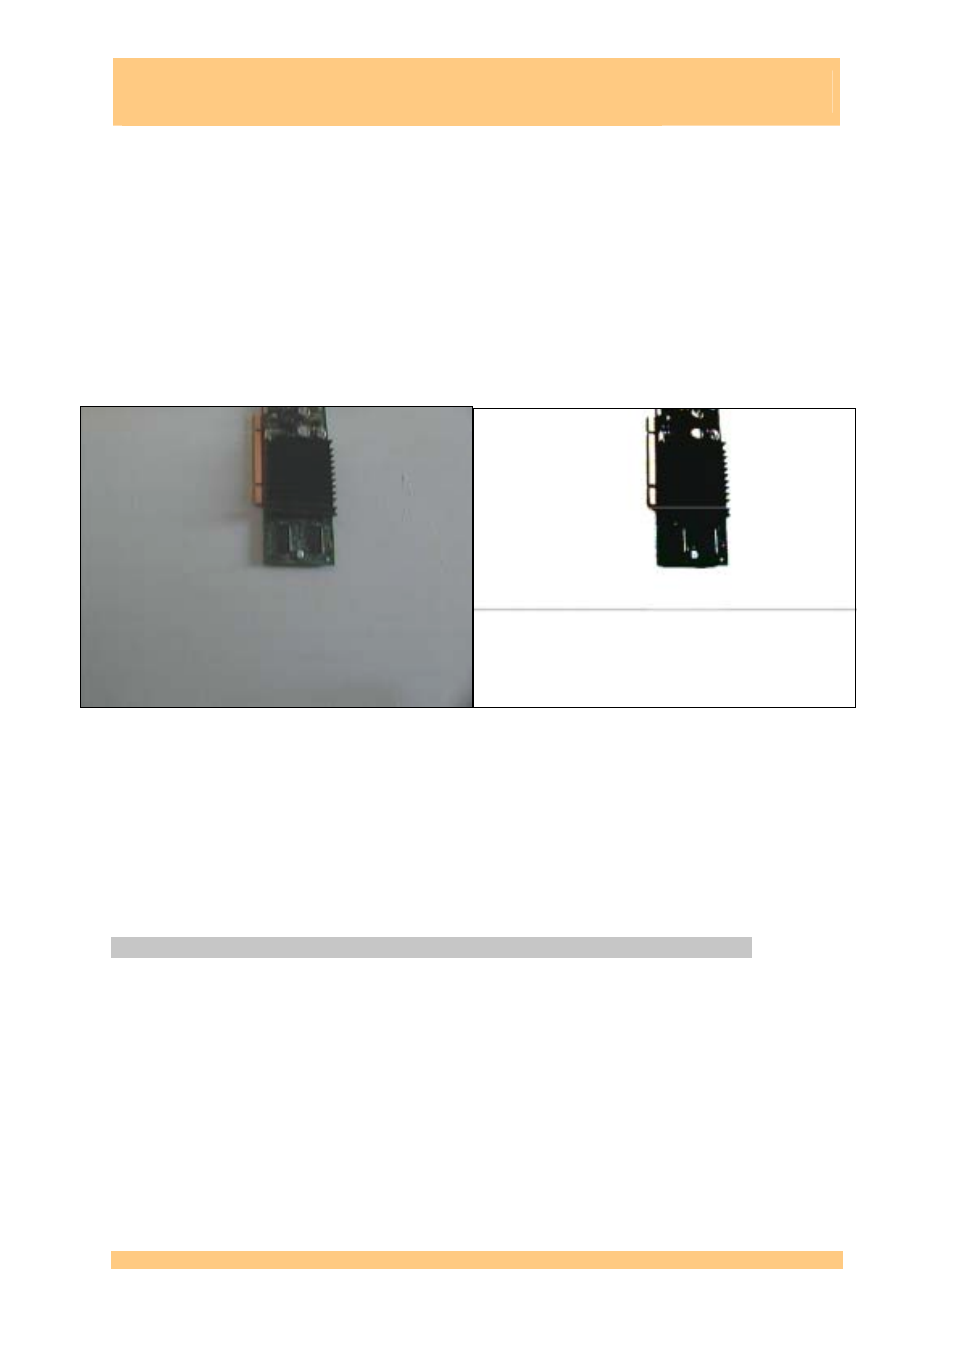
This is better explained by Figure 20, which shows on the left the original image, and on the
right the results of its binarization to black&white and of the processing on the two lines (in
particular, a white line replace a line in the top half of the image, while a dark line is drawn in
the bottom half of the video).
Figure 20: basic Video processing example on DVIP
By using a similar procedure, it is possible to add a DSP task created in Simulink to any of the
DVL demos. More complex applications (also targeting multi-DSPs) can easily be designed
thanks to the integration of SMT6040 and Diamond.
The folder “DVIPDemo” includes the Simulink project (represented in Figure 19) that has been
used to generate a DSP task named “T6040_root.tsk”.
The “DVIPDemo” folder contains the DVL workspace project where this task has been
inserted into Diamond DVIP Demo.
3.4 WiMAX demo
!
Demo: “..\Release_3.0\Applications\_Sundance\WiMAX\WiMAXDemo”
Same requirements as described in Chapter 2.
This is the recommended demo for Special University Offer WiMAX users.
SMT6040 - “Sundance Simulink Toolbox”
Last Edited: 08/01/2010 15.42
Page 26 of 53