Tempest TornadoRetrofit Kits User Manual
Page 7
Tornado Enclosure User Manual
page 7
4. Strip down the bottom Assembly
a. The only parts you will be using from the base of the Tornado are the two
fiberglass shells – so tear everything else out!
b. Open the top of the DEC cover to access the Unistrut bolts, and remove them
c. Remove all fans, using a Philips #2 screwdriver (note that the new fans are
208/230VAC, and the old ones are 24VDC – they are NOT compatible)
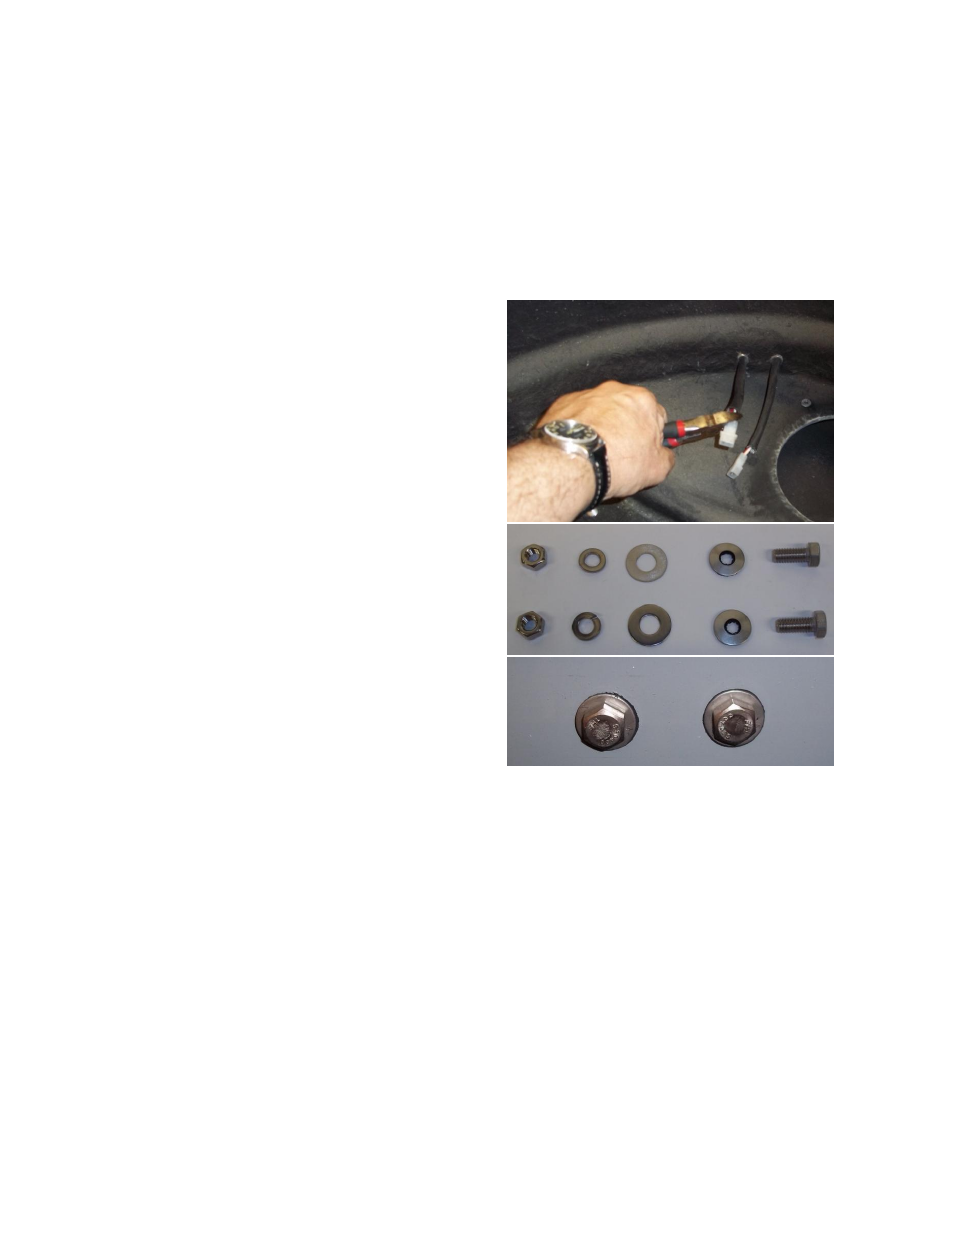
5. Replace the Neon Indicators
a. Locate the two short cables
connected to the DEC box, and
cut off the Molex connectors with
wire cutters
b. Remove the neons from the
outside, pull the wires through
and discard.
c. This is a good time to CLEAN the
two bottom fiberglass moldings.
d. Replace the Neons with the 1” x
5/16” hex bolt kits (shown here).
MAKE SURE THE Rubber side of
the cone washer is under the bolt
head and conforming into the
fiberglass exterior, to assure a
good seal. They should look like
this…
6. Install the Bottom marine latches, with the studs facing UP, and using two #8 screws, Note
that the stainless/rubber cone washers sit under the latch plate, and with their rubber side
to the fiberglass, to prevent water ingress.
7. Prep the Retrofit Assembly
a. Remove the stainless steel DEC cover, taking care to disconnect the control panel,
and set it aside
b. Check that all internal connections are positive and that nothing has obviously
come adrift in transit
c. Ckeck alignment – Make sure that the two conduit entry holes in the base of the
retrofit kit will line up with those in the fiberglass BEFORE attempting to install the
kit. We’ve all done it twice, and once is way better!