Genesis digital™ hdmi matrix switches – Hall Research HSM-I-08-08 User Manual
Page 9
Genesis Digital™ HDMI Matrix Switches
7
Using quality HDMI cables connect the inputs to video sources.
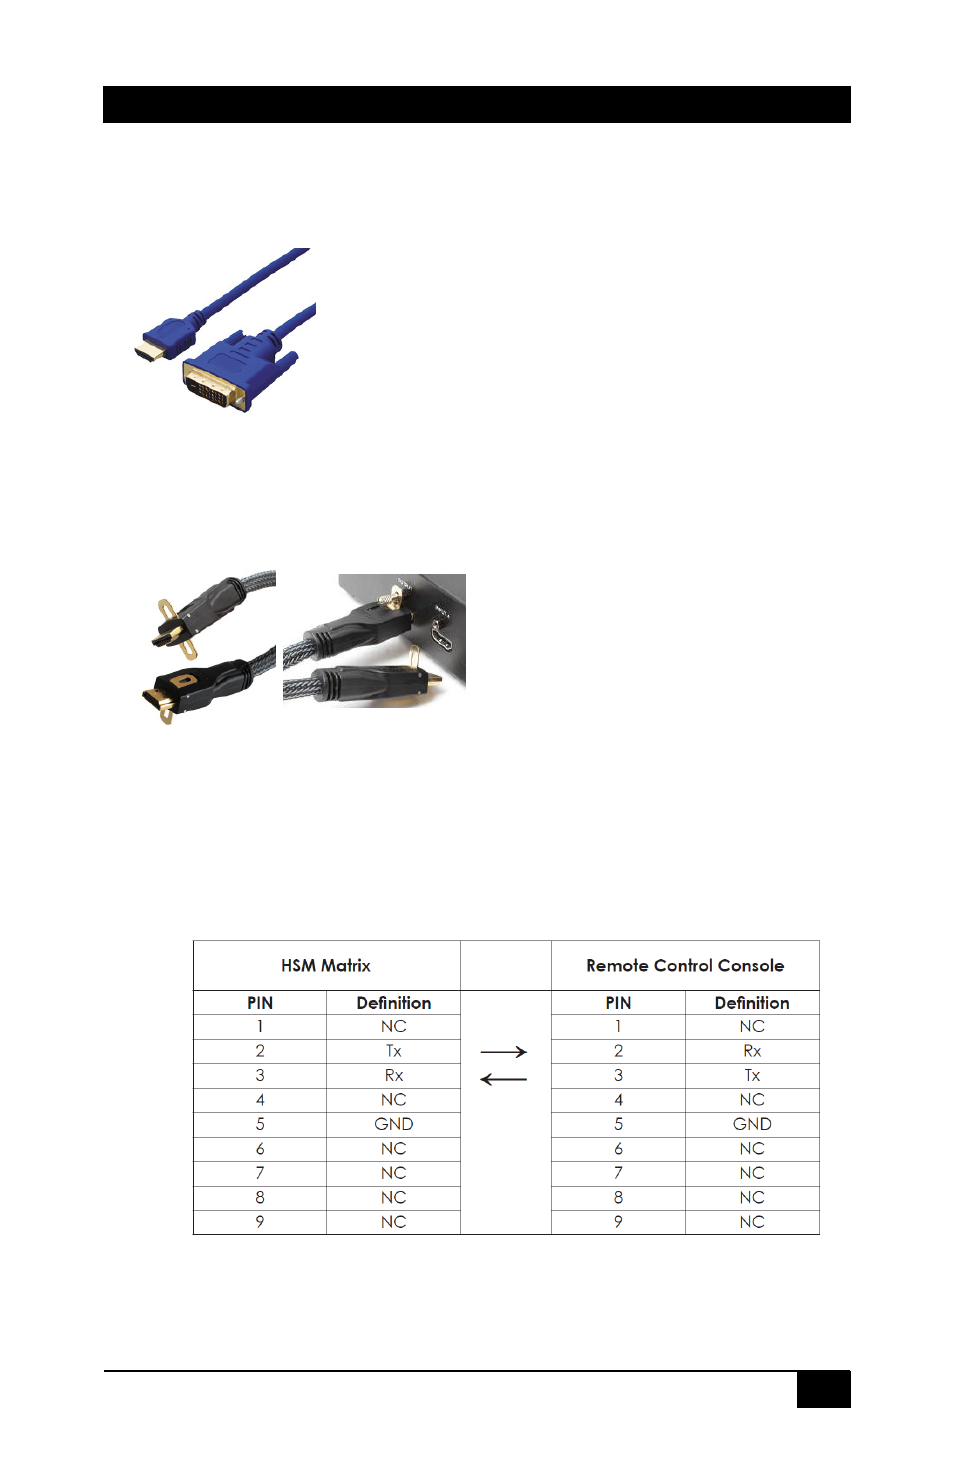
If the sources are DVI (PC) then you will need either a DVI to HDMI adapter,
or preferably, a DVI to HDMI Cable
Figure 3 –
Model C-HDMI-DVI-xM
(x = 2, 3 or 5 meters)
For a professional installation, we recommend using locking HDMI cables.
The Matrix Switch has a tapped hole above each HDMI connector and the
locking cables available from Hall Research come with screws and stand-
offs for securing the cables in place so they don’t accidentally get unplugged
Figure 4 –
Model C-HDMI-L-x
(x = 1.5, 3, 6, 10, 15, 25, 35 or 50 ft)
Next, connect the HDMI outputs to the displays.
Plug the power supply to the unit.
Use only the supply that came with the
unit
If the matrix needs to be controlled via RS-232, plug the controller (or PC) to
the DB9 Female port on the rear of the matrix. Connection to PC’s DB9 Male
is made using a straight through DB9 Male-to-Female cable (as shown
below). This port operates at a baud rate of 115,200.
Table 1 – RS-232 Control Port Pinout
To control the matrix via the IP port, just connect an RJ45 cable to your
Local Area Network (LAN). This unit features a user friendly and powerful