Creating an otn (otu1 and otu2) test case – EXFO FTB-8100 Series Transport Blazer for FTB-500 User Manual
Page 106
Creating and Starting a Test Case
92
FTB-8100 Series Transport Blazer
Typical Test Cases
Creating an OTN (OTU1 and OTU2) Test Case
The following procedure describes OTU1 and OTU2 test cases.
³
For OTU1e and OTU2e, see Creating an OTN Overclocked
(OTU1e/OTU2e/OTU1f/OTU2f) Test Case (FTB-8130, FTB-8130NG, and
FTB-8130NGE) on page 108.
³
For OTU3, see Creating an OTN (OTU3) Test Case on page 97.
To create an OTN Test on an FTB-8120, FTB-8120NG, FTB-8120NGE,
FTB-8130, FTB-8130NG, or FTB-8130NGE module:
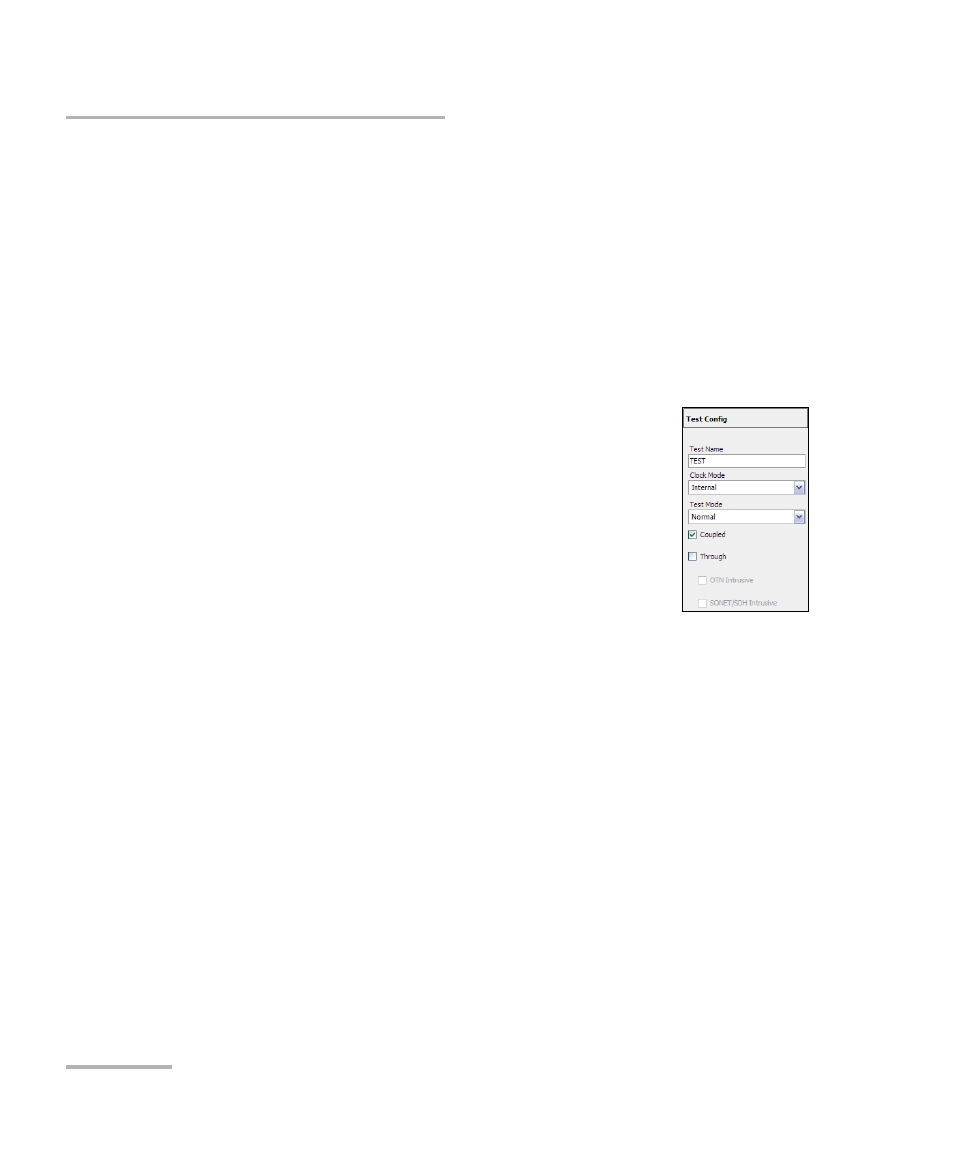
1. Test configuration:
1a. Select the source Clock Mode that will be used
for the test. Refer to Clock Configuration on
page 129 for more information.
1b. Select Normal as the Test Mode. Refer to Test
Configuration on page 126 for more
information.
1c. Select the Coupled check box to set the same
settings for both the TX and RX signals or clear the Coupled
check box to configure the TX and RX signal individually
(decoupled).
1d. Select the Through check box to loop the RX signal to the TX port.
The Clock Mode is automatically set to Recovered when the
Through check box is selected.
1e. Select the OTN Intrusive check box to loop the RX signal to the
TX port with TX overwrite capabilities. Available when the
Coupled check box is selected.
1f. Leave the SONET/SDH Intrusive check box cleared.
1g. Press Next.