Avanti GR-20 User Manual
Page 11
Attention! The text in this document has been recognized automatically. To view the original document, you can use the "Original mode".
• Open oven door to confirm nothing is stored in oven cavity and set racks to proper height.
• Push the oven knob in and turn it counterclockwise to the desired temperature.
• Observe that the oven burner is lit. Wait for ten seconds for the heating of flame failure
device, then release the knob. Never pull up or out the bottom panel of the oven for
observation or operation of oven. Always, make use of slots on the bottom panel of oven
for observation.
• It is usually necessary to preheat the oven. Close the oven door and wait for 10-20
minutes depending on desired temperature, then place food in the oven.
• When selected temperature is reached, the burner will maintain it.
• Do not forget that because the heat rises, the top of the oven will always be hotter than
the bottom.
• After cooking time elapses, remove food and turn oven knob to OFF position, until you
hear a second dick.
Using Your Oven
> Oven Light f DGR-21A only)
The switch located at the extreme left of the control panel turns the oven light on and off (See
Figure 9). When the button is depressed, the light will be on.
> Clock/Timer fPGR-21A only)
The clock/timer serves two functions: as a clock and as a
cooking timer. It does not control the oven or the cooktop.
You set the timer to remind you of a desired time, at which
a buzzer will sound.
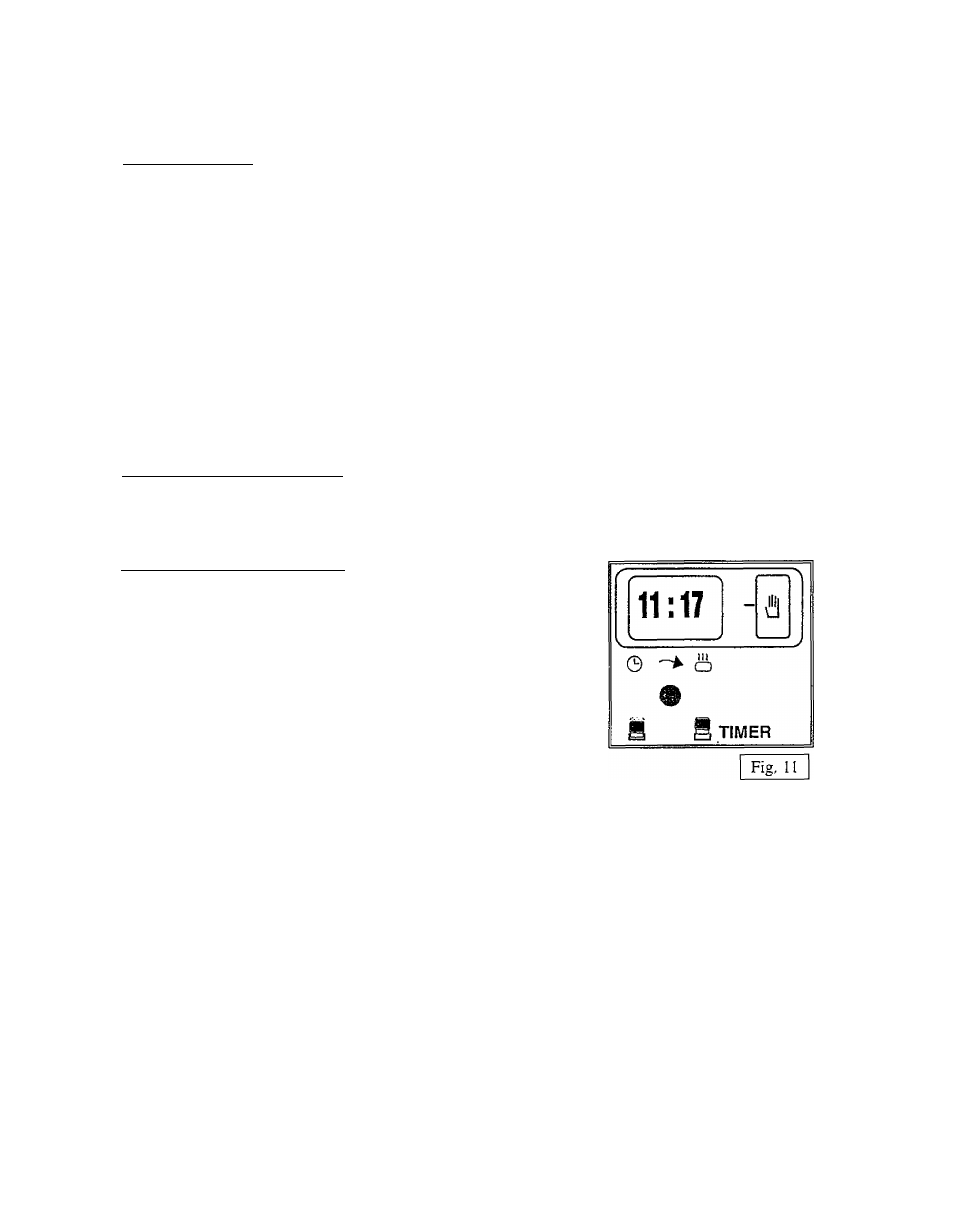
To set the clock (See Figure 11):
•
Depress the button located below the TIME display
and turn it to the right until the correct time Is
displayed on the clock.
•
Release the button.
To set the cooking time:
•
Turn the button located at the left of the TIME display
(do not depress it) until the desired start time of cooking is displayed on the clock.
•
Keep in mind that the timer function does not control the oven functions or actual cooking
time. It will alert you when the desired time has passed with a bell.
11