SINGER W4910 Euroflair User Manual
Page 45
Attention! The text in this document has been recognized automatically. To view the original document, you can use the "Original mode".
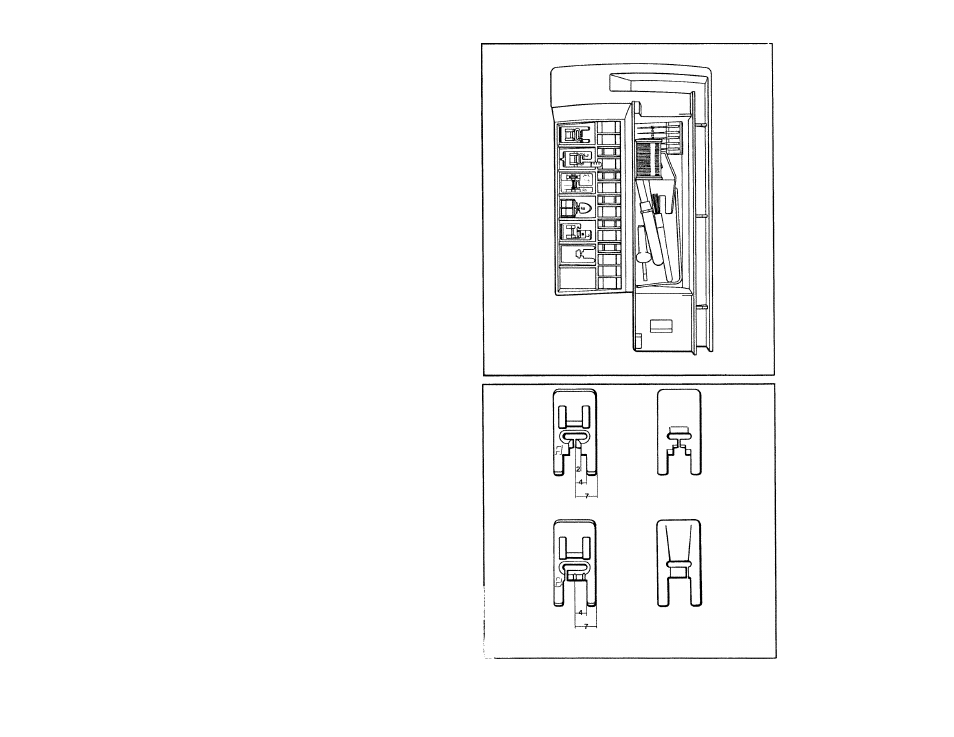
Accessory box
Accessory box
To obtain the best sewing results you should select the
correct presser foot for the type of sewing you are doing.
The presser feet are marked with letters and above each
stitch on the pattern scale you will find a letter which will
help you to make the right selection.
By means of these feet you will be able to carry out
practically all types of sewing work. There are additional
accessories to assist you with special work. These will be
found under “Extra accessories” on pages 46-48.
Store the accessories in the accessory box. By placing
them as illustrated, it will be easier for you to remove
and replace the box.
Presser foot A
The presser foot which is fitted on the machine at
delivery is marked A. This foot is used mainly for
straight stitching, zig-zag stitching with a stitch length
longer than 1 mm and for some other stitches as well.
Presser foot B
When sewing close zig-zag stitches with less than
1
mm stitch length, decorative stitches or seams in thick
knits, you should use presser foot B. The bottom of the
foot is designed to give more space for satin stitches on
thick fabrics.
Presser foot J
This foot is used for overcasting, joining and overcast
ing, i.e. stitches which have a stitch width of 5 and 6 mm.
The pin prevents puckering at the edge of the fabric.
Various markings
As you can see from the illustration, the above presser
feet have notches or markings which can be used as
guides when sewing. When straight stitching with the
needle in the center position, you will have a 7 mm
Q/
a
")
seam allowance if you guide the fabric even with the
outer edge of the foot; 4 mm P/ie") at the inner edge and
2 mm (%
2
") at the innermost notch on presser foot A.
43