SINGER W4910 Euroflair User Manual
Page 40
Attention! The text in this document has been recognized automatically. To view the original document, you can use the "Original mode".
aewing on Duttons, precision setting
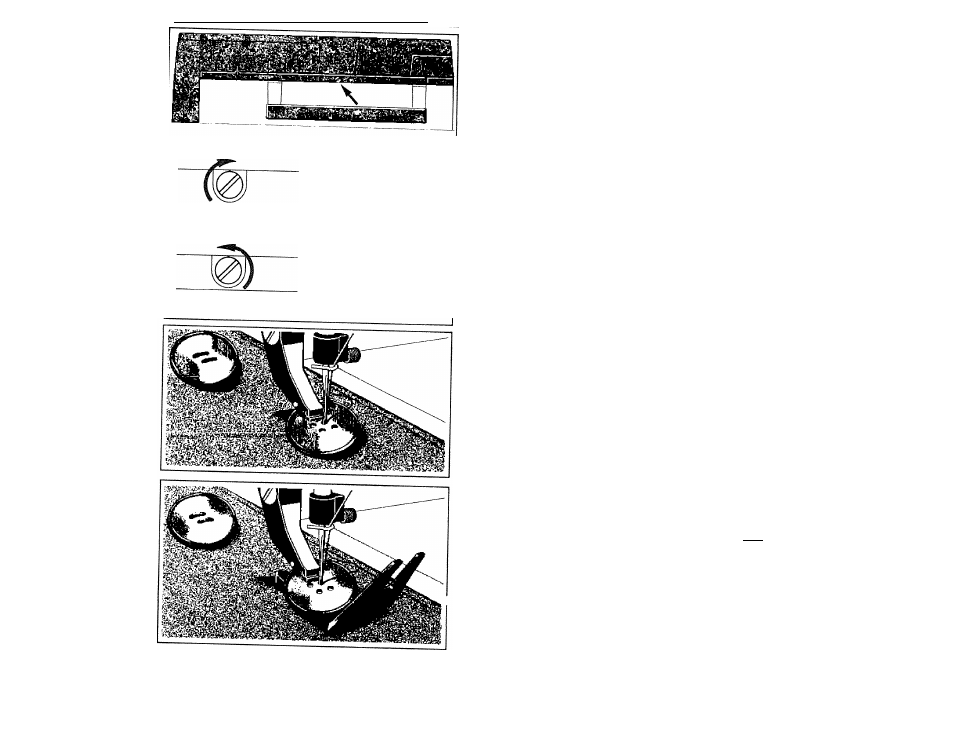
Precision setting for buttonholing
The machine is set for sewing even and attractive
buttonholes in most commonly used fabrics. However,
some combinations of fabric, needle and thread may
cause some variations in the columns. If this is the case,
adjustment can be made by means of a screw located on
the top of the machine, under the handle.
If the left column is tighter than the right one, tighten
the screw slightly and try once more.
If the right column is tighter than the left one, loosen
the screw slightly.
Sewing on buttons
Lower the feed dog. Remove the presser foot, put the
button in place and lower the presser bar. As most but
tons have 3-4 mm space between the holes, set the
stitch selector at the widest or intermediate zig-zag. Turn
the handwheel toward you and test carefully that the
needle enters the first hole and then the other hole.
Depress the foot control gently without moving the but
ton. Hold both thread ends behind the clamp and sew
five or six stitches. Move to the other holes and repeat.
Set the needle to straight stitch in the left needle position
and fasten the threads.
When sewing buttons on garments, a shank is often
required so that the button stands slightly away from the
fabric. Use the button reed for this purpose. Use the thin
end when sewing buttons on light fabrics, the thick end
for heavier fabrics. Fix the button with a stitch. Raise the
presser foot and place the button reed between the but
ton and the fabric. Lower the presser bar and sew on the
button.
Remove the button reed, pull the threads between the
button and the fabric, wind them a few times around the
shank and tie the ends.
38