Stitch settings and sewing, Stitch selection, Choice of stitch length – SINGER W4910 Euroflair User Manual
Page 18: Presser foot
Attention! The text in this document has been recognized automatically. To view the original document, you can use the "Original mode".
Stitch settings and sewing
■V
r"
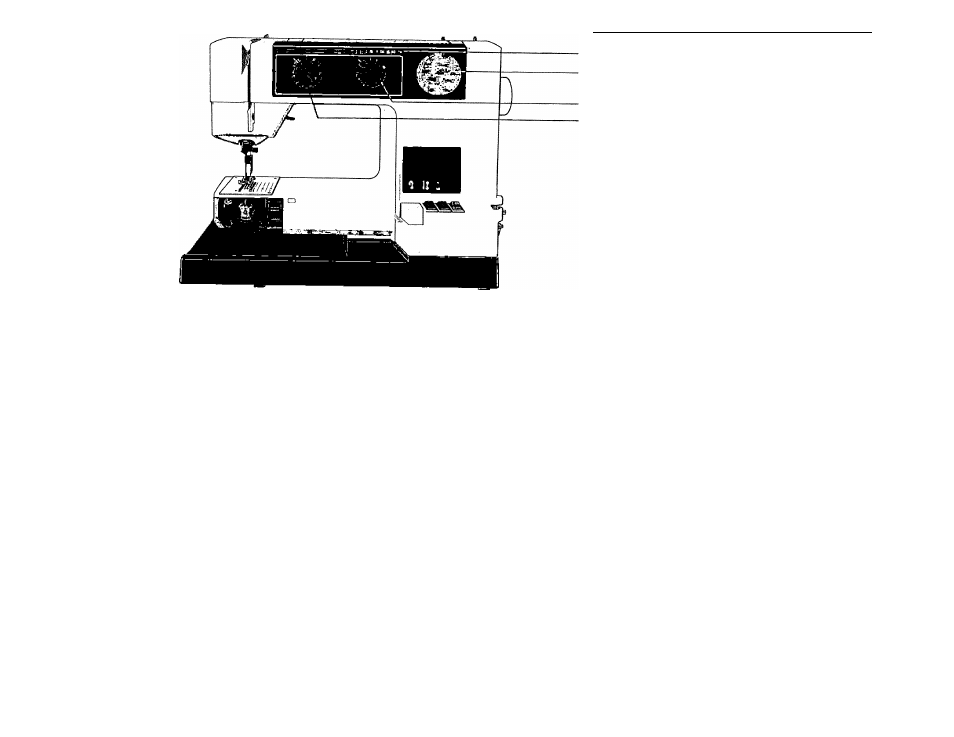
Recommended stitch length
r
Stitch selector
1
i .
Stitch length dial
t - .
Thread tension dial
;
i.
. 1
T
Stitch selection
The pattern scale located on the front of the machine
indicates which stitches you can sew with the machine.
The stitches are devided into two groups. The stitch
length for the group on the right can be varied between
0 and 5 mm and there are three zig-zag widths to choose
from.
The stitch length is fixed for the group on the left.
When you wish to use one of these stitches, turn the
stitch length dial to the right to the blue marking. You
have the choice of three different widths for reinforced
zig-zag (Plic-Rac). Ordinary and reinforced straight stitch
can be sewn with the needle at the center or left needle
position. The left needle position is suitable when sewing
narrow hems and when sewing in light fabrics where the
fabric is well supported in the outer edge of the needle
hole.
The required stitch is set by turning the stitch selector
to the left or to the right until the orange indicator lines
up with the stitch symbol.
Choice of stitch length
There are figures under the stitch symbols which indi
cate the most suitable stitch length when sewing normal
fabrics.
Set the stitch length by means of the stitch length dial
under the symbols. The symbol MOOOOOXCN indicates the
stitch length which is best for sewing buttonholes.
Always use the recommended stitch length to start
with but experiment until you arrive at the exact stitch
length for the actual work you will be doing.
Presser foot
There are letters above the stitch symbols which indi
cate the most suitable presser foot for each stitch. The
letter is also marked on the presser foot.
16