Carrier 51CM User Manual
Page 13
Attention! The text in this document has been recognized automatically. To view the original document, you can use the "Original mode".
DISASSEMBLY INFORMATION
Models 304's, 404's Casings
Models 51 C,G — The Model 51C Room Air Condi
tions is referred to as the 304 size casing International
Series unit The Model 51G Room Air Conditioner is
referred to as the 404 size International Series unit Both
are alike in construction and contain identical controls
Fig 25 — Model 51C,G
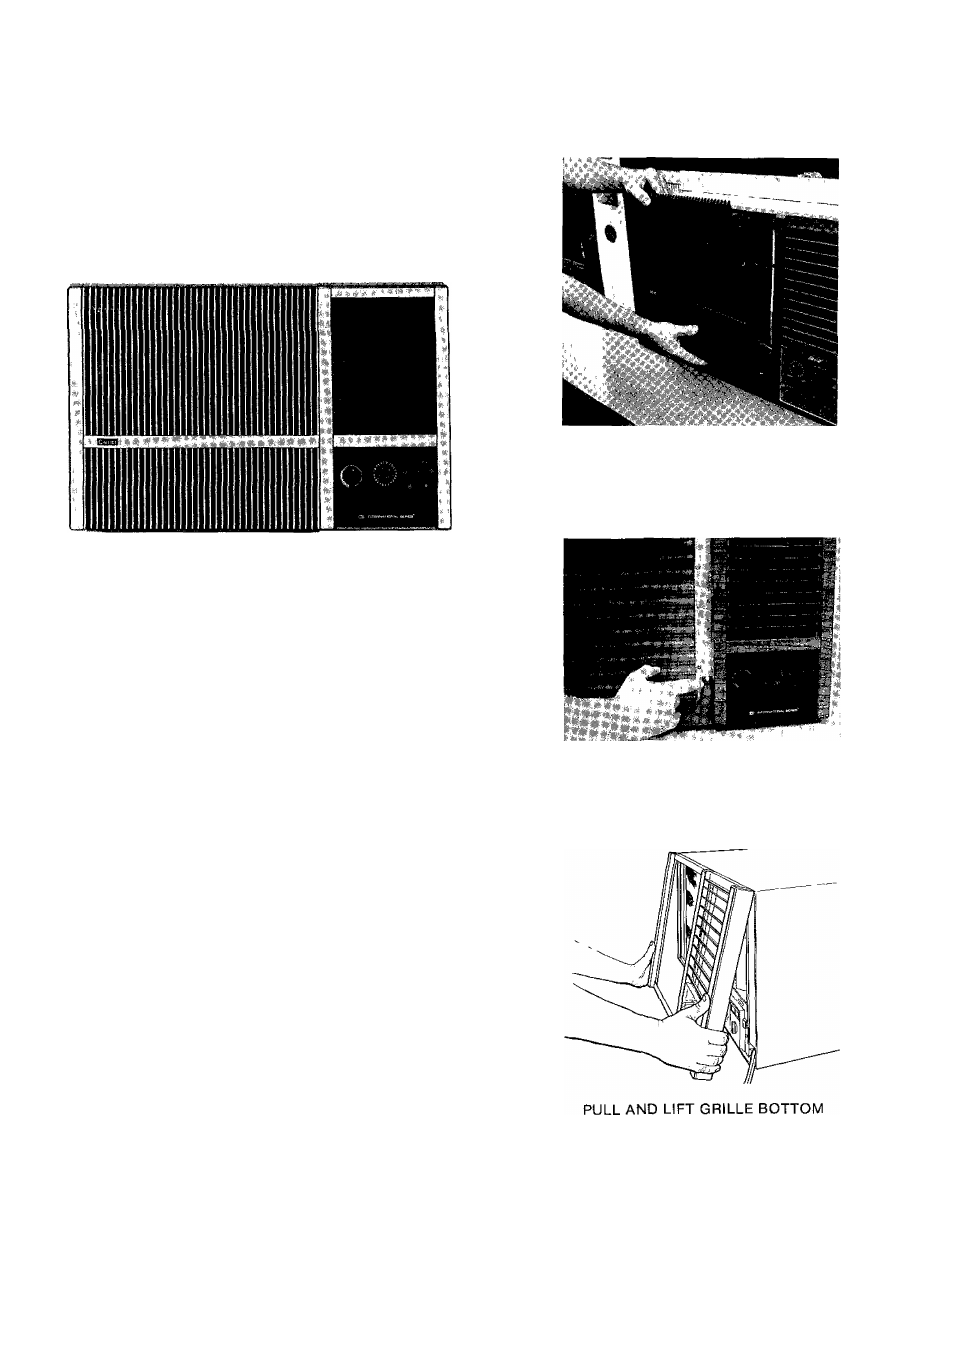
23 Grille — Decorative front grille insert is removed by
gripping top of insert and pulling outward while lift
ing insert from grille frame See Fig 26
24 Filter — Filter can be removed without having to
remove grille insert Grasp bottom edge of filter
{located behind grille insert) and gently pull filter
down and slightly toward you See Fig 27 Filter
may be vacuumed, or washed in warm water Shake
filter to remove excess water, dry thoroughly and
replace by sliding filter upward behind front grille
until filter snaps in place
25 Grille Frame — Grille Frame is removed by first
removing 1 screw holding frame to chassis See
Fig 26 Pull bottom
OÍ
grille frame outward and lift
frame away from chassis
26 Control Box — It is not necessary to slide chassis
out of casing in order to service the control box,
located on right side of unit behind grille irame
Refer to Fig 25 To remove control box
a Remove grille frame Refer to grille and grille
trame instructions and Fig 26
b Carefully pull oii thermostat and cool-heat con
trol knobs
c Remove 2 screws securing escutcheon and remove
escutcheon
d Remove 2 screws securing control box to chassis
e Remove sensing bulb from coil face See Fig 29
f Pull control box straight out of unit carefully
NOTE The control box ground wire interieres with
complete removal of control box If ground wire is
detached, be sure to replace and secure with wire tie
inside control box when servicing is completed
REMOVE GRILLE INSERT
REMOVE 1 SCREW
Fig. 26 — Removing Grille Insert
and Grille Frame
13