Conductivity, Calibration conductivity – YSI ProDSS User Manual
Page 37
35
Calibration
Conductivity
A conductivity/temperature sensor must be installed on the bulkhead for accurate temperature compensation and
measurements of all other parameters (
). Temperature calibration is not available or required for
accurate temperature measurements.
The conductivity/temperature sensor can measure and calculate conductivity, specific conductance (temperature
compensated conductivity), salinity, non-linear function (nLF) conductivity, TDS, resistivity, and density. Calibration
is only available for specific conductance, conductivity, and salinity. Calibrating one of these options automatically
calibrates the other conductivity/temperature parameters listed above. For both ease of use and accuracy, YSI
recommends calibrating specific conductance.
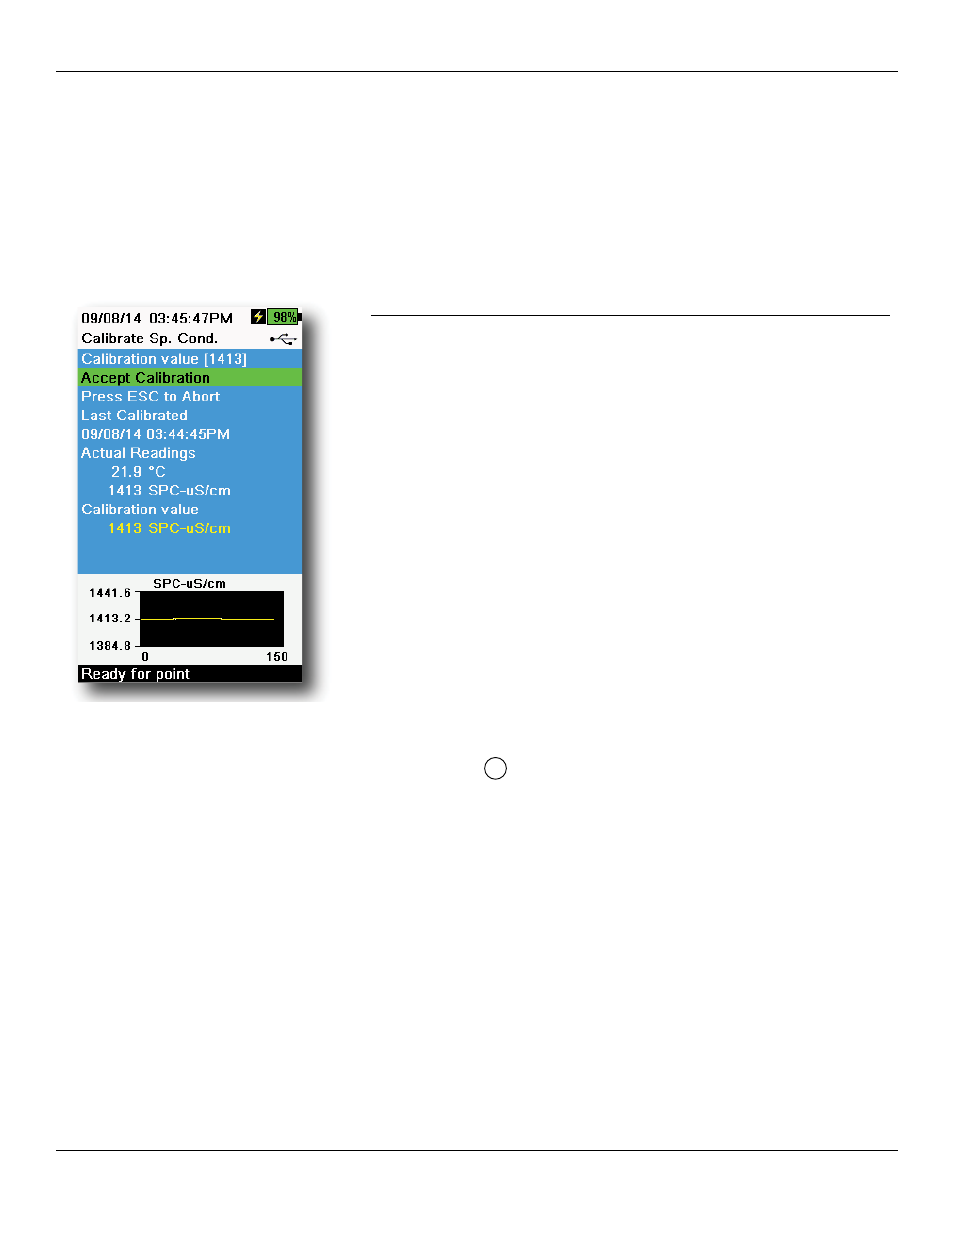
Figure 45 Calibrate specific
conductance
Conductivity calibration
1. If necessary, clean the conductivity cell with the supplied soft
brush. See
Conductivity/temperature sensor maintenance on
2. Perform the
Calibration setup (pH, ORP, ISE, conductivity, turbidity)
3. Place the correct amount of conductivity standard (225 mL if using
the calibration cup) into a clean and dry or pre-rinsed calibration
cup.
NOTE: Select the appropriate calibration standard for the
conductivity of the sampling environment. Standards
greater than 1 mS/cm (1000 μs/cm) are recommended for
the greatest stability. For fresh water applications, calibrate
to 1,000 or 10,000 uS. For salt water applications, calibrate
to 50,000 uS.
4. Carefully immerse the sensors into the solution. Make sure the
solution is above the vent holes on the side of the conductivity
sensor.
5. Gently rotate and/or move the sensor up and down to remove any
bubbles from the conductivity cell. Allow at least one minute for
temperature equilibration before proceeding.
6. Push the
Cal
key, select Conductivity, then select Specific
Conductance.
NOTE: Calibrating any conductivity calibration option will
automatically calibrate the other options. Specific
conductance is recommended for both ease of use and
accuracy.
7. Select Calibration value then enter the calibration value of the
standard used. Note the measurement units the instrument is
reporting and calibrating and be sure to enter in the correct
calibration value for the units being used. For example, 10,000 uS
= 10 mS. Make sure that the units are correct and match the units
displayed on the handheld.
8. Observe the actual measurement readings for stability (white line
on graph shows no significant change for 40 seconds), then select
Accept Calibration (
). “Calibration successful!” will be
displayed in the message area.