Top Flite TOPA0305 Part 1 User Manual
Page 36
3.
Enlarge the holes i n the hatch covers
only with a 3/32" drill bit.
Countersink the holes for
the
#2
x 3 / 8 flat head screws with a countersink or
other pointed tool. Test fit the hatch covers to the
rails with the screws. If necessary, remove the
hatch covers and sand the sides of the hatch
covers
so
they align with the edges of the hatch.
Note: Though the hatch covers are 1 / 1 6 thick and
the wing sheeting is 3/32" thick, by the time you
sand the wing sheeting smooth it will be the same
height as the hatch covers.
If
not, you can raise the
hatch covers by placing thin shims made from
1 / 6 4 plywood or thin cardstock on top of the rails.
4. Use 30-minute epoxy to glue the 5/16"
x
3/4"
x 7/8" servo mount blocks to the servo hatch
covers as shown on the plan.
Note: You can increase the strength of this joint by
drilling a few shallow 1/16" holes into the servo
mount blocks. This will create epoxy pins that
extend into the blocks.
5. Mount your servos to the blocks with
' k , , u
screws included with your servos. Test fit the servo
hatches in the wing and screw them down with the
hatch cover screws.
6. Return to the first step and mount the flap and
aileron servos in the other wing panel.
7. Glue leftover 1/16" balsa sheeting to the
inside of the bottom sheeting around the wheel
well cutout with the grain direction opposite that of
the wing sheeting. This will reinforce the sheeting
around the wheel well cutout.
8. Brush another coat of fuelproof paint inside
the wheel wells while they are still easy to reach
with a paint brush.
JOIN THE WING PANELS
1.
Remove the flaps. Test fit both outer panels to
the center section. Make small adjustments if
necessary to minimize any gaps you see.
Test fit
your clamps to make sure you have enough of
them and to make sure you know where you are
going to place the clamps when you actually glue
the wing together.
A
I
4
4
3-9/16"
BALSA
STICKS
2. Optional: The dihedral braces and the
preset
angle of the root ribs on the outer panels will
determine the dihedral in the wing. But
if
you wish
to check the dihedral before you permanently glue
the wings together, clamp the wing together, raise
the center section off your workbench with balsa
sticks of equal size
(so
the wing is not resting on
the clamps) and measure the height of both wing
tips. The height of
both tips (measured under the
bottom of the spar at tip rib W14) should be 3-9/16"
(not including the balsa sticks). If the measured
dihedral of both wing tips is within a range of 3-3/8"
to 3-3/4", the dihedral is okay.
3. Mix a batch of 45 or 30-minute epoxy
to
join
the wing panels to the center section. Apply epoxy
to all the mating surfaces of the end ribs, spars and
dihedral braces. If you have installed the wires for
the wing tip lighting, pull the wires through the root
ribs
so
you can route them into the center section.
Join the outer panels to the center section and
position your clamps. Wipe away excess epoxy
with a paper towel before it cures and do not
disturb the wing until the epoxy cures.
MAKE THE FLAP AND AILERON
PUSHRODS
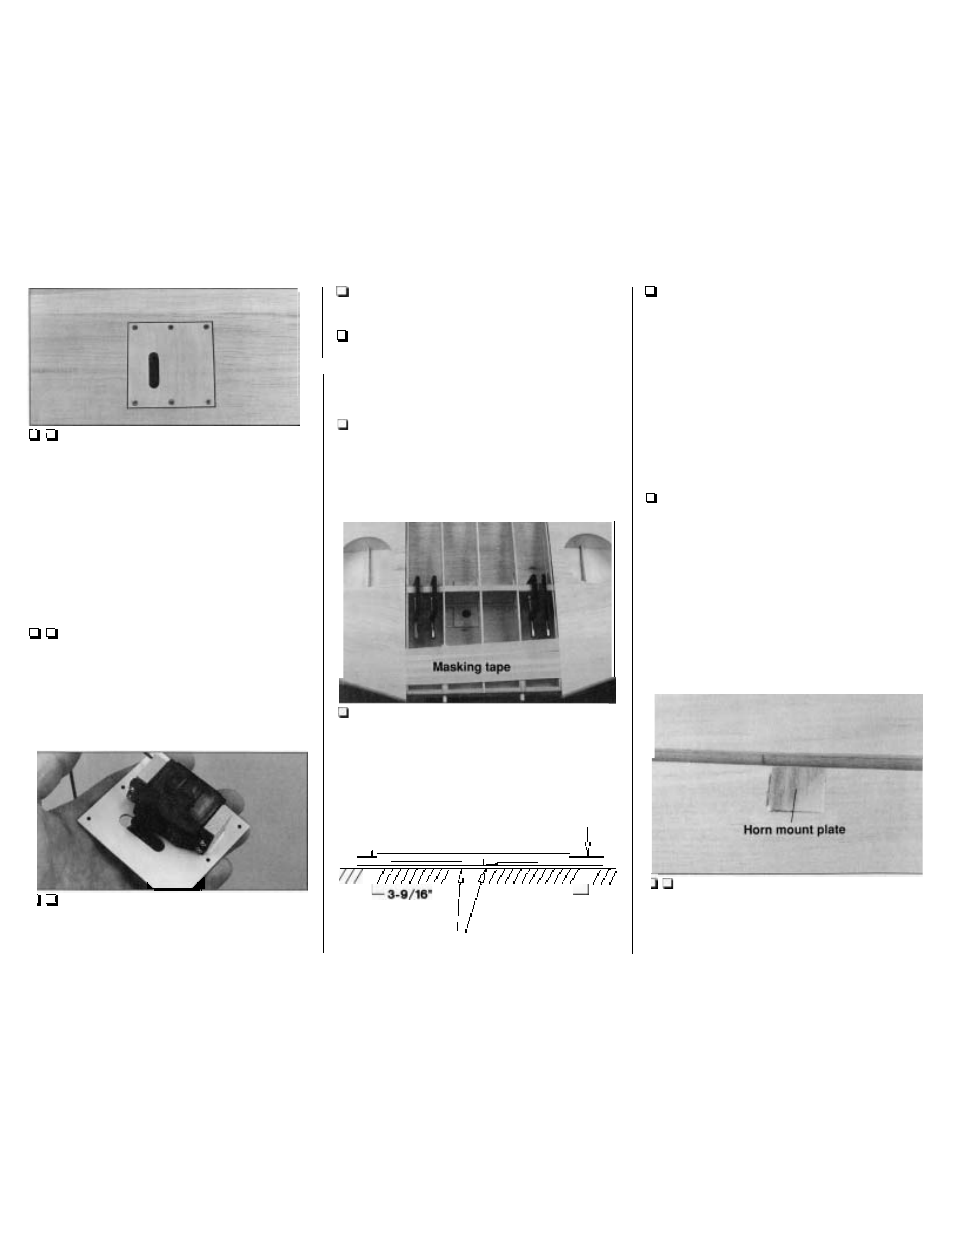
1 . Cut a 1/8" deep notch in the aileron for the
die-cut 1/8" plywood aileron
horn mounting
plate
where shown on the plan. Glue the horn mounting
plate to the aileron and sand it to match the
leading edge.
-
35