Top Flite TOPA0305 Part 1 User Manual
Page 19
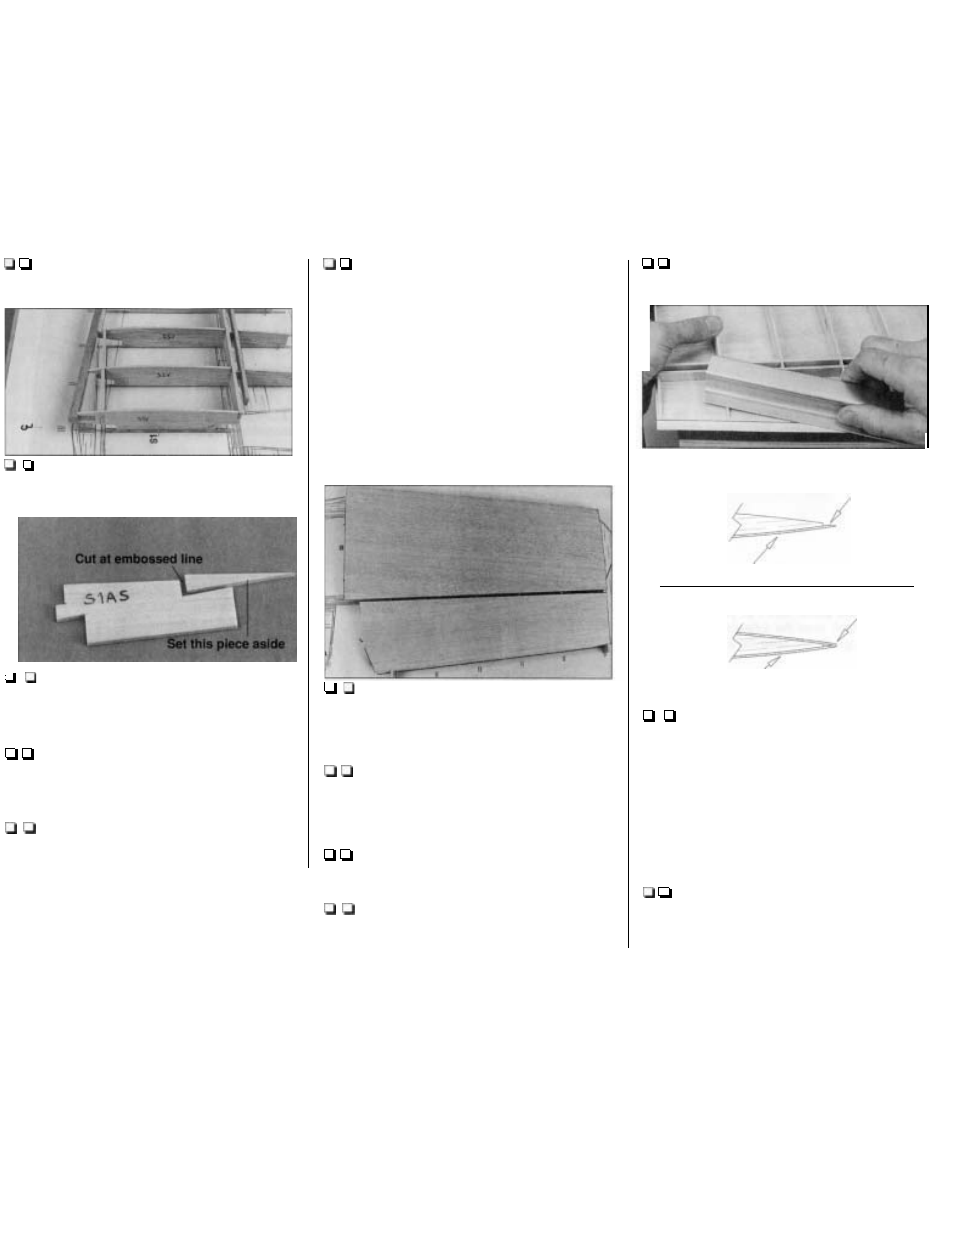
V9. Check the fit of the
sub spar (S11) in the
die-cut notches of the ribs S I V , S2V and S3V.
Make any adjustments needed.
VIO. Test fit, then glue the sub spar in
position. Use a 90" triangle to insure that the sub
spar is vertical.
V11. Cut the end off rib S l A V at the
embossed line and set that little piece aside. Glue
SlAV to the ruddervator
LE spar over its location
on the plan.
V12. Sand the top of the leading edge, sub
spar, elevator TE spar and the ruddervator
LE spar
so they match the contour of the ribs. Don't change
the shape of the airfoil by sanding too much.
V13. THIS STEP
IS
VERY IMPORTANT!
Arrange the T-pins
so every other rib is held down
with one pin near the front and one pin near the
rear and make sure all the pins go into the jig tabs
at the same angle. This will allow you to
finagle
the stab off your building board by lifting it up and
to one side after the top sheeting is glued in place
(the T-pins are concealed).
V14. Use your favorite method
to
glue the
stab skin to the stab. We recommend using
aliphatic resin
to
glue the skin to the ribs and TE
spar, and CA for only the leading edge. Apply the
glue. Working quickly, position the stab skin and
hold the leading edge down until the CA cures.
When the CA is cured, wet the front of the skin with
a 50/50 mix of alcohol and water and press it to the
rest of the frame, holding it down with weights until
the glue dries.
Note: If you choose to use CA for the entire job, be
aware that residual accelerator you may have used
earlier can make the CA you use for this step cure
quickly. You'll have
to
work rapidly.
V15. Glue the ruddervator skin to the
ruddervator. You can use CA for this step since the
skin is small and easy to posidon. Make sure the
trailing edge contacts the
stoppers on the top of the
jig tabs on ribs S7V and S2V.
V16. After all the glue has dried, remove all
the T-pins you can reach. Carefully lift the stab
(with the ruddervator) from your building board.
Trim the jig tabs from the ribs and take out-the rest
of the T-pins.
V17. Use a razor plane or a
#I
1 blade
to
trim
the
bottom of the
LE
so
it is the same size as the
front of the ribs and matches the airfoil shape.
V18. Sand the bottoms of the ribs, leading
edges, stab, ruddervator spars and trailing edges
so they blend together.
- 1 8 -
V19. Glue the little tip you cut
off the end of
rib SlAV to the sheeting and SIAV.
For
clarity
we've drawn a /ine indlcating
the bevel
.
BEVEL THE TE
TO
MATCH THE RIBS
TOP
SHEETING
'
ON ELEVATOR
THE BOTTOM SKIN
WILL FIT LIKE THIS
TOP SHEETING
'
V20. Use a bar sander and 150-grit
sandpaper
to
bevel the trailing edge
of the top
ruddervator skin
so it will accommodate the bottom
skin. While you sand, apply pressure only to the
sheeting and use the ribs to set your sander at the
correct angle. Do not bevel the trailing edge to a
sharp edge but leave about 1 / 6 4 squared off.
Hint: Support the
TE with the edge of your
workbench or a platform while you sand.
V21. Glue four die-cut 1/8" balsa
ruddervator
torque rod blocks between ribs S l A V and
SS2AV You can see the torque rod blocks in the
following photo.