Top Flite TOPA0305 Part 1 User Manual
Page 31
16. If you will be adding the optional lighting kit,
route the wiring through the holes you drilled in the
ribs. The red
light
cover
goes in the left tip, and the
green
light
cover
goes in the right tip. If you have
purchased the strobe lights in addition to the Top
Flite Lighting Kit, route those wires too. Cut a hole
in the center section sheeting ahead of the main
spar for the wires and connectors to exit the wing.
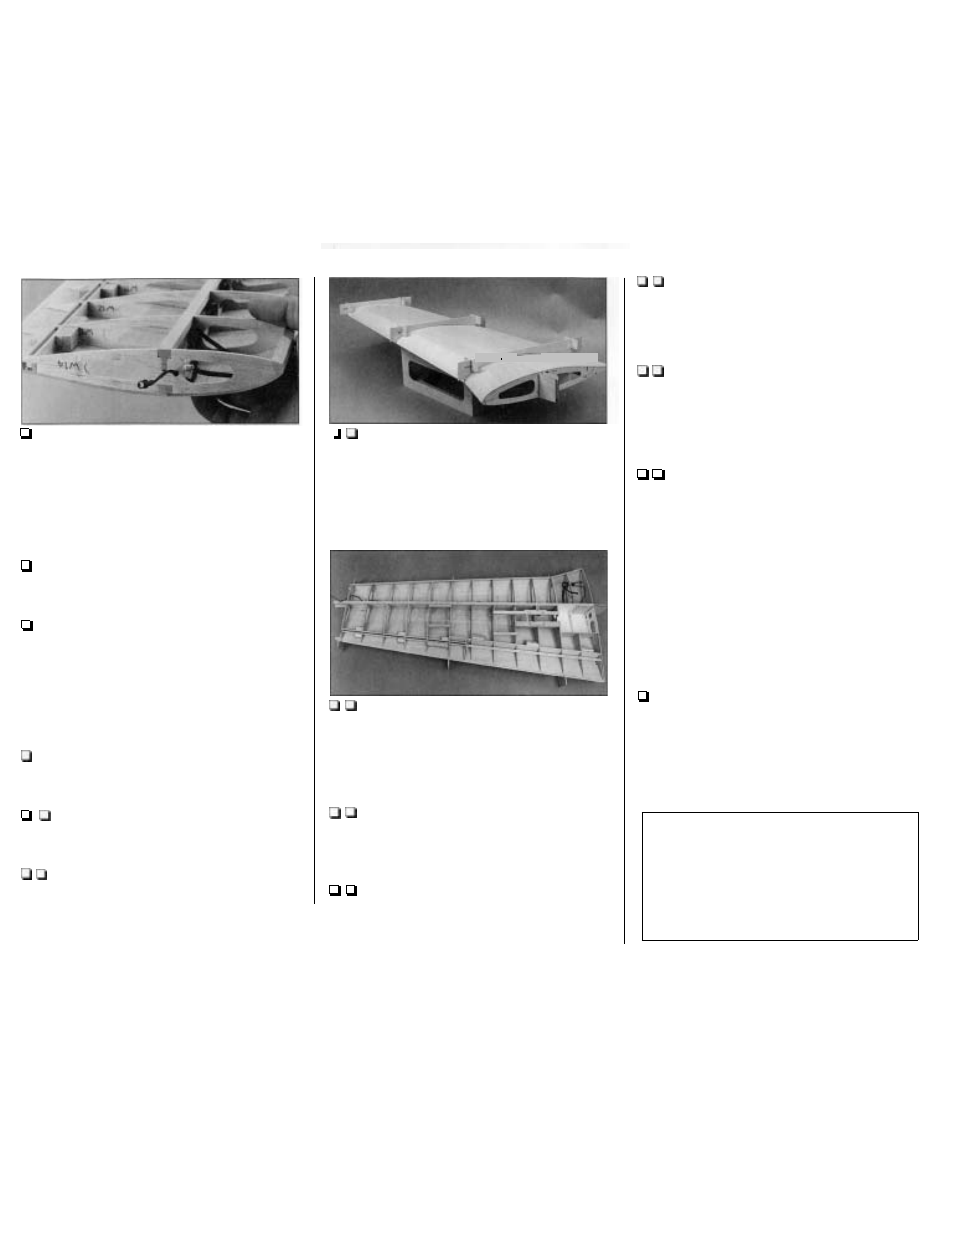
17. Separate the wing panels and remove the
servo cords and air lines but leave the tip light
wires in both outer wing panels.
18. Sand the bottom of the outer wing panels
with a bar sander and 150-grit sandpaper
so
the
spars, landing gear and servo rails blend to the
shape of the ribs.
Sheet the bottom
of the wing
panels
1. If you have not already done
so,
make the
forward and aft bottom wing skins the same way
you made the top wing skins on page 21.
2. Use a ballpoint pen to mark the top
sheeting over ribs
W14,
W9
and W4 at the leading
and trailing edges.
3. Test fit the die-cut 1/8" balsa wing cradles
W14C, W9C and W4C on the top of the wing,
aligning them with the marks you made. Sand
away any slivers or slight die-cutting irregularities
until the cradles match the contour of the wing.
4.
Glue the die-cut 1/8" balsa feet to the
cradles. Apply one drop of thick or medium CA
near the front and rear of each cradle and tack glue
them to the top wing sheeting in their proper
locations. You only need enough glue to hold the
cradles to the wing
so
they won't fall off when you
turn it upside down.
I
5. Place the wing on your workbench so it is
resting on the cradles. Trim the
stoppers
on the
cradles
so
the trailing edge of the bottom sheeting
aligns with the trailing edge of the top sheeting and
the front edge of the sheeting
ends
at the center of
the spar (the same way as the top sheeting).
6. Glue the aft bottom skin to the wing. Use
T-pins or weights to hold the skin in place until the
glue dries. Caution:
Do
not add too much weight
because this may bow the wing.
7. Test fit, trim, then glue the forward outer
skin to the wing panel. Just the same as the top
forward outer skin, the wood grain should be
parallel to the leading edge of the wing panel.
8. Use the remainder of the 3/32"
x
6"
x 30"
balsa sheet you used for the forward inner top skin
to make a forward inner bottom skin. Test fit, then
glue the skin to the wing panel.
9.
After the glue dries remove any T-pins you
may have used and take the weights off the wing
panel. Trim all the sheeting
so
it is even with the tip
and root ribs and the leading and trailing edges of
the wing.
10. If you are installing fixed landing gear, use
the plans as a guide to poke holes through the
wing skin with a pin until you locate the groove in
the landing gear rail. Remove a strip of balsa from
the groove just long enough to accept the landing
gear wire. Use the nylon straps as a template to
mark holes in the sheeting for the #2
x 3/8" screws.
Drill 1/16" holes at the marks and Test fit the
landing gear to the wing with the straps and screws
as shown on the plan. Remove the landing gear.
Note: The nylon straps should be inset into the
balsa skin
so
that they are secured to the
basswood landing rail.
11. Set the right wing panel aside and sheet the
bottom
of
the left wing panel the same way.
Beech Fact: Beech also manufactures jet aircraft
including the 400A/400T
Beechjet (their only
production turbo fan, purchased from Mitsubishi in
1986
and fitted with a new Beech interior and larger
fuel capacity); and a few turboprops including the
Model 1300 Airliner, Model 1900D and the Model
1900C; and of course, the Model 2000/2000A
Starship
featuring a canard front wing, pusher turboprop
engines and composite construction.
-
30