Top Flite TOPA0305 Part 1 User Manual
Page 15
ST26. Trim the elevator torque rod blocks and
any protruding hinge blocks
so they are even with
the bottoms of the ribs.
ST27. Reinforce any glue joints that do not
look strong.
ST28. Glue the elevator skins to the bottom of
the elevators
so the trailing edges align.
ST29. Glue the stab skins
to
the bottom
of the
stab. If you have not used any accelerator on the
stab you may glue the skins on with thick or
medium CA. Otherwise, use aliphatic resin. Work
over a flat work surface and be careful not to add
any twist into the stab as you press the skins to the
stab frame. Optional: Use the die-cut 1/8" balsa
straight tail stab cradles S2T and S7T to hold the
stab flat on your workbench while you glue the
bottom skins on. Use the stab cradles the same as
the wing cradles shown in steps
1-5 on page 30.
ST30. After the glue dries, use a bar sander with
150-grit sandpaper to sand the sheeting even with
the ends of the stab and elevators.
ST31. Cut the ribs and separate the elevator
from the stab. Sand the excess sheeting and rib
stubs from the TE of the stab and the LE of the
elevator. Sand the elevator sheeting even with
rib SIAS.
ST32. Glue a die-cut 1/8" balsa stab TE (S10) to
the TE
of both stab halves. Glue a die-cut 1/8"
balsa elevator LE (also S10) to the
LE of both
elevators.
ST33. Sand the stab TE's and the elevator LE's
so they are even with the ends of the stab and
elevators. Sand the stab TE and elevator
LE's so
they blend with the tips and skins.
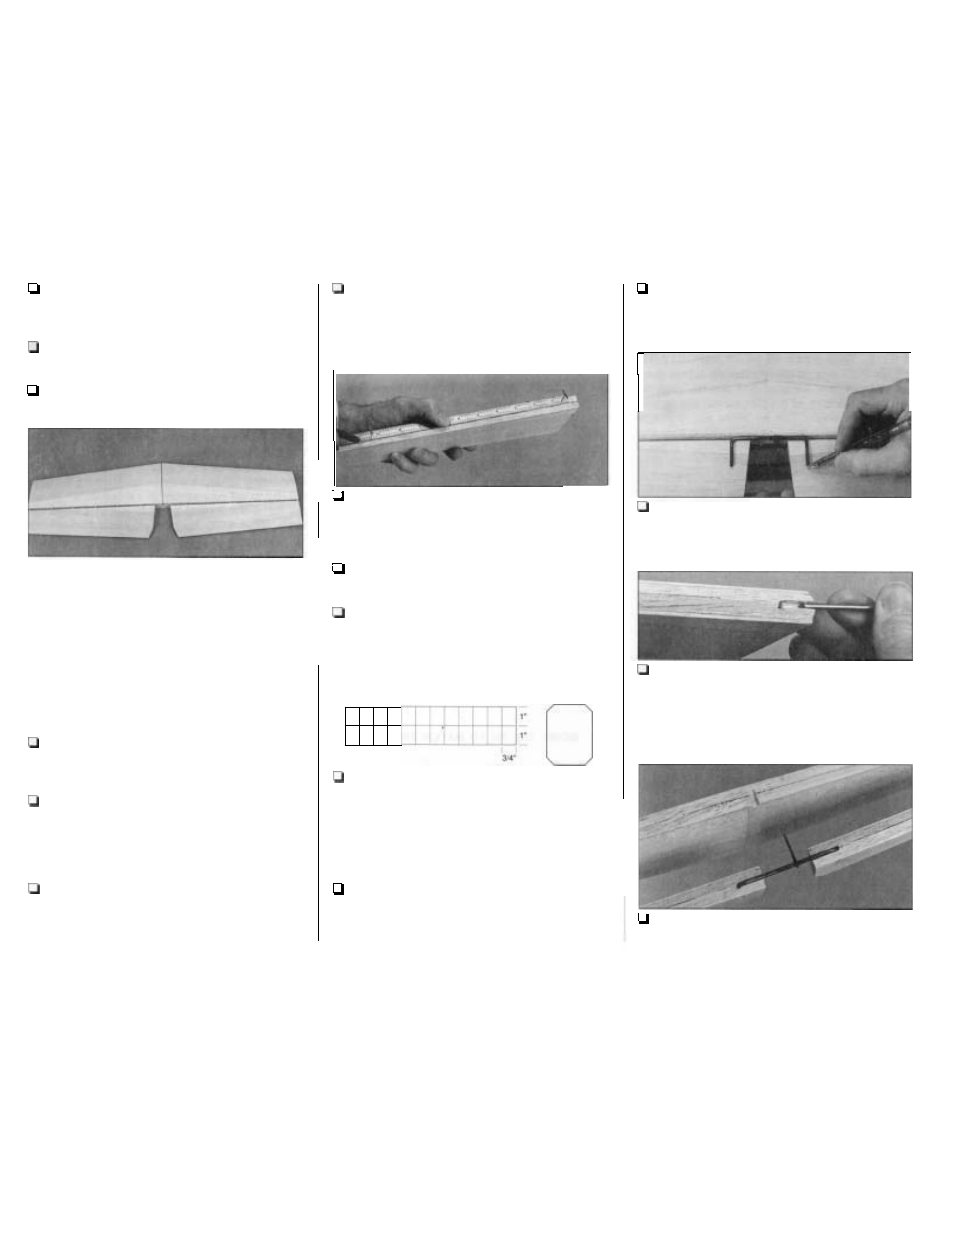
ST34. Use two T-pins, placed in the center of
the leading edge of one of the elevators near the
ends, to align a straightedge and draw a centerline
with a ballpoint pen.
ST35. Mark the other elevator and the TE of the
stab the same way.
ST36. Cut the hinge slots on the centerlines of
the elevators and the stab where shown on
the plan.
'3/4'
ST37. Cut six hinges from the 2"
x 9" CA hinge
strip as shown in the sketch. Snip the corners off
the hinges
so they go into the slots easier.
Temporarily join both elevators to the stab with the
hinges. If necessary, adjust the hinge slots
so the
elevators and stab align.
ST39. Skip ahead to Make the stab tips on
page 20 to make the tip blocks (the straight tail and
V-tail tips are shaped the same way). When you're
done, return to step ST40.
ST40. Using the plan, accurately mark the
location of the 1/8" elevator joiner wire and horn
(from now on referred to as just the elevator
joiner) on the elevators.
ST38. Locate the 3/4" shaped balsa stab tip
ST41. Drill a 9/64" hole and cut a groove in the
center of both LE's for the joiner. Test fit the
elevator joiner in the elevators.
Hint: Use a 1/8" brass tube sharpened at one end
to cut the grooves.
blocks. The tip blocks match the V-tail stab tips,
so use the plan to reshape them to fit your straight
tail stab.
- 1 4 -
Cut a small groove in the TE of the stab
so the horn on the elevator joiner will not bind