Ready, Build, Build the tail surfaces – Top Flite TOPA0305 Part 1 User Manual
Page 11
GET
READY
TO
BUILD
1. Unroll the plan sheets, then roll them inside
out
so
they lie flat.
2.
Remove all the parts from the box. Use a
ballpoint pen (not a felt-tip pen) to lightly write the
name or size on each piece
so
you can identify it
later. Use the
die-cut patterns
on pages 8 & 9 to
identify and mark the die-cut parts before you
remove them from their die-cut sheets. Many of the
parts already have numbers stamped on them, but
in some cases the number is located alongside the
parts. You may remove all the die-cut parts from
their die sheets now or wait until you need them. If
a part is difficult to remove, don't force it out but cut
around it with a
#I1
blade. After you remove the
parts from their die sheets, lightly sand the edges
to remove slivers or die-cutting irregularities. Save
some of the larger scraps of wood.
DO NOT PUNCH OUT THE
ROUND LIGHTENING HOLE
W4, W5,
W6
Note: If you are going to install retracts, don't
punch out the round
lightening hole
in the die-cut
3/32"
balsa wing ribs W4, W5 and W6. Instead,
apply thin CA around the lightening hole to glue it
in place.
3.
Separate the parts into groups such as stab,
fin, wing and fuse.
Store smaller parts in zipper-top food storage
bags.
BUILD THE TAIL SURFACES
Make the skins
for the tail surfaces
1. See the Hot Tip that follows and use six
1/16"
x
3"
x 30" balsa sheets to make two
1/16" x 9"
x
30"
stab skin
planks.
If you're building
the straight-tail, make a third
plank
for the
finlrudder skin from three more 1/16"
x
3"
x
30"
balsa sheets.
Hey, if you're building the V-tail it
looks as if you are going to have three sheets
of
1/16"
balsa leftover!
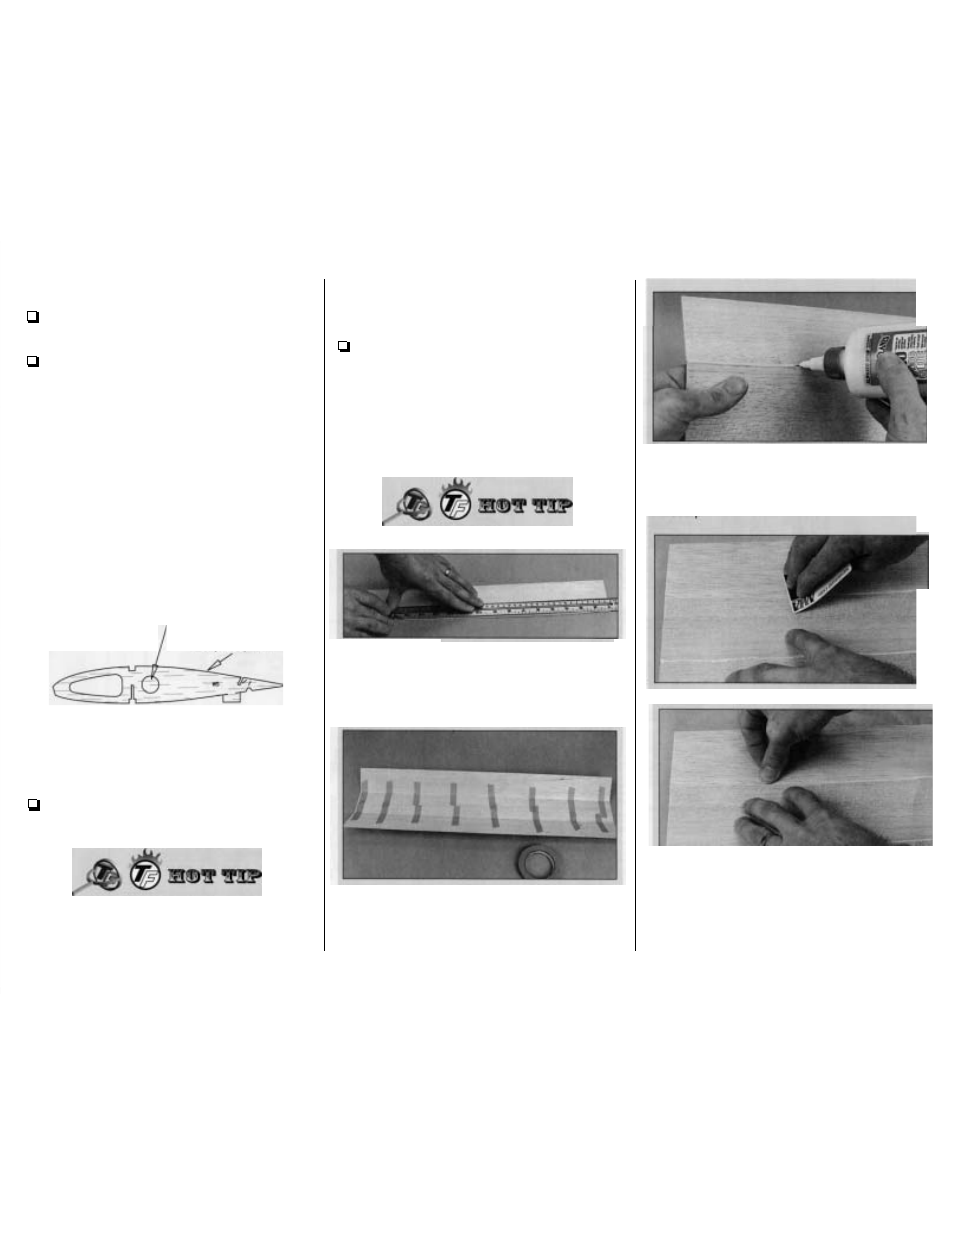
HOW TO MAKE THE SKINS
A. Use a straightedge and a sharp
# I 1
blade to
true the joining edges of the sheets. When you
trim them, do not cut all the way through the first
time but make
several passes so
you
slice
the
wood instead of splitting it.
B. Tightly tape the sheets together with masking
tape placed about every 4" along the seams. The
sheets will not lay flat because they are tightly
taped together.
C. Place wax paper on your workbench. Flip the
sheets over and apply a bead of aliphatic resin
(wood workers glue
such as Great Planes Pro"")
between the seams. Immediately proceed to the
next steD.
-10-
D. Use a credit card or thin peice of plywood to
squeegee the excess glue from the seam. Wipe
the glue off your squeegee with a paper towel or a
stick of wood. Immediately proceed to the
next step.