Top Flite TOPA0305 Part 1 User Manual
Page 16
against the stab when the elevator deflects
downward. Test fit the elevators to the stab, with
the elevator joiner in place, and make adjustments
if necessary.
Beech Fact: The
Bonanza was (and
still
i s )
a
remarkable airplane and held many world records. In
1949 it
held
the
world record non-stop distance
for
all
light
planes flying 4,957
miles
in
36 hours,
2
minutes
from
Honolulu
to
New Jersey piloted by Capt.
Bill
Odon.
In
1958
it
held
the
same
record
flying
7090
miles
i n
45
hours,
43 minutes from Manila
t o
Pendleton,Oregon
flown
by Capt.
Pat
Boling.
BUILD THE FIN AND RUDDER
ST1. Place the fin plan over your building board
and cover it with wax paper.
BEVEL THE NOTCHES IN THE
FIN RIBS AND SPARS TO MATCH
THE ANGLE ON THE PLANS
ORIGINAL NOTCHES
ST2. Test fit the die-cut 3/32" balsa fin ribs
R2
through R6 in the notches of the die-cut 1/8" balsa
fin
TE spar
(R7)
and rudder
LE spar (R8). Place
the assembly over the plan. If the ribs fit tightly into
the notches of the fin TE spar and the rudder LE
spar, remove the ribs and bevel the notches in the
spars and the ribs as shown in the sketch.
ST3. Use a small square to position the fin TE
spar over the plan near rib R2. Align rib R2 over
the plan and pin it to your building board. Use one
pin near the front of the jig tab and one T-pin
!ar the rear of the jig tab.
ST4. Use the same method to align the fin TE
spar over the plan at each rib. Pin the rib to your
building board. Glue the ribs to the spars with
medium CA. Use small drops of CA and do not
build up fillets. Later, we will remind you to
reinforce the glue joints.
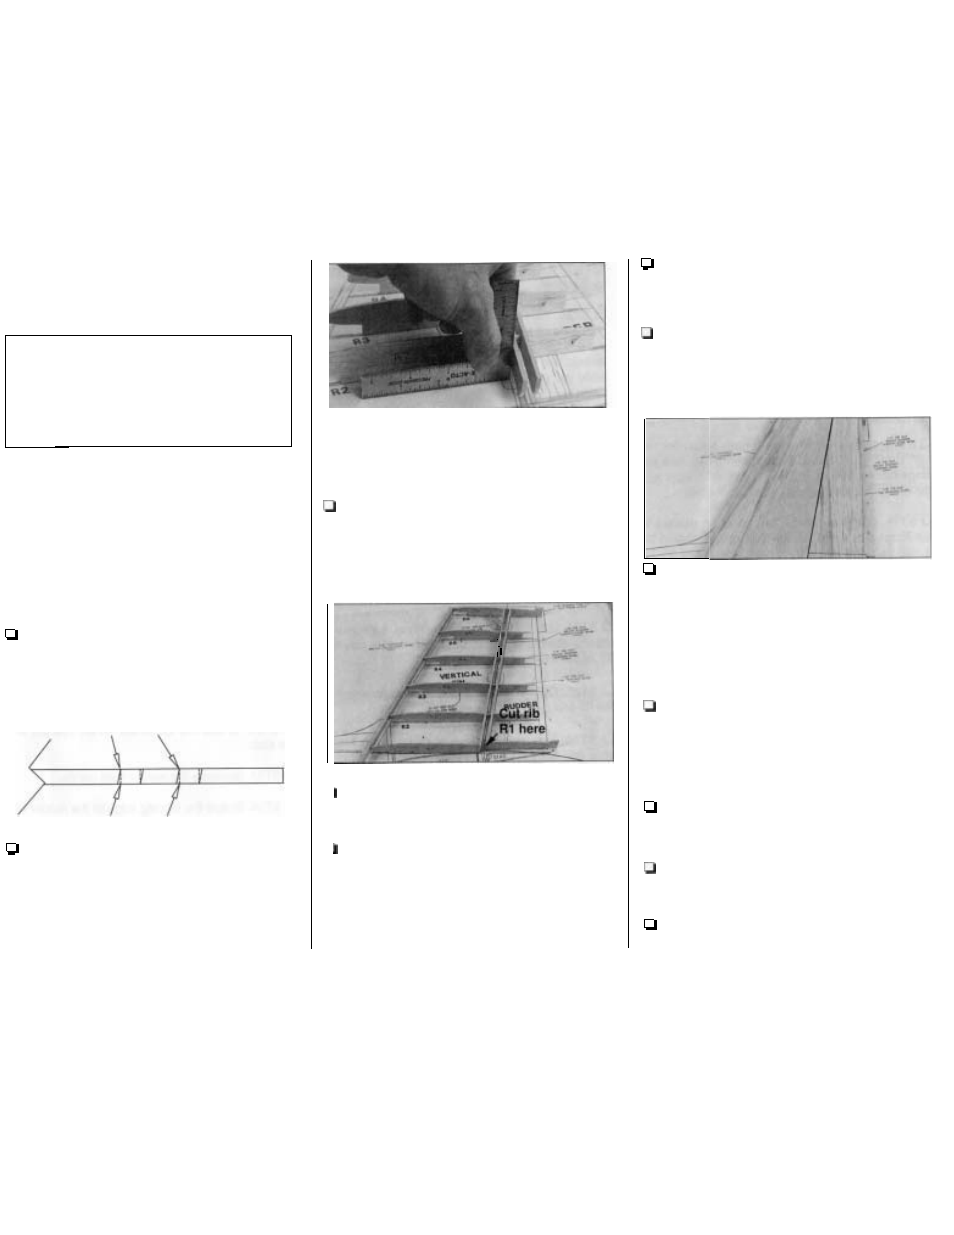
Refer
to
this photo for the next three steps
ST5. Cut rib R1 apart between the spar notches.
Add fin rib
R1
and rudder rib
R1A
to the spars. Pin
them
to
the plan and glue them in position.
ST6. Sand the fronts of the ribs to match the aft
sweep of the leading edge. Cut a shaped
5/16" x 15" balsa stab/fin
leading edge to a length
of
12-1/2". Glue it to the front
of the ribs
so the top
of
the LE is even with the top of the ribs. The
bottom of the
LE will extend below the bottom of
the ribs but will be sanded flush later.
ST7. Sand the upward facing edges of the
leading edge and the sub spars
so they match the
contour of the ribs.
Do not change the shape of the
airfoil by sanding
too much.
ST8. Arrange the T-pins
so
they all go into the
jig tabs at the same angle. This will allow you to
finagle the fin and rudder off your building board by
lifting it up and to one side after the top sheeting is
glued in place (the T-pins are concealed).
ST9.
Glue
the fin and rudder skin to the
structure. The bottom of the fin skin should extend
below rib R1 by approximately 1/4"-1/2"
so you can
trim it later. Make sure the trailing edge
of the
rudder meets the
stoppers on the top of the jig tabs
on ribs R6 and
R1 A. Note: The rudder skin was cut
wider than needed, to allow enough material to trim
it
to
size now.
ST10. After the glue has thoroughly dried,
remove all the T-pins you can reach. Carefully lift
the fin (with the rudder) from your building board.
Trim the jig tabs from the ribs and take out the rest
of the T-pins.
ST11. Use a razor plane or a #11 blade to trim
the right side of the
LE so it is the same size as the
front of the ribs and matches the airfoil shape.
ST12. Sand the bottoms
of the ribs, leading
edges, fin spar, rudder spar and trailing edges so
that they blend.
ST13. Bevel the trailing edge of the left rudder
skin the same way you did the stab.
- 1 5 -