Toa SR-PB5 User Manual
Page 22
22
Step 10. Determine the speaker’s downward angle, then fix the speaker with the supplied hex bolts.
10-1. Fix the Mounting Bracket B (lower side of the speaker) loosely with the supplied hex bolts.
Fit it loosely to the extent that the speaker can be inclined when adjusting the speaker angle.
10-2. Adjust the speaker’s downward angle with the Mounting Bracket A (upper side of the speaker).
Note: Refer to p. 13, “Coverage area” to determine the downward angle that corresponds to the
mounting height of the speaker to be installed.
10-3. Tighten all 6 hex bolts loosely screwed into the Mounting Brackets A and B.
Note: Check that all bolts are securely tightened.
Hex bolt M10 x 40 (accessory)
10
-1
Hex bolt M10 x 40 (accessory)
Hex bolt M8 x 40 (Bolt loosely screwed in Step 4)
10
-3
10
-2
Downward angle: 0°
Downward angle: 3°
Downward angle: 1°
Downward angle: 2°
About downward angle settings
Angle adjustment holes are provided in both sides of the
Mounting Bracket A as shown in the figure below.
Set the speaker’s downward angle using the desired hole.
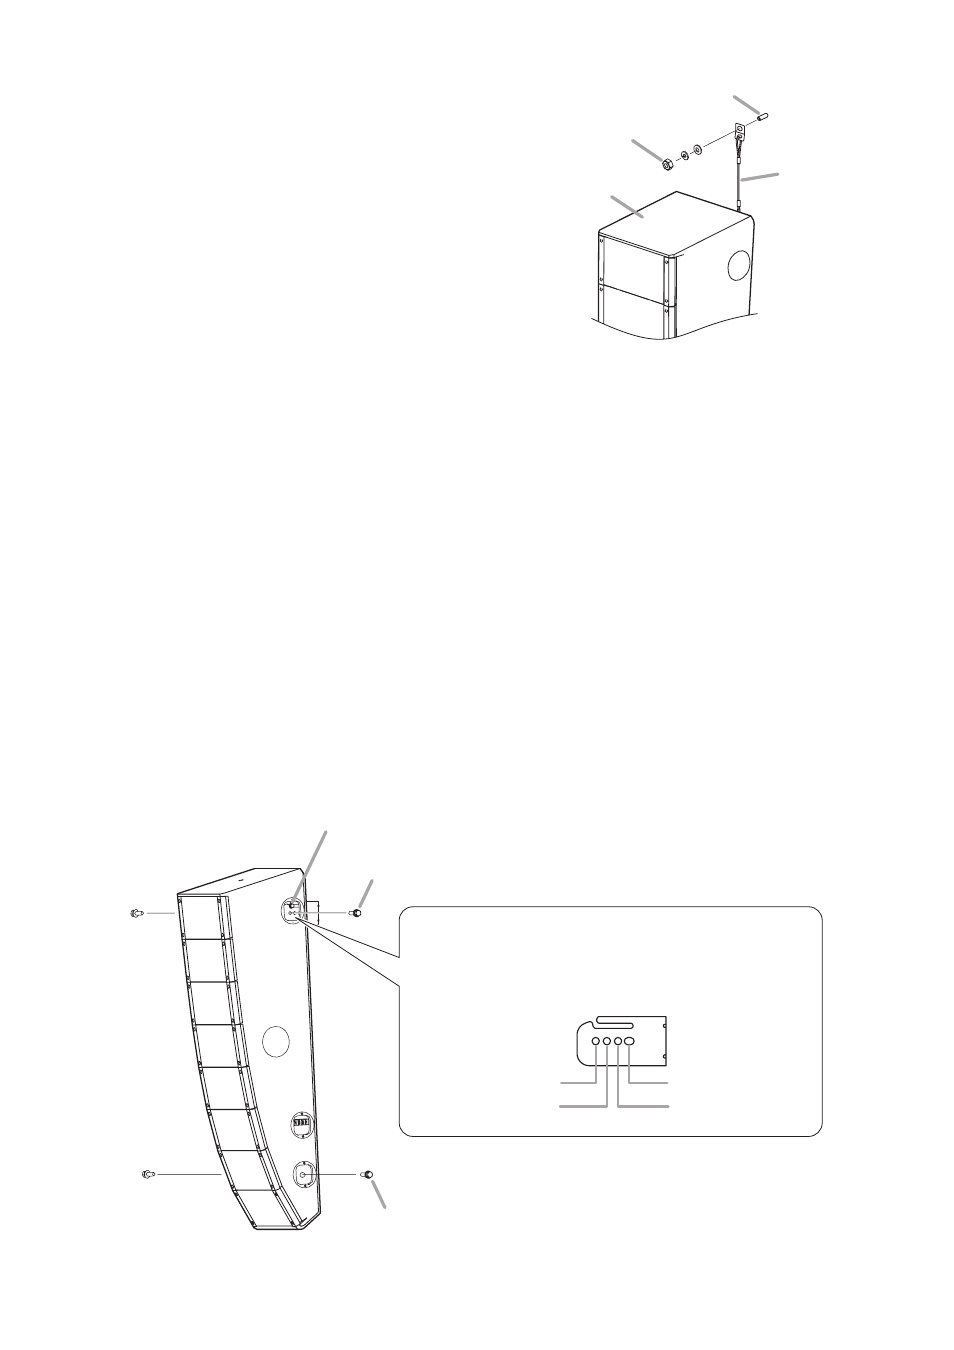
Step 9. Connect the speaker cable to the input terminal.
For the connection procedure, refer to p. 8, "Input Terminal Connection."
Step 8. Install the safely wire to the wall.
Install the end of the safety wire attached
to the speaker to the anchor bolt installed
on the wall surface.
Nut and washers
(required separately)
M10 safety wire anchor bolt
Safety wire
Speaker