Area reset, Setup mode – TeeJet CenterLine 230BP User Manual
Page 7
Setup
6
5
30
Area
Reset
At the end of the CL230BP power up sequence, the
Area Reset window will be displayed:
Area Reset retains existing bounded
and applied areas and A-B guide-
lines. This option allows the bounded
and applied areas and guidelines to
be reset before starting on a new
fi eld or continuing an existing fi eld.
To reset the bounded and applied ar-
eas and guidelines, press the Enter
key. If the previous application is
being resumed, press the Escape
key to continue to Operation or Setup
mode. This screen is only available
upon CL230BP power up. It cannot
be accessed during normal opera-
tion.
Setup Mode
Press the Setup Mode
key to enter into CL230BP
Setup Mode. The initial CL230BP Setup Mode Screen
will be displayed.
Press the Enter
•
key to save the setting and
advance the screen.
Press the Escape
•
key to exit from Setup Mode
without saving any changes.
After 10 seconds of inactivity, Setup Screens will
•
time out (changes will be saved). The CL230BP
will return to Operation Mode.
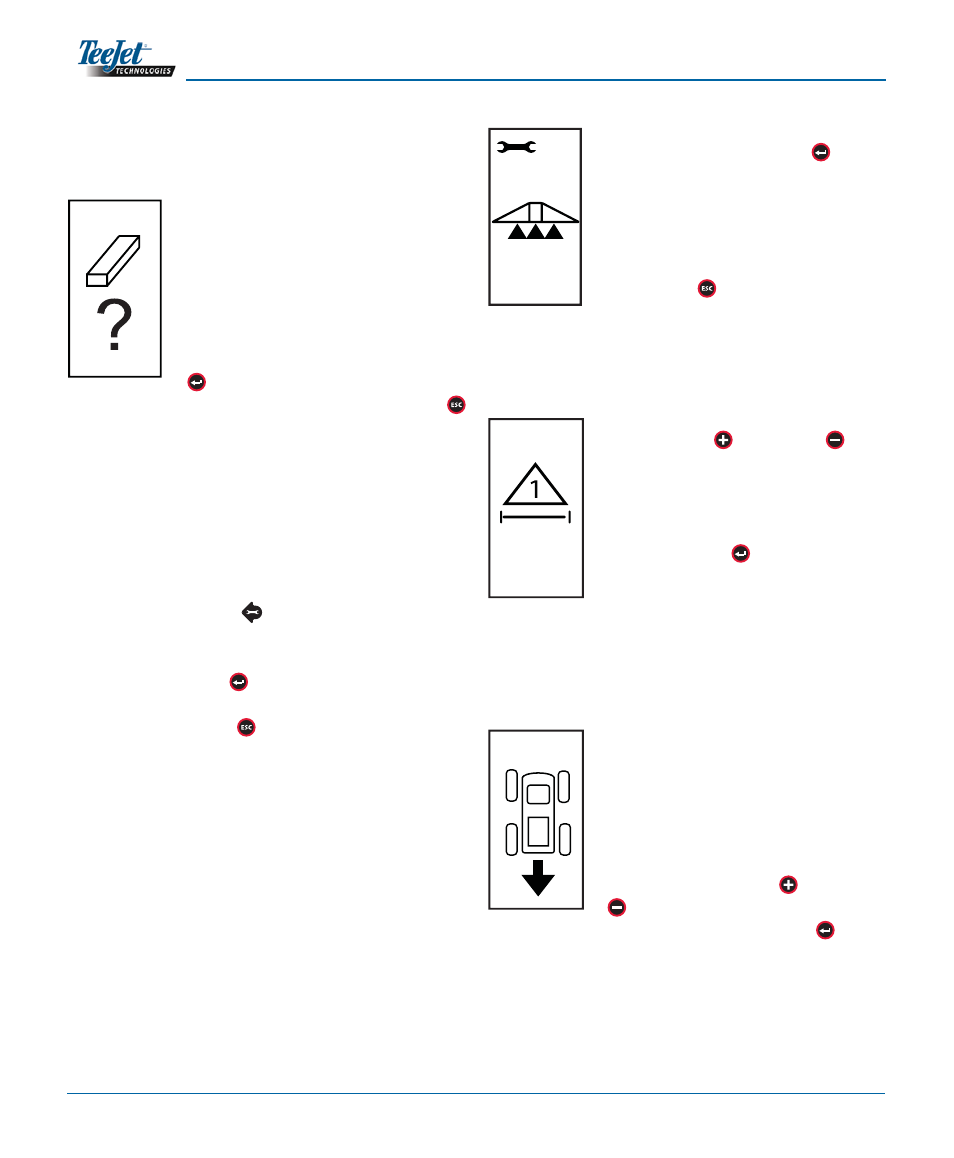
INITIAL SETUP SCREEN
This is the initial CL230BP Setup
Screen. Press the Enter
key to
advance to the Boom Width screen.
Setup screens will time out after 10
seconds of inactivity (changes will be
saved). After time out, the screen will
go back to Operation Mode. Press
the Escape
key to exit from Setup
Mode without saving any changes.
BOOM WIDTH
Encode the total width of the boom.
Use the Plus
and Minus
keys
to adjust the value. The boom sec-
tion width range is 0 cm to 50 m (0
to 1969 inches). The minimum rec-
ommended width is 1 m (39 inches).
Press the Enter
key to accept the
changes to the last boom section and
advance to the Boom Offset Direction
setting.
BOOM OFFSET DIRECTION
A BACKWARD selection (as shown)
indicates the boom is located be-
hind the GPS antenna as the vehicle
moves in a forward direction. A FOR-
WARD selection indicates the boom
is located in front of the GPS antenna
as the vehicle moves in a forward di-
rection. Use the Plus
and Minus
keys to adjust between Forward or
Backward. Press the Enter
key to
accept the changes and advance to
the Boom Offset Distance setting.
6