Straight a-b guidance, Curved a-b guidance – TeeJet CenterLine 230BP User Manual
Page 13
Operation
12
Establish
Point A
Establish
Point B
+0
6.0 MPH
+0
6.0 MPH
+0
6.0 MPH
0.0
Navigation
Screen
A
B
matically close the boundary when the vehicle
is within one boom width of Point A. The Com-
pleted Circuit (hourglass) will be briefl y displayed
as the perimeter is closed.
Guidance Points A and B can be established at
any time during Headland Circuit mode. These
points can be used as reference for Straight or
Curved A-B guidance (used during interior ap-
plication). To mark Points A and B, press the
Guidance Mode
key to select either Straight,
or Curved A-B mode and mark the points at the
desired locations using the Mark A/B
key. The
points will be stored for future reference.
The CL230BP will provide navigation information
to complete a second headland circuit pass. If
Guidance Points A and B were not marked dur-
ing Headland Circuit, select a new Guidance
Mode and establish an A-B line to complete the
interior application.
3. Use the Change Page
key to advance the
screen views as illustrated above.
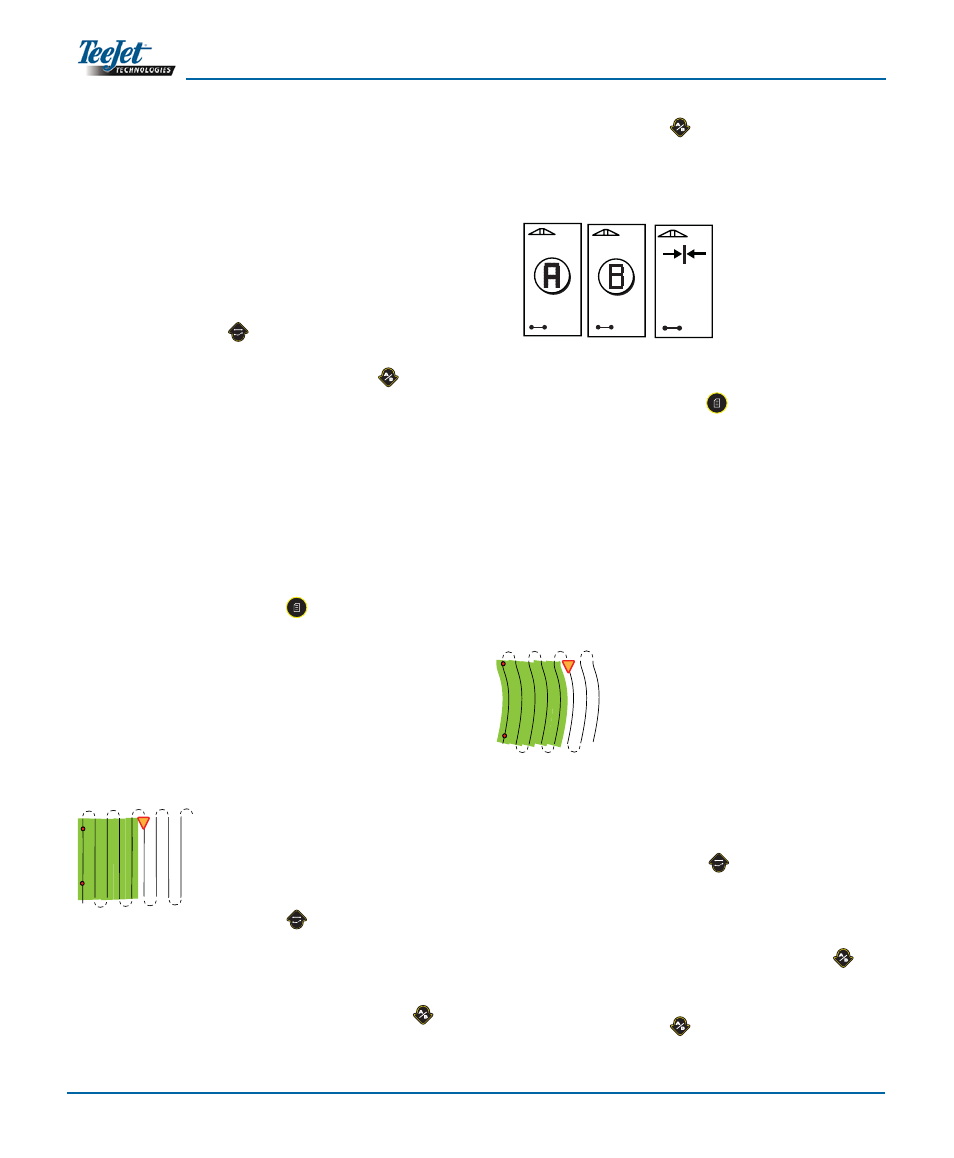
Straight A-B Guidance
Straight A-B guidance provides straight line guidance
based on a reference (A-B) line. The original A-B line
is used to calculate all other parallel guidelines.
1.
Use the Guidance Mode
key to select Straight
A-B guidance.
2.
Drive to the desired location of Point A. While the
vehicle is in motion, press the Mark A/B
key
to establish Point A. Point B will be displayed on
the screen. Drive to the location of Point B and
press the Mark A/B
key again to establish the
A-B line. The CL230BP will immediately begin
providing navigation information with the lightbar
and Navigation Screen.
3. Use the Change Page
key to advance the
screen views.
Curved A-B Guidance
Curved A-B Guidance is similar to Straight A-B Guid-
ance except that the reference line is curved.
NOTE: Curved Guidance is recommended not to
exceed 30
0
within the A-B guideline.
1. Use the Guidance Mode
key to select Curved
A-B guidance.
2.
Drive to the desired location of Point A. While the
vehicle is in motion, press the Mark A/B
key
to establish Point A. Point B will be displayed on
the screen. Drive to the location of Point B and
press the Mark A/B
key again to establish the
km/h
A
B
km/h
km/h