Section 2.3, Nd 11), 11 of – SilentKnight IP Communicator User Manual
Page 12
12
IP Communicator Series Installation Document — P/N 53109:I 4/26/2010
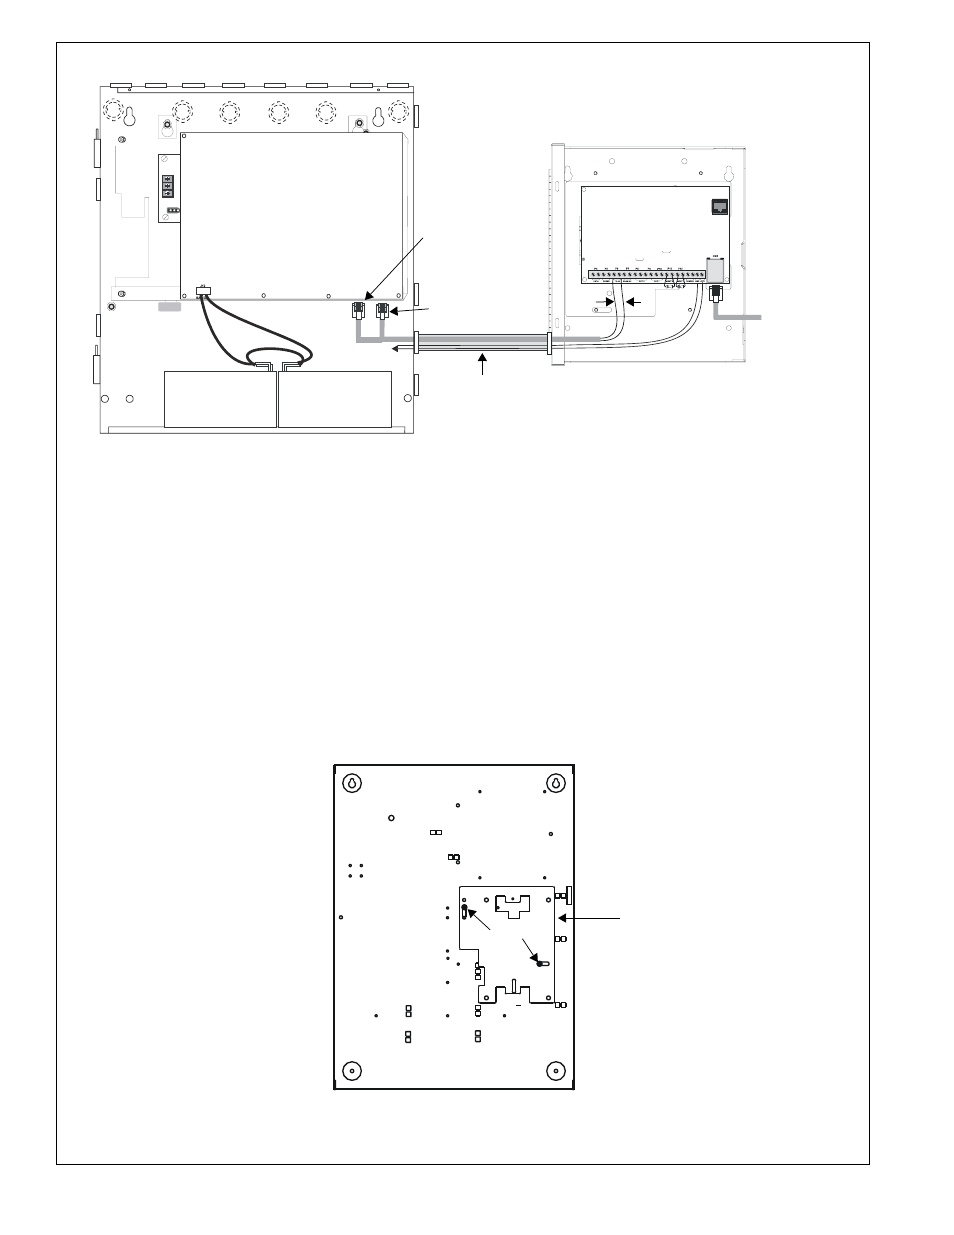
2.3 Mounting the IPDACT in the HP300ULX Power Supply Enclosure
The IPDACT Series can be mounted inside the HP300ULX power supply enclosure as described below.
1.
Position the IPBRKT bracket mounting hole and slot over the two mounting holes in the HP300ULX backbox. Use
the landmarks illustrated in Figure 12 to locate the correct mounting location.
2.
Secure the IPBRKT bracket to the backbox by installing the supplied screws into the top left hole and bottom right
slot of the IPBRKT as illustrated, and tighten.
FACP
Main Circuit Board
Primary
Phone Line
†
Secondary
Phone Line
†
FACP Backbox
IPDACT-2(UD)
24 VDC*
RJ45
Ethernet/
Internet
Connection
Figure 11 IPDACT-2 and IPDACT-2UD Connections to FACP
to AP
to AP
*FACP Power Supply requirements- refer to the table
on page 1 for each version of the IPDACT Series.
†
Refer to Tables 1 and 2 for applications where the phone lines
must be connected to an installed UDACT/DACT-E3.=
IPENC
Enclosure
IP
2
UD-E
NCFto
FAC
P
2
a
.wm
f
metal conduit (6” max. when
using the supplied phone
cables). Longer distances (up
to 20’ within the same room)
is acceptable when
supplemental phone cables
are used.
IPBRKT
Bracket
screw
Figure 12 HP300ULX Installation
HP
30
0U
LX
in
st
a
ll1
.wmf