Paint the model cover the model with monokote, Film – Great Planes Patriot XL Kit - GPMA0450 User Manual
Page 38
❏
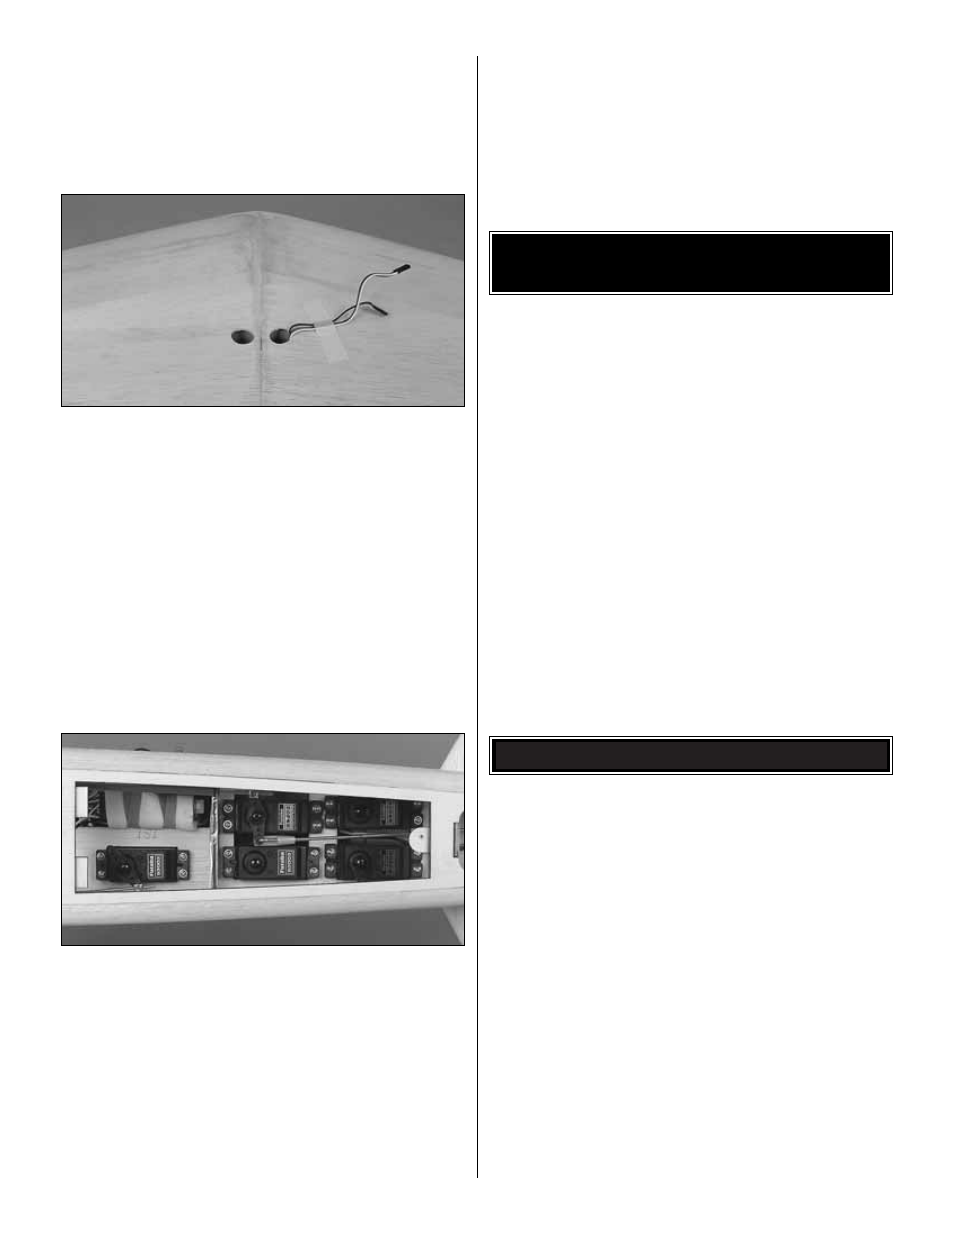
4. Route the servo leads through the holes provided in
the wing ribs and out through the holes you made. TIP: We
used a wheel collar tied to the end of a piece of string to
route the servo leads out of the wing. Drop the wheel collar
in through the holes you just made and out to the servos. Tie
the leads to the wheel collar and pull back through.
❏
5. Tape the servo leads to the wing and repeat for the
other side.
❏
6. Reattach all control horns on the model.
❏
7. Reinstall the aileron servos and pushrods.Temporarily plug
the aileron servos into the receiver and plug the battery into the
receiver. Turn on the transmitter and center the aileron trims.
❏
8. Reposition the servo arms and clevises as needed to
make the servo arm perpendicular to the servo case and
the surface centered. Check that both servos move the
correct direction, remembering that the wing is upside-
down. (Reverse the servo direction in the radio if required.)
Turn off the transmitter and unplug the battery and receiver.
Set the wing aside for now.
❏
9. Wrap the receiver in 1/4" [6mm] foam and secure with
rubber bands. The thickness of the foam will hold the
receiver in place once it is in place. TIP: We set the receiver
in place and then marked the location for the power switch.
When the power switch is installed, the receiver is held in
place by the switch body.
❏
10. With the model upside-down in a stand and using the
plans as a reference, locate the pushrod tube exit on
the model’s left and right side under the stab. Slice the
covering along these openings to allow the pushrods to
leave the fuselage.
❏
11. Plug the servos and battery into the receiver. Turn on
the transmitter and center the all of the trims. Center the
control surfaces and connect the clevises to the control horns.
❏
12. Route the antenna forward through the center of
the plane.
Cover the model with Top Flite MonoKote Film using the
recommended covering sequence that follows. Before you
cover the fuselage, first apply 1/4" [6mm] wide strips of
MonoKote film in the corners of the stab and fuse and the
fin and the fuse, then proceed to cover the fin and stab with
pre-cut pieces that meet in the corners and overlap the 1/4"
[6mm] strips. Never cut the covering on the stab and fin
after it has been applied except around the leading and
trailing edges and at the tips. Modelers who cut covering
on top of the wood structure may cut through the covering
and into the stab or fin. This will weaken the structure to a
point where it may fail during flight.
The colors given below are suggested to match the scheme
on the box:
Aluminum (TOPQ0205, 2 rolls)
Royal Blue (TOPQ0221, 1 roll)
White (TOPQ0204, 1 roll)
Missile Red (TOPQ0201, 1 roll)
After the model is covered, you must fuelproof the firewall.
You may do so with fuelproof model paint, 30-minute epoxy
thinned with alcohol, or finishing resin.
Top Flite LustreKote fuelproof paint is recommended for
painting all the ABS plastic parts. At least one coat of
LustreKote primer is highly recommended to fill any small
scratches left from sanding as well as small pin holes in the
filler. Wet sand between coats with 400-grit sandpaper and
apply a second coat of primer if necessary. If the parts are
primed properly, a few light coats of color will quickly provide
you a beautiful match to the MonoKote.
The colors given below are suggested to match the scheme
on the box:
Jet White (TOPR7505)
Aluminum (TOPR7506)
Royal Blue (TOPR7519)
Missile Red (TOPR7502)
PAINT THE MODEL
COVER THE MODEL WITH
MONOKOTE
®
FILM
38