Install the abs plastic details – Great Planes Patriot XL Kit - GPMA0450 User Manual
Page 36
❏
5. Now that the cowl halves are joined, sand each joint
lightly so any filler used will adhere. We recommend filler
such as Bondo or Squadron White Putty. We used
Squadron Green Putty for clarity in photos. When the filler
has dried completely, wet sand with 400-grit sandpaper to
get the cowl ready for priming.
❏
6. Make a cutout in the cowl to allow the engine to clear
the cowl. An easy way of doing this is: While the engine is
mounted, take a large piece of leftover balsa (or
heavyweight paper), and tape it to the side of the fuselage.
Mark the location where the engine contacts the balsa and
cutout the shape. Then remove the engine, leaving the balsa
taped to the fuse. Slide the cowl into place and trace the
outline of the engine onto the cowl. Cut away the area
marked by your template.
❏
7. Remount the engine and test fit the cowl. Make any
adjustments necessary to clear the engine.
❏
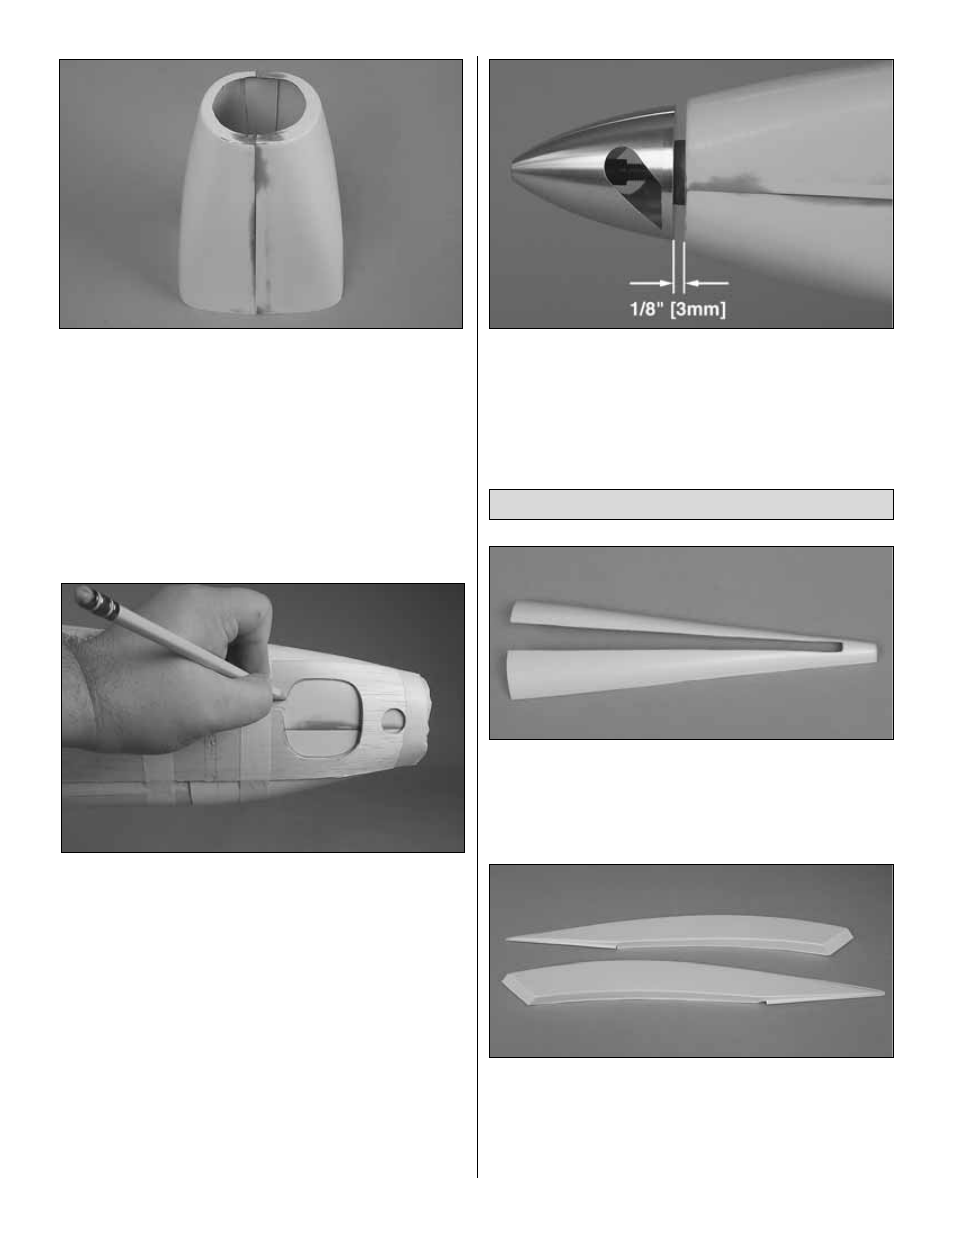
8. Attach the spinner backplate to the engine crankshaft.
The spinner backplate should be approximately 1/8" [3mm]
in front of the cowl. Once the cowl is in place, attach it to the
fuselage using #2 x 3/8" screws and #2 washers.
❏
9. Prime and paint the cowl to match the model.
❏
1. Cut the ABS tail fairing just outside of the cut lines.
The lines are there as a “guide” for a proper fit. You may
need to trim more or less depending on how you shaped the
turtle deck. Test fit and trim as needed. It should look close
to the photo above.
❏
2. Cut the side air intakes along the cut lines. Test fit and
trim as needed to resemble photo.
❏
3. Cut the tail cone approximately 1/4" [6mm] longer than
the cut line. This gives you some play in getting the cone to
fit. Test fit and trim as needed for a good fit.
Install the ABS Plastic Details
36