Charge the batteries – Great Planes F4 Phantom - GPMA0440 User Manual
Page 45
Note: This section is VERY important and must NOT be
omitted! A model that is not properly balanced will be
unstable and possibly unflyable.
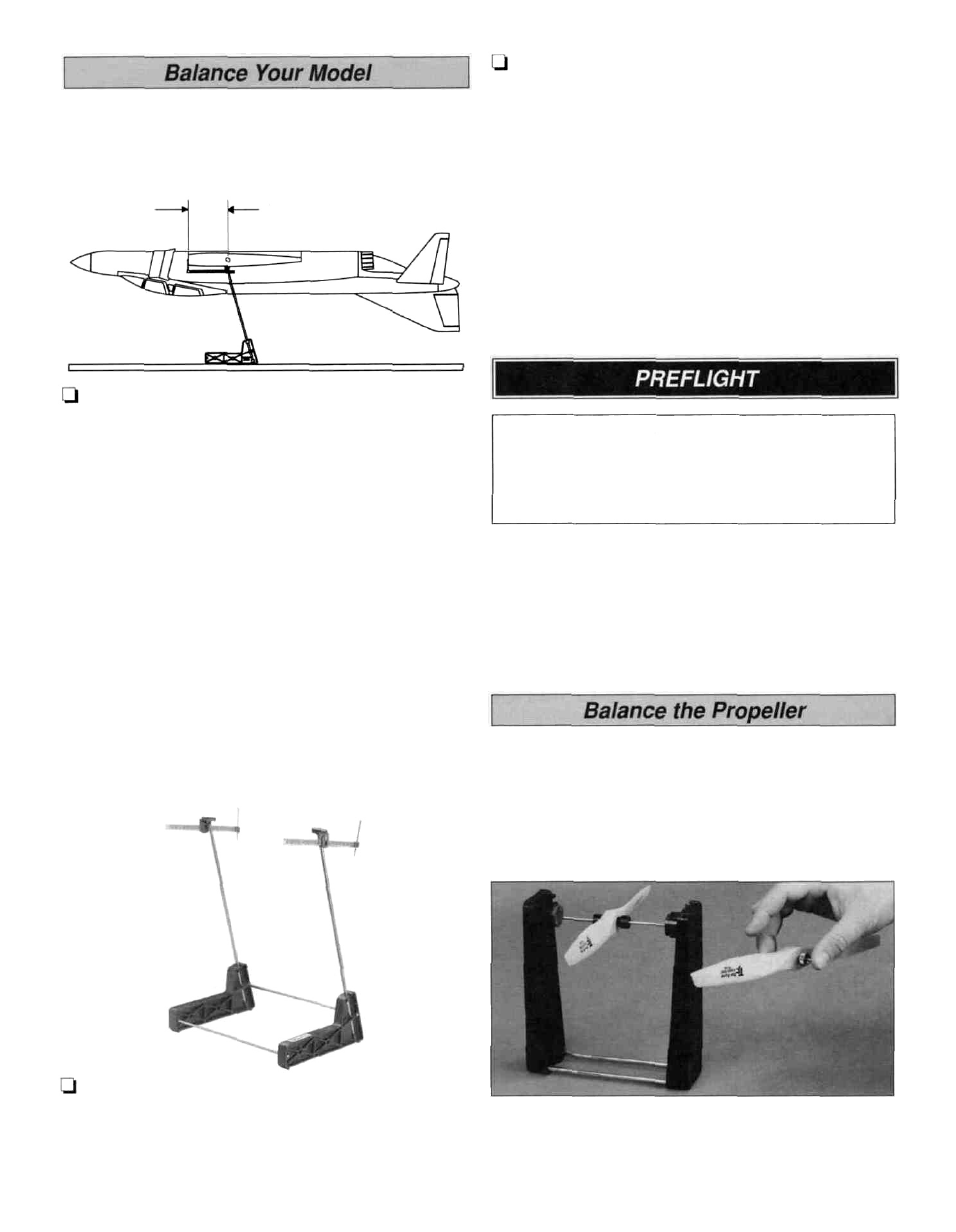
10-7/8"
1. The balance point (C.G.) is located 10-7/8" back
3. Place the model on the balancer at the balance point.
If the tail drops, the model is "tail heavy" and you must add
weight to the nose to balance the model. If the nose drops,
it is "nose heavy" and you must add weight to the tail to
balance the model.
Note: If possible, first attempt to balance the model by
changing the position of the receiver battery and receiver. If
you are unable to obtain good balance by doing so, then it
will be necessary to add weight to the nose or tail to achieve
the proper balance point. Nose weight may be easily installed
by using a "spinner weight" or gluing lead weights to the
firewall. Tail weight may be added by using Great Planes
(GPMQ4485) "stick-on" lead weights. Later, if the balance is
O.K., you can glue the weights to the radio tray permanently.
from the leading edge of the wing, next to the fuse sides as
shown in the sketch and on the fuselage plan. Accurately
mark the balance point on the top of the wing on both sides
of the fuselage. Use thin strips of tape or a felt-tip pen to
make the marks.
Hint: Reference the full-size fuse plan to help you locate
the proper balance point. This is the balance point at which
your model should balance for your first flights. After initial
trim flights and when you become more acquainted with
your F-4, you may wish to experiment by shifting the
balance up to 5/16" forward or backward to change its
flying characteristics. Moving the balance forward may
improve the smoothness and stability, but the model may
then require more speed for takeoff and may become more
difficult to slow for landing. Moving the balance aft makes
the model more agile with a lighter, snappier "feel" and
often improves knife-edge capabilities. In any case, please
start at the location we recommend. Do not at any time
balance your model outside the recommended range.
2. With the wing attached to the fuselage, all parts of the
At this time check all connections including servo horn
screws, clevises, servo cords and extensions. Make
sure you have installed the nylon retainers on the
Screw-Lock Pushrod Connectors and the silicone
retainers on all the clevises.
Charge the Batteries
Follow the battery charging procedures in your radio
instruction manual. You should always charge your transmitter
and receiver batteries the night before you go flying and at
other times as recommended by the radio manufacturer.
Carefully balance your propellers before flying. An unbalanced
prop is the single most significant cause of vibration. Not only
may engine mounting screws vibrate out, possibly with
disastrous effect, but vibration may also damage your radio
receiver and battery. Vibration may cause your fuel to foam,
which will, in turn, cause your engine to run lean or quit.
model installed (ready to fly) and an empty fuel tank, hold
the model upside down with the stabilizer level. The Great
Planes CG Machine'" (GPMR2400) w o r k s great for
balancing the model.
We use a Top Flite Precision Magnetic Prop Balancer
(TOPQ5700) in the workshop and keep a Great Planes
Fingertip Balancer (GPMQ5000) in our flight box.
45