Great Planes F4 Phantom - GPMA0440 User Manual
Page 20
Perform the following operation in a well ventilated
area with a fan directing the air flow away from you.
D. Starting at the LE, flow thin CA into the cloth. Smooth
the cloth down with the squeegee as you work toward the
TE. Avoid standing directly over the work, as the CA
fumes can be quite irritating to your eyes and nose.
E. Allow the CA to cure naturally without using any
accelerator. When thoroughly cured, lightly sand the
edges with 150-grit sandpaper to remove any edges.
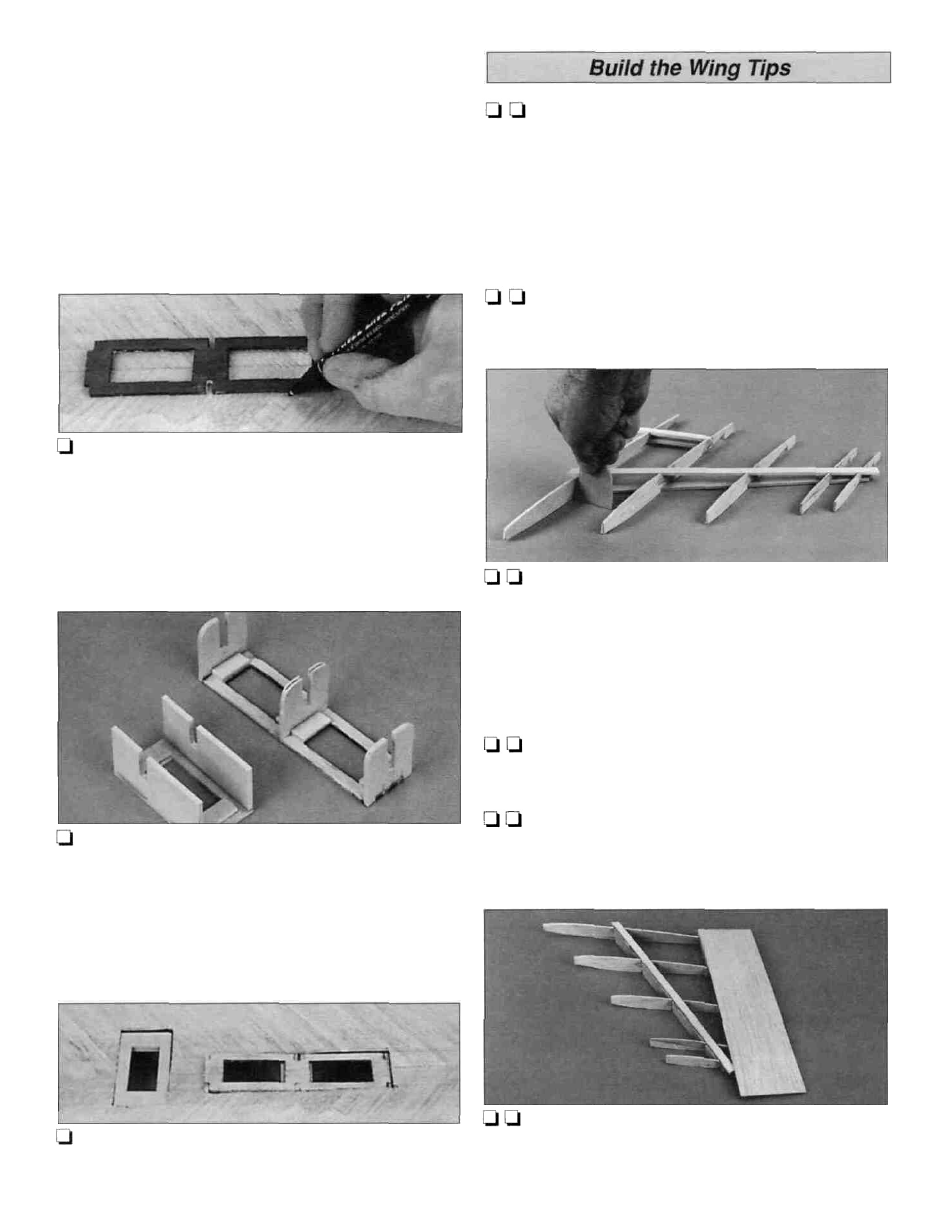
1. From a 1/8" x 3/8" x 23-7/8" balsa spar cut the
forward and aft bottom main spars slightly longer than
the lengths shown on the wing tip plan. Use the
cross-pinning technique to pin the root of the forward main
spar over the wing plan. Place a leftover piece of 1/16"
balsa sheet under the tip of the main spar to raise the spar
to meet the notch in the rib. Pin the spar to the building
board. Use leftover balsa to raise the aft spar to meet the
notches in the rib. Pin the aft spar to the building board.
13. Place the die-cut 1/8" plywood aileron servo tray
on top of the marks you made in step 16 of Sheet The Top
Of The Wing. Mark the outside perimeter of the tray and
cut the wing sheeting from inside the lines. If you are
installing mechanical retracts, perform the same procedure
for the retract servo tray. If you are installing pneumatic
retracts, the control valve and mini servo are installed in
the fuselage.
over the plan, perpendicular to the building board.
3. Cut the forward and aft top spars from a second
2. Pin the die-cut 3/32" balsa ribs T-3 through T-6
14. Glue the die-cut 1/8" plywood aileron servo tray
supports to the middle and ends of the aileron servo tray.
Make sure the supports are perpendicular to the tray. Glue
the servo tray doublers against the supports. If installing
retracts, glue the die-cut 1/8" plywood retract servo tray
supports to the side of the die-cut 1/8" plywood retract
servo tray. Glue the servo tray doublers flush with the end
of the servo cut-out.
15. Trim the balsa from over the servo locations in ribs R-1.
Glue the servo trays to the ribs.
1/8" x 3/8" x 23-7/8" balsa stick. Position the forward spar
on the ribs. Use the die-cut 1/8" plywood rib gauge to set
the angle of rib T-2. Place the gauge between ribs T-2 and
T-3 with the base against the bottom of rib T-2. With the
remaining ribs perpendicular to the building board and the
spars seated in the notches, glue the top and bottom spars
to the ribs.
4. Trim and qlue the 3/32" x 2-1/4" x 3" balsa shear
webs, perpendicular, to the front of the forward main spars.
5. Move any pins from behind the aft main spars to in
front of the aft main spars to hold the jig tabs against the
building board.
6. From a 1/16" x 3" x 30" balsa sheet, cut a 12" long
TE sheet. Glue the TE sheet to the aft end of the wing tip,
starting at the front of the aft main sub spar.
20