Great Planes F4 Phantom - GPMA0440 User Manual
Page 23
3. Slide the die-cut 1/8" balsa aileron sub LE over the
ribs and glue the ribs and aileron sub LE to the aileron sheet.
Note: The sub LE angles aft slightly.
4. Cut a torque rod block from the 3/8" x 3/4" x 8"
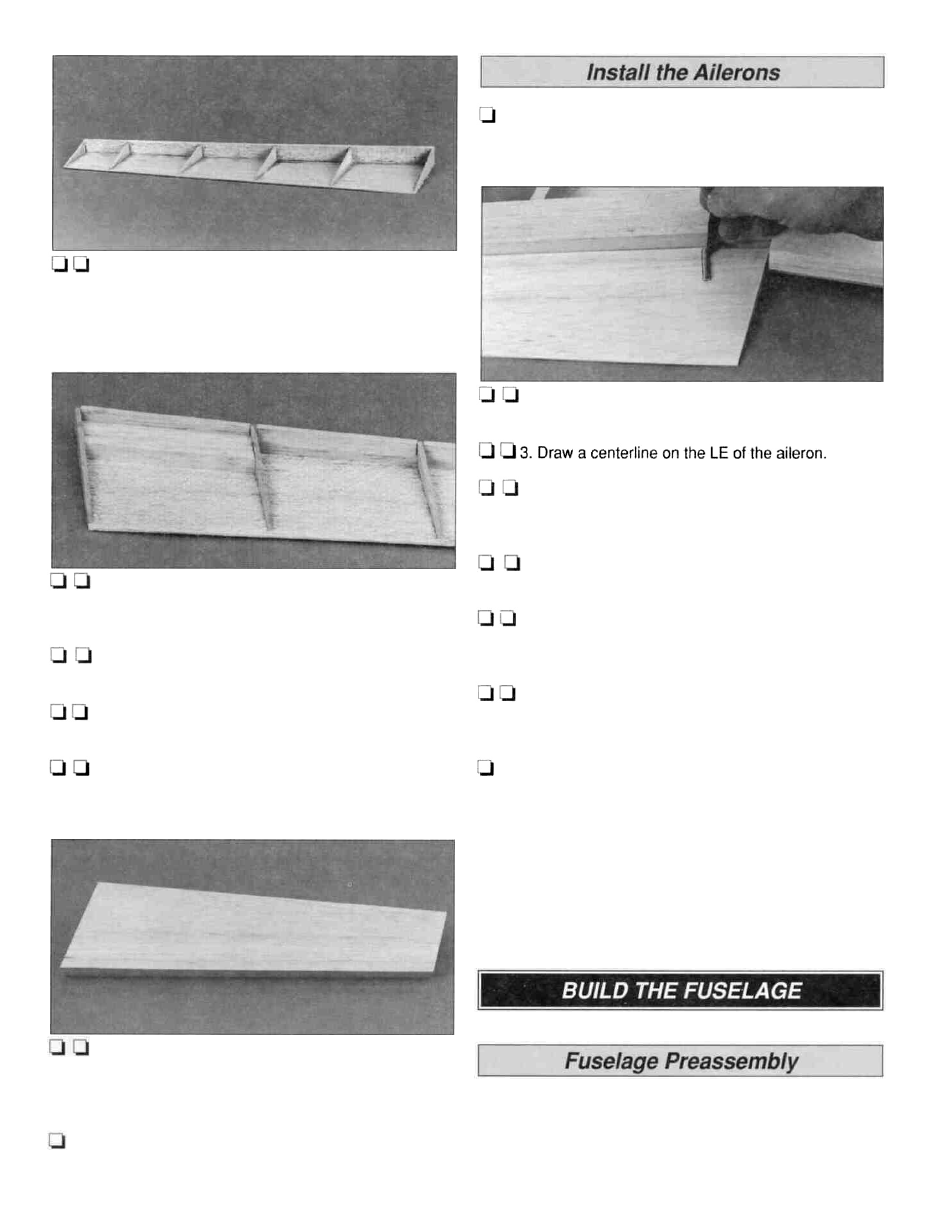
1. Check the fit of the ailerons between the wing tips and
the wing center TE plate. A gap of 1/32" to 1/16" at each end
is large enough to allow for covering without binding.
2. Place the left aileron on the trailing edge of the
wing and mark the location of the torque rod.
4. Drill a 1/8" hole on the centerline for the aileron
torque rod. Use sharpened 1/8" and 3/16" brass tubes to
cut a groove in the LE for the aileron torque rod.
5. From the leftover hinge material, cut three
aileron hinges.
balsa stick. Glue the block in the corner between ribs A-1
and A-2.
6. Mark the location for the hinges on the aileron and
5. Sand the TE of the aileron sheet to match the
wing. Cut the hinge slots, and without using glue, test fit the
aileron onto the wing.
6. Glue the second die-cut 1/16" balsa aileron sheet to
angle of the aileron ribs.
the top of the aileron ribs, sub LE and bottom aileron sheet.
7. Remove the aileron from the wing. Mark the "bevel
to" lines and trim the LE of the aileron to a "V" as shown on
the plan.
7. Sand the aileron sub LE and the top and bottom
8. Perform steps 2 through 7 to fit the right aileron onto
sheet flush. the wing.
Great looking w i n g ! Now the only section left is the
easy-building fuselage.
8. Glue the 3/8" x 7/8" x 13-1/2" balsa aileron LE
onto the front of the aileron sub LE. Sand the LE flush with
the top and bottom aileron sheet and ribs A-1 and A-6.
9. Go back to step one of this section and build the
opposite aileron.
Completely read this section on Fuselage Preassembly and
test fit all the parts. These parts require the strength and
working time of 30-minute epoxy glue. This extra working
time will allow you to assemble most of the parts at once.
23