Cockpit & seat, Glue canopy in place – Great Planes F-15 Eagle 40 Kit - GPMA0438 User Manual
Page 46
D 2 Using a small stick, work a generous
amount of 30 minute epoxy into the aileron torque
rod holes Push the ailerons and aileron hinges
into place and wipe off all excess epoxy Now
carefully position the ailerons so they have the
correct spacing at the root and tips Glue the
hinges in place using 4 to 6 drops of thin CA on
each side of each hinge Quickly wipe off any
excess glue that does not soak into the wood
THERE SHOULD BE NO HINGE GAP!
THERE SHOULD BE NO HINGE GAP!
THERE SHOULD BE NO HINGE GAP!
D 3 Install the rudders and securely glue the
hinges with thin CA Reinstall the rudder horns
COCKPIT & SEAT
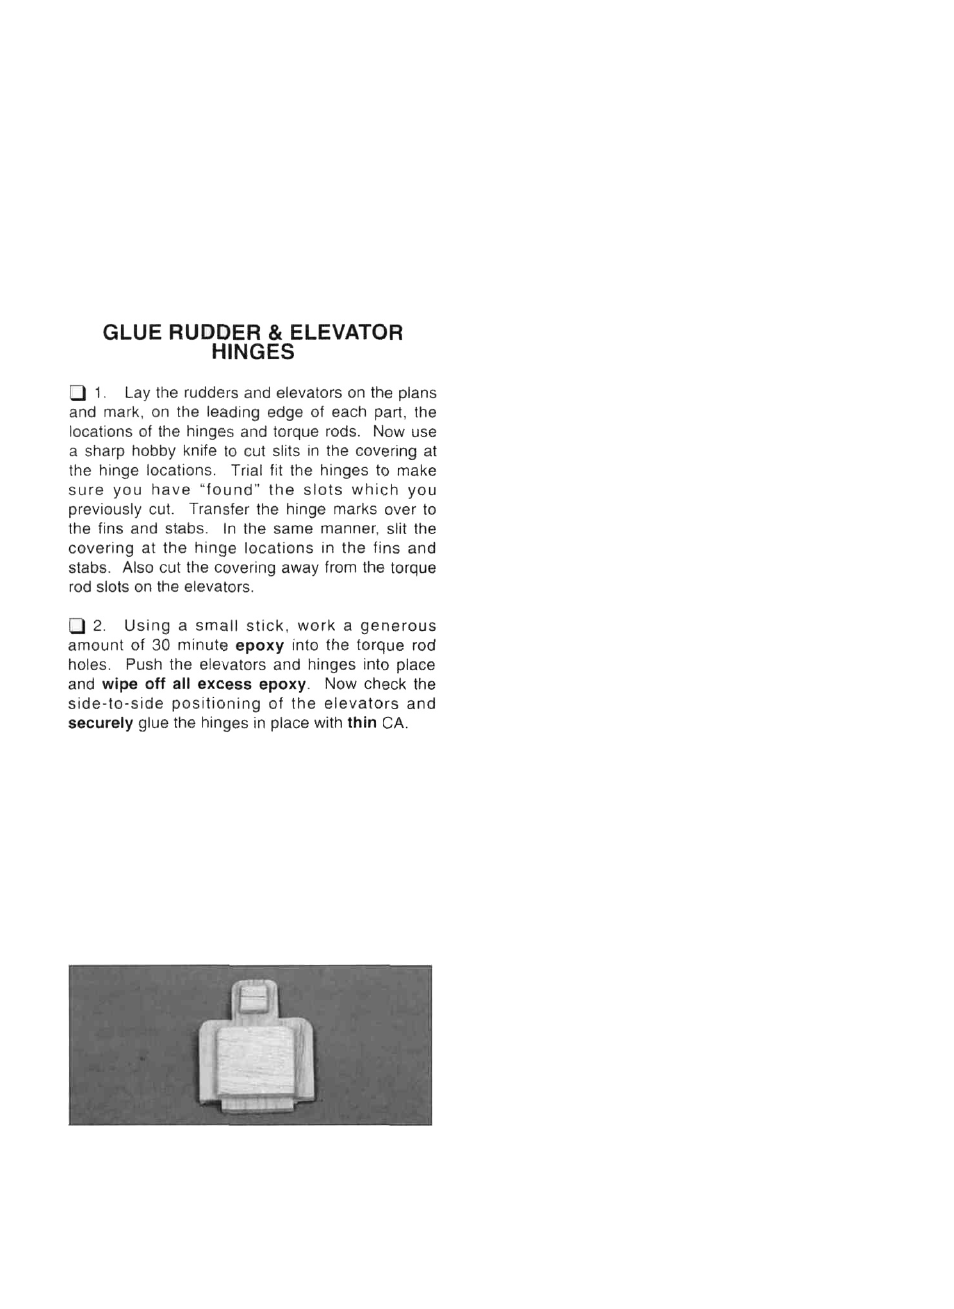
D 1. Locate the three die-cut 1/8" balsa pilot
seat parts (two sets included, but only one is
needed) found on the die-cut sheets F154F03,
F154F06 and F154F13 Sand one set smooth and
round off the edges of the parts Glue them
together as shown in the photo Glue the seat in
the remaining slot in the cockpit bottom.
D 2. Position the canopy in place and hold it
down while you trace around the front of it with a
fine tip permanent marker Paint the cockpit and
the top of the fuselage (in front of the dash) to
within 3/8" of the line you just drew (we used flat
black) Rubbing alcohol will remove the
permanent marker when you're done
D 3. Assemble and paint the pilot We used a
Williams Bros. #171 1-1/2" scale Military pilot.
Securely glue him to the cockpit bottom It is a
good idea to scrape or sand the paint off the
cockpit bottom where the pilot will be attached, for
a good glue bond.
D 4. Cut the instrument panel decal out of the
decal sheet and stick it in place
GLUE CANOPY IN PLACE
D 1. Install the wing on the fuse with the nylon
bolt and set the canopy in place Poke pinholes
(1/8" apart) through the covering material in the
area where the canopy will be glued to the
fuselage and the wing Lightly sand a strip
approximately 1/4" wide along the inside edge of
the canopy to help the glue stick to it Carefully
clean the canopy and the cockpit to remove any
dust.
D 2. Apply a bead of thick CA around the top of
former F3 Place the canopy on the fuselage and
v e r y c a r e f u l l y apply small amounts of thin
viscosity CA glue around the edges Do not glue
the canopy to the wing yet! To control the
amount of CA, it is very helpful to use the small
diameter Teflon applicator tubing which is
supplied with most CA glues Allow plenty of time
for the CA to fully cure Do not use accelerator
spray on the canopy. Take your time on this
step' If you have a preferred method of gluing the
canopy in place, feel free to use it Many modelers
use Wilhold R/C 56 to attach canopies.
45