Glue the stabilizers in place – Great Planes F-15 Eagle 40 Kit - GPMA0438 User Manual
Page 25
D 2. Wrap the battery in at least 1/4" of latex
foam rubber and secure the foam with tape.
D 3. Slide the battery down behind the elevator
servo and route the battery wire up between the
rudder and throttle servos. Glue a scrap piece of
balsa from F6 to the servo tray to hold the battery
in place.
D 2. Using the long piece of wood (aileron)
across the stabs as a guide, adjust the stabs until
they are level with each other and the wing saddle
(sight from behind the plane when doing this).
Securely glue the stabs to the fuse sides, the
turbine sides, the stab braces and the formers.
D 3. Insert the torque rods into place and
temporarily install the elevators and hinges. Make
sure the torque rods fit nicely and the elevators
move freely without binding anything. Also make
sure that both elevators are aligned with each
other when the threaded ends of the torque rods
are aligned.
GLUE THE STABILIZERS IN PLACE
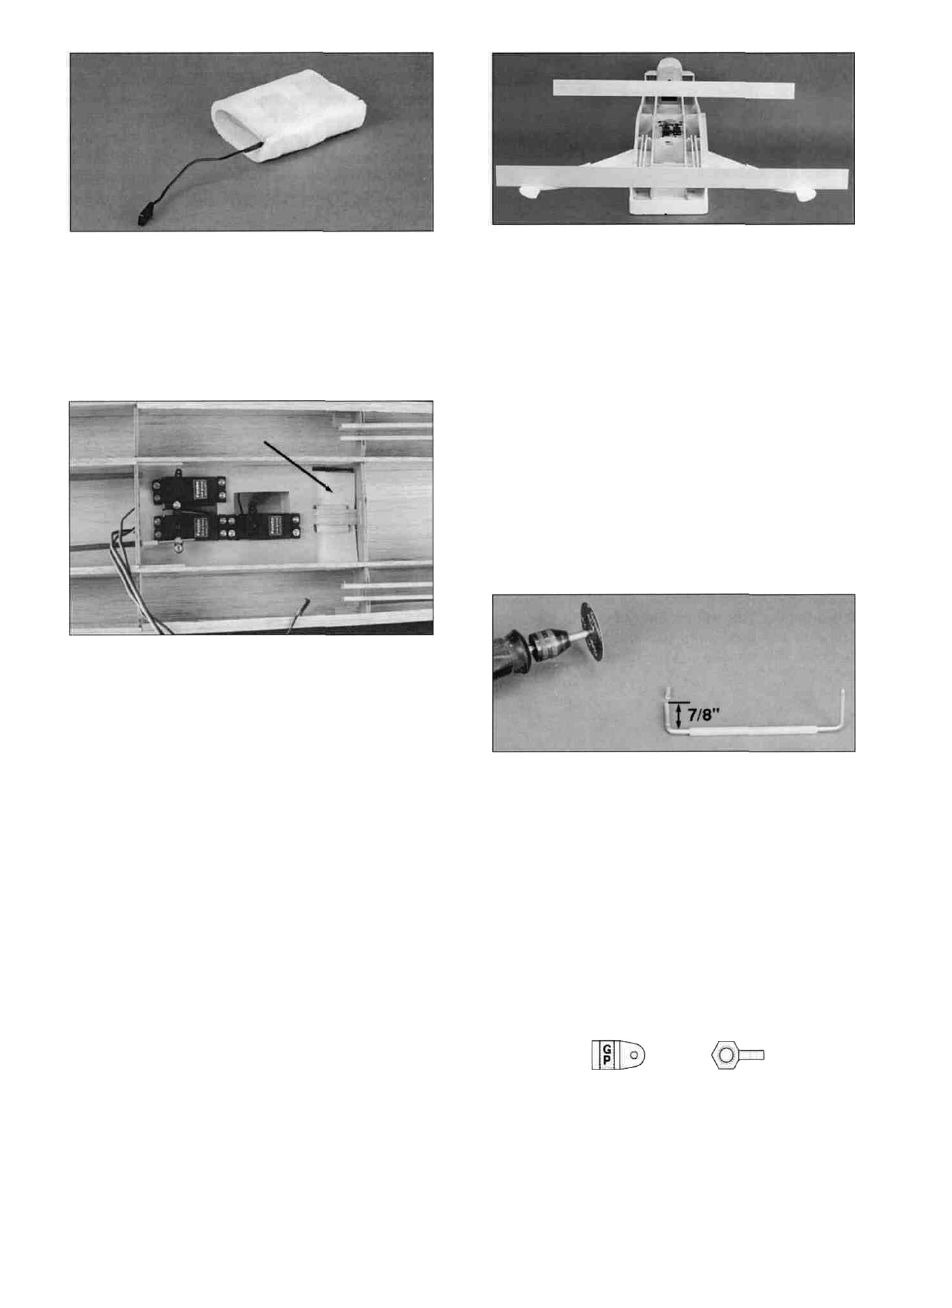
D 4. Cut off the threaded end of the torque rod
7/8" above the bend as shown in the photo. Clean
up the cut with a file or cut-off wheel so the threads
are not damaged. Scuff up the outside of the
nylon bearing with sandpaper and then slide the
bearing tube down towards the threaded end of
the torque rod. Apply a small amount of vaseline
on each end of the bearing tube to prevent glue
from getting inside the bearing.
D 1. Sand the aft part of each turbine side
smooth. Slide the stabs into their slots until they
butt up against the fuse sides. Make sure the stabs
are all the way forward in their slots. Lay an
aileron or other long straight piece of wood across
the stabs as shown in the photo. Lay another
straight piece of wood across the fuselage wing
saddle.
D 5. Use the 6-32 thread-cutting screw
(SCRW103) to tap the holes in two of the nylon
torque rod horns (NYLON95).
24