Formatting a diskette – Toshiba V1100 User Manual
Page 37
Attention! The text in this document has been recognized automatically. To view the original document, you can use the "Original mode".
The scroll lock light glows when you press Scroll Lock. See your
software documentation for details on this key.
Formatting a diskette
It is common to purchase diskettes preformatted; however, you may
want to format a used diskette for reuse.
Formatting a diskette erases all information currently on the diskette. Do
not format a diskette unless you are sure it is blank or contains only files
you no longer need.
Before formatting a diskette:
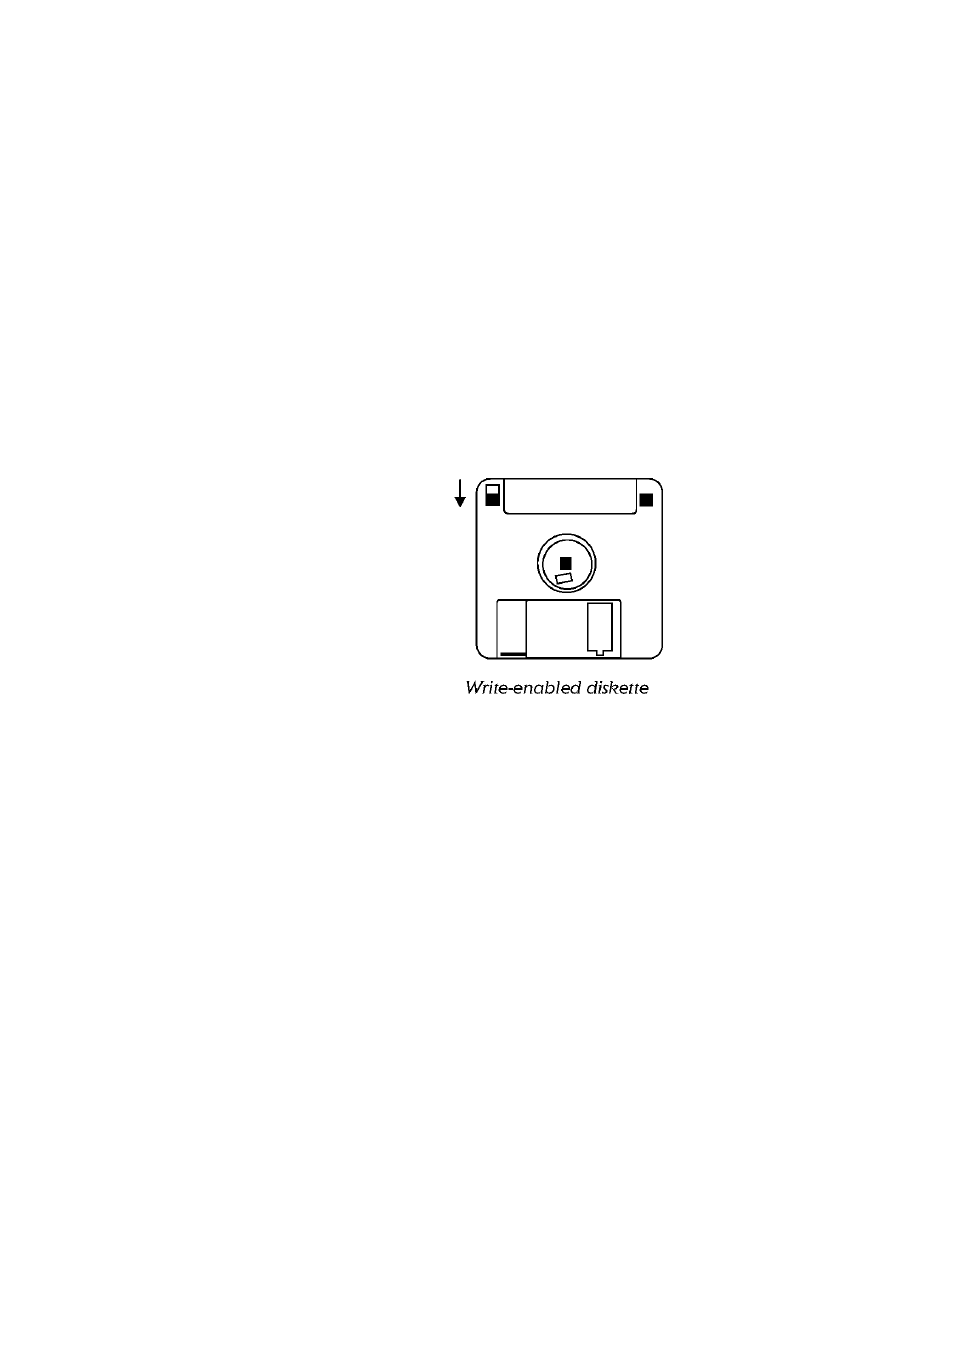
□ Set the diskette to write-enabled. The tab at the left corner of the
diskette should cover the square hole.
□ Check that the diskette does not contain information you may need.
Insert the diskette in the drive, click
Start
, point to
Programs
, click
Windows Explorer
and click the
A:
drive to see what the diskette
contains.
To format the diskette:
1. Double-click the My Computer icon.
2. Click
A:
with the secondary button, then click
Format
.
3. Make sure the options in the
Format
dialog box are set correctly,
especially the
Capacity
option.
You cannot format 720 KB diskettes for 1.44 MB.
Click
Start
.
Your operating system formats the diskette, displaying the
Format
Results
screen when it is finished.
Click
Close
.
Press the diskette eject button and remove the diskette from the
drive.
To format another diskette, insert it into the drive and repeat steps 4
through 6.
When you've finished formatting diskettes, click
Close
to exit the
Format
dialog box.
Close the
My Computer
window.
4.
5.
6.
7.
8.
9.
User's Manual
Learning the Basics 2-3