Operati, Topic, Solution – Kenmore 596.50003100 User Manual
Page 23: Troubleshooting, Cause, Ice & water, Possible
Attention! The text in this document has been recognized automatically. To view the original document, you can use the "Original mode".
Troubleshooting
OPERATI
TOPIC
Refrigerator runs too
frequently {continuedj
(continued)
"
possible
CAUSE
Controls need So be
0
d[uste¡i
SOLUTION
See controls section in chapter called
Installing Your
Refrigerator On
how to adjust your controls.
Door is not dosing properly
Refrigerator is not level See chapter called
installation
Insiructians
for details on how to level your unit.
Check for Internal obstructions that are keepirtg door from
dosing properly (! a Improperly dosed drawers, ice buckets,
oversized or Improperly stored containers or foodstuffs, elc.).
Ghack gaskets for proper seal. See cleaning guide in
chapter called
Hints and Care
on how to clean gaskets,
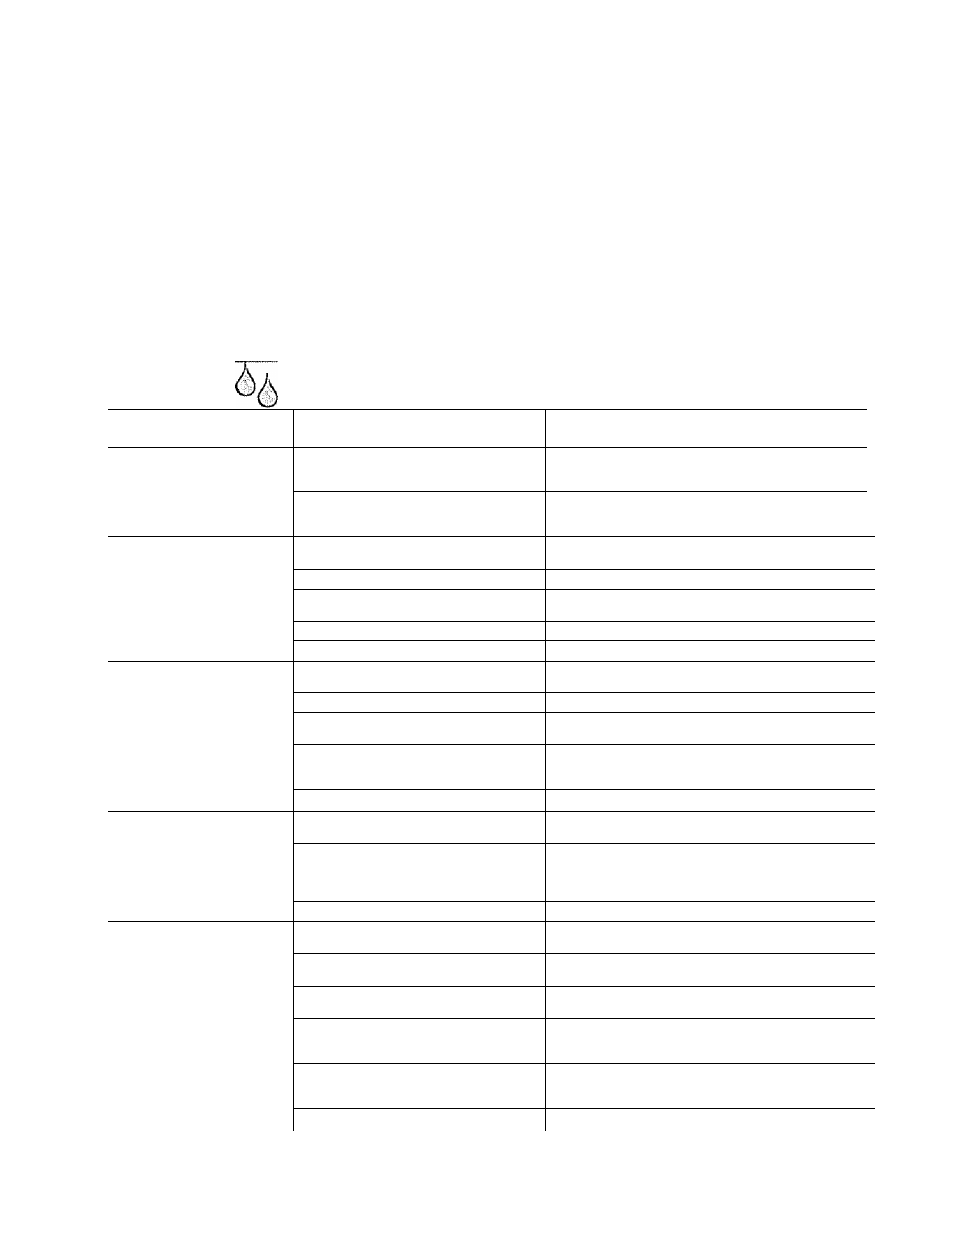
ICE & WATER
Water appears cloudy
Air Of air bubbles In water
This is norma! when first usirrg dispenser end will disappear
with use.
Parlicies in water andíor ica
Carbon dust from water filter eaiiiidga
Initial water ejected through cartridge troy contsin harmless
carbon dust flushed frotn csflridge, Parttofas are safa for
consumption. Win disappear after Ihe first few uses.
Concentratians of minerals in water will form
particles when water becontes frozen and
melts.
Rartlctes are not harmful and naturally occur In water supplies
No Indicator lights are lit on
dispensar control (some
models)
Freezer door is not closed.
Verify that freezer door is Closed Rower Is removed fmm Iris
eorttoi when freezer door is opened.
Refrlgeralor is not plugged in.
Plug in unit.
Fuse is btown. or circuit breaker needs to be
reset.
Replace any blown fuses Check circuit breakers for any
tripped circuits.
Power outage has occurred.
Call iocat power corrspany listing to report outage.
Refrigeralor is In Sabbath Mode.
See
Dispenser Features
section for further information.
Neither ice nor water ts
dispensed whert pads are
pushed (some models)
Freezer door Is not closed
Verify that freezer door is closed Power Is removed from the
contfol when freezer door is opened.
Controls are In lock mode.
Sae
Dispenser Features
section for further information.
Water tank is filling
At initial use. there is an approximete 45-second delay in
dispensing while the Interngl water tank is flltlng.
Ice maker or Ice maker-equipped unit has just
fecenlly beetr Installed or a large amount of Ice
has just been used.
Wait
24
hours for Ice production la begin and tor lea maker to
restock after emptied.
Water filter Is clogged or needs to be changed.
Change water filter
ice maker Is not producing
enough ice or ice ts malformed
{sEjETiB modsis)
ice maker has just recently been installed or a
large amount of Ice has Just been used.
Walt 24 hours for ice produciioh to begin and for ice maker to
restock after emptied.
Water pressure is too low
Low water pressure can cause valve to leak Water pressure
must be between 20 lo 100 pounds per square inch to function
property A mltrimum pressure of 3S pounds per square Inch Is
recommended for unite with water filters.
Water niter ts dogged or needs to be changed.
Change water filler.
Ice maker is not producing toe
(some models)
ice maker arm is not in correct pasiiion
Confirm ice maker arm is down See
Freezer Features
section
In your owner's íTtanuai for details.
Household water supply Is not reaching water
valve
Check water соппесИвп procedure In your
Installatlan
Instructions.
Copper or plastic tubirrg has kinks
Turn off water supply and remove kinks. If kinks cannot be
removed, replace tubing.
Water pressure Is too tow
Water pressure must be between 20 to 100 pounds per square
inch to funGlian properly, A minimum pressure of 35 pounds
per square Inch is recornmerMied for units with water filters.
Check freezer temparatufs.
See the controls section In your owner's manual for assistance
on how to adjust your controls Freezer must be between 0 to
2"F
(-18 to-irc)
to produce ice.
(00
bin Is not Installed properly
See Ice bin section for proper Installation and alignment
О
r
№
X
2.3