Introduction – Carl Goldberg GBGA1092 User Manual
Page 3
3
USING THIS INSTRUCTION MANUAL
Before you begin assembling your Heritage Series
Skylane 62 ARF, take some time to read through this
entire instruction book. It is designed to take you step-
by-step through the process and to give you added infor-
mation on engine and radio selection and set-up, bal-
ancing your aircraft, and flying your model. The time you
spend will speed the assembly process and help you
avoid problems.
PREPARING FOR ASSEMBLY
You will need a work area of approximately 24 x 70" which has
been covered to protect it from adhesive, as well as cuts and
other damage. Many people cover their work area with a
sheet of dry wall (sheet rock) and/or waxed paper t o
prevent Zap CA and Epoxy from ruining the work surface.
CONSTRUCTION TIPS
IMPORTANT: ALWAYS READ A FEW STEPS AHEAD.
This will alert you to coming instructions and will help you
plan accordingly.
Using the Parts Identification section, familiarize yourself
with the various items included in your kit box.
As you work, CHECK OFF EACH STEP in the box pro-
vided, so that you are sure you do not forget anything.
Do not hesitate to ask questions. Your local hobby deal-
er and area flyers will most likely be happy to help, as
they want you to have a successful flying experience.
You may also receive technical assistance from Carl
Goldberg Products via e-mail (carlgoldbergproducts.com)
INTRODUCTION
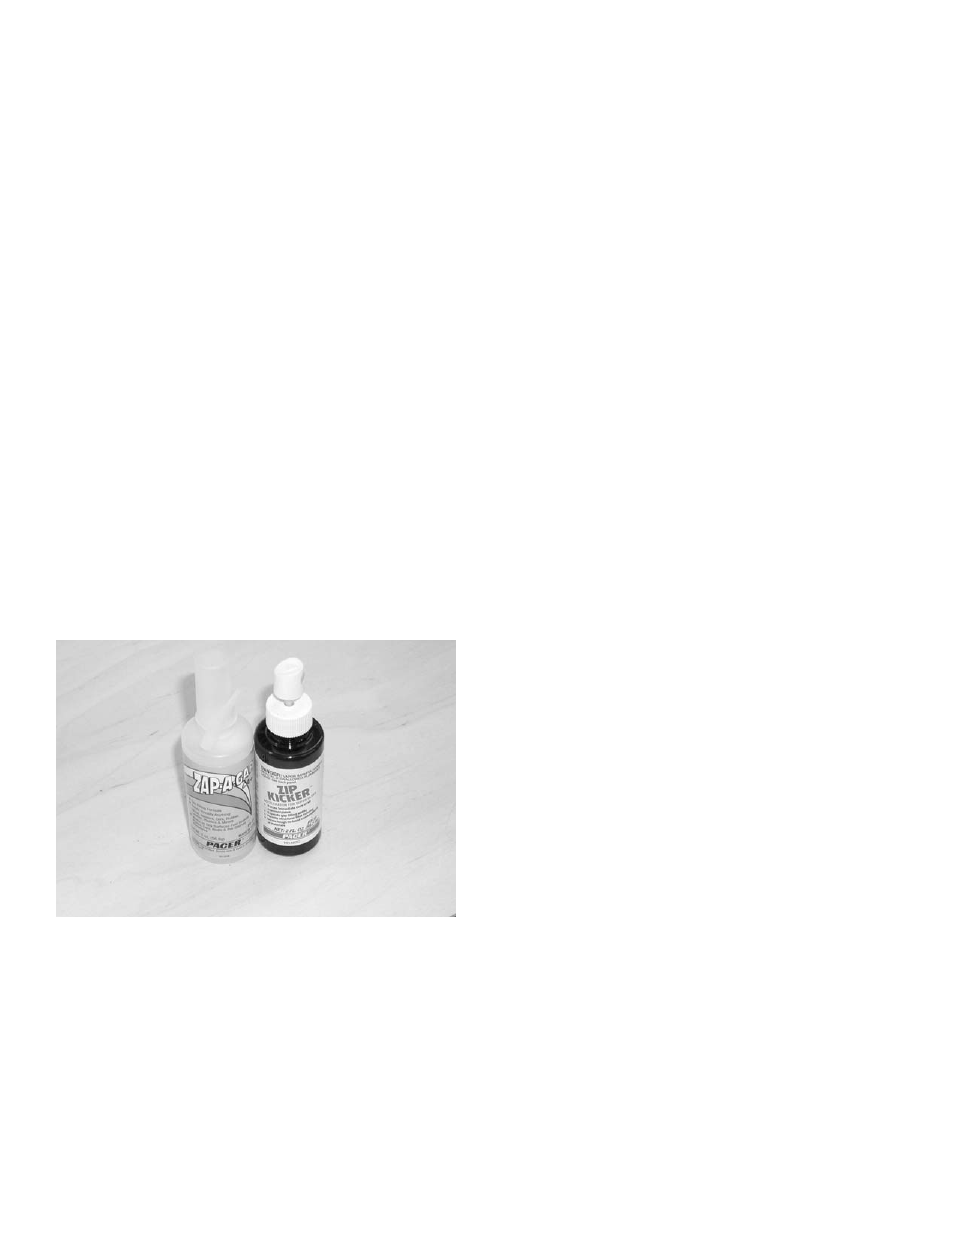
ADHESIVES & GLUING TECHNIQUES
The ZAP family of adhesives are specially formulated to
firmly glue the plywood, hardwood, and balsa used in your
model and to withstand the vibration and stresses of high
performance flight. ZAP A GAP CA is perfect for most
jobs. However, there are times, such as when you are
installing the stabilizer and fin on the fuselage and want
more set-up time for careful alignment and positioning,
then you should use ZAP ZPOXY™.. Occasionally, you
also will want to use ZAP Super Thin™, which "wicks" into
the surrounding areas. Aliphatic resin glue or similar
water-based glues can also be used, but they will add to
the assembly time because they dry so much more slow-
ly than ZAP A GAP. Remember, whenever using any CA,
you must be careful to read instructions thoroughly, as
you will have only seconds for positioning of parts. Be
sure to trial fit parts together before gluing. Also, never
use watery THIN type CA glue for gluing plywood and
hardwood parts. Thin CA's do not adequately bond
these areas.
CAUTION
Some people may experience an allergic reaction when
exposed to fumes from CA glue or epoxy. As with paints,
thinners, and solvents, it is always important to use glues
only where there is adequate ventilation to carry fumes
away. A fan is recommended. Also, special care must
be taken when using CA, as it will bond skin as well as
other surfaces. ZAP CA remover is a CA solvent which
removes hardened glue from fingers and softens glued
joints for repositioning. Before using any CA, carefully
read all label precautions. When using CA, protective
eye-wear and care in keeping the glue away from the
face is highly recommended. If CA does happen to get
into the eye, hold lid open and flush with water only.
Seek immediate medical attention.
COVERING
The Heritage Series Skylane 62 ARF is covered in premi-
um iron on film.
It is not uncommon for ARF's to devel-
op a few wrinkles in transit. If this is true of your model,
the situation is easily corrected. Before you begin putting
the pieces together, run over the surface of each section
with an iron (either specially designed for airplane use or
the more cumbersome household iron) or use a modeling
heat gun. Apply the heat (set at about 350° F), following
along with a soft cloth and pressing down on the covering
as you go around. This will more firmly set the covering
adhesive into the wood and keep your aircraft covering
tight and smooth in the future.
One of the great advantages of film is that it can be
applied over itself without causing gas bubbles. This
allows you to repair your aircraft, as well as to customize
it in a number of ways. If, due to a flight mishap, you get
a hole or similar covering damage, simply trim away the
ragged edges and then apply a patch, following the direc-
tions that come with replacement film , which is available
at your hobby dealer. In case of a major crash, where
large amounts of the film must be replaced, heat the
damaged covering and then slowly peel up. If you are
applying sufficient heat, the film will come up easily and
leave no color on the wood.