Throws – Carl Goldberg GBGA1088 User Manual
Page 29
29
7.
Install a clevis on the 6” pushrod and attach
to elevator arm on servo. Make a mark on the rod
and the dowel where they cross 1” from the end of
the dowel.
Remove the clevis from the arm and make a
90 degree bend at the mark. Cut the bend at 1/4”.
Remove the clevises from the elevator horns
and remove the pushrod from the fuselage. Drill a
.073(5/64”) hole at the mark you made and cut a slot
for the pushrod just as we did on the other end.
Attach the pushrod using CA and the shrink tube.
8.
You now have a finished pushrod. Reinstall in
fuselage using the #2 nuts on the pushrod then the
clevis. After all adjustments are made the #2 nut will
be tightened against the clevis to prevent it from
vibrating loose. Install the clevis keepers.
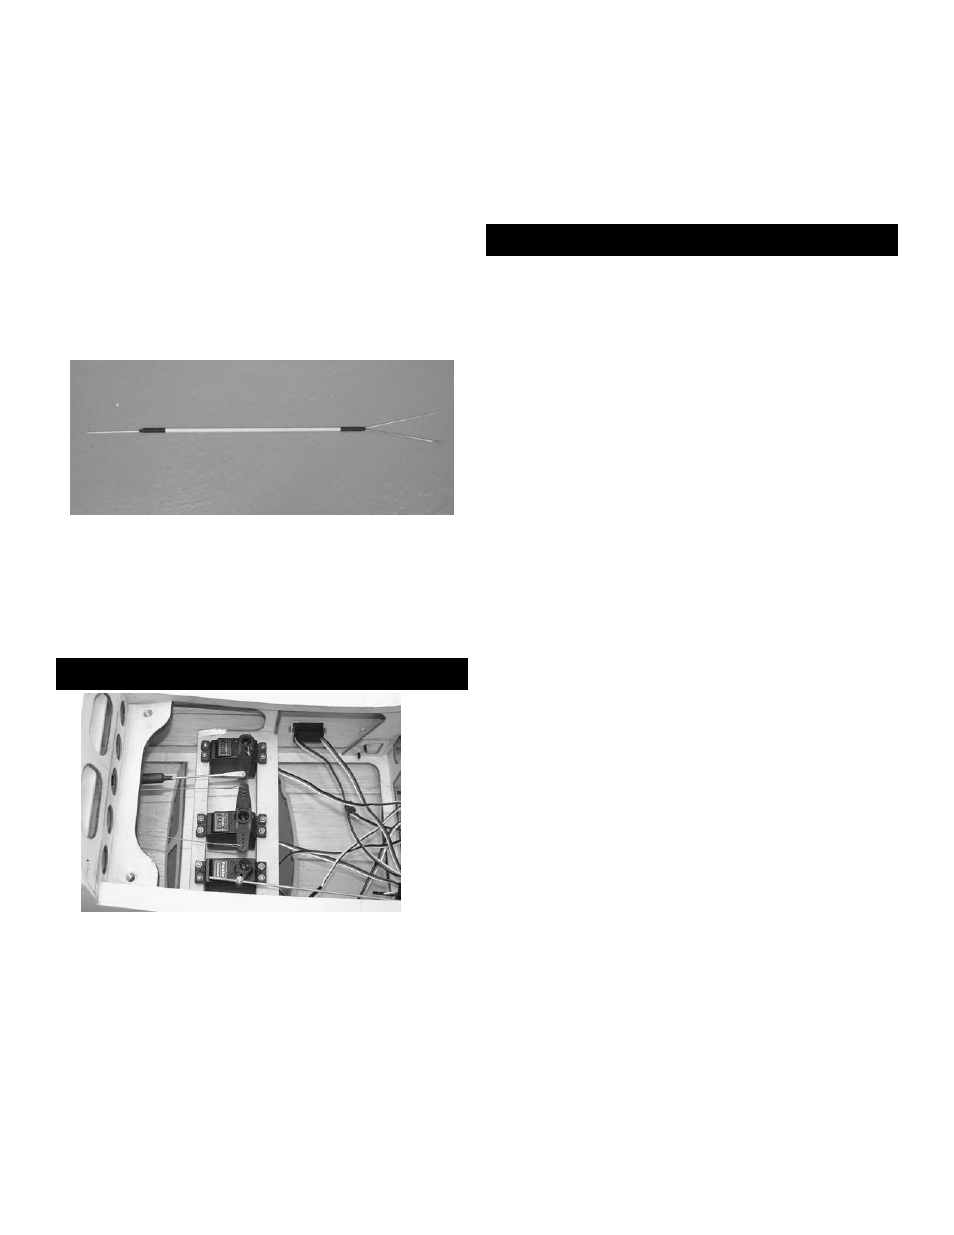
1.
Install the switch in the side of the fuselage
on the opposite side from the engine exhaust.
2.
The battery will need to be mounted accord-
ing to where your weight and balance comes out.
Ours needed to be under the servos to get the
weight to the rear. After you complete the model
decide where the best place is depending on the
engine you use.
3
There are tons of room between the servo tray
and the tank, so mount the receiver there.
Switch,Receiver,Battery
Balance and Control Throws
Throws
We have provided two sets of throws.
Use the lower throws on the first flights
then work your way up to the higher
throws. Do not use the higher throws till
you are ready.
LOW
HIGH
Elevator 1” UP& Down
All you can get
Ailerons 1/2” Up & Down
All you can get
Rudder 1-1/2” Right & Left
All you can get
When you have gotten comfortable
flying the Pitts slowly increase the throws
while still staying within your flying ability.
The Pitts was designed around a
1.20 four-cycle engine or a .90 two-cycle
engine both of these engines will give you
excellent performance. Remember, a big-
ger engine is not always better. Using a
15-8 to a 16-8 prop works well on these
engines.
Most any size spinner will work on
the Pitts, but a 3” is the right proportion
for the airplane.
The receiver should be wrapped in at least 1” of
foam rubber. You will need two Y-connectors here.
Plug one into the receiver, the other y-connector will
plug into one terminal for the bottom wing servos and
the other terminal will go to the y-connector we
installed in the fuselage for the top wing servos. Route
the antenna out the side of the fuselage and attach to
the top of the fin using a rubber band and a straight
pin.