Starting up for the first time, First display, Instrument selection display – Hardy HI 3010 Filler/Dispenser Controller User Manual
Page 26
13
CHAPTER 3
Filler
left arrow button to erase the current entry and
enter another.
Setup/3/DEF Button
This enables you to access the configuration and setup
menus. Also enters the number 3 and the letters D, E, F.
Amount/4/GHI
Enables you to change the amount of the ingredient while in
the standby mode. Also enters the number 4 and the letters
C, H, I.
Units/5/JKL Button
Enables you to change the units of measure (Lbs/Kg/oz/g)
while in the standby mode of operation. Also enters the inte-
ger 5 and the letters J, K, L.
6/MNO Button
Enters the integer 6 and the letters M, N, O.
Cycle/7/PQRS Button
Enables you to change the number of cycles (fills or dis-
penses) while in the standby mode. Also enters the integer 7
and letters P, Q, R, S.
8/TUV Button
Enters the integer 8 and the letters T, U, V.
Test/9/WXYZ Button
Enables you to enter the selftest or diagnostics mode. Also
enters the inter 9 and letters W, X, Y, Z.
User/./_/@ Button
Enables you to change the 3 digit user code while in the
standby mode. Also enters the period (.), underscore (_) and
@ symbols.
0/Char. Button
Enters the integer 0 in the display. When you push the button
the second time a set of characters appears in the display.
Step 1. Using the up and down arrow buttons move the cur-
sor in front of the character you want to display.
Step 2. Press the Enter Button to select the character.
Step 3. Press the Exit Button to return to the display. The
character should now appear next to the cursor.
Starting Up for the First Time
When the HI 3010 Filler/Dispenser powers up after delivery
from the factory, a display appears asking you to choose the
application you want to use. The Display appears in the
Front Panel Display and Web Site.
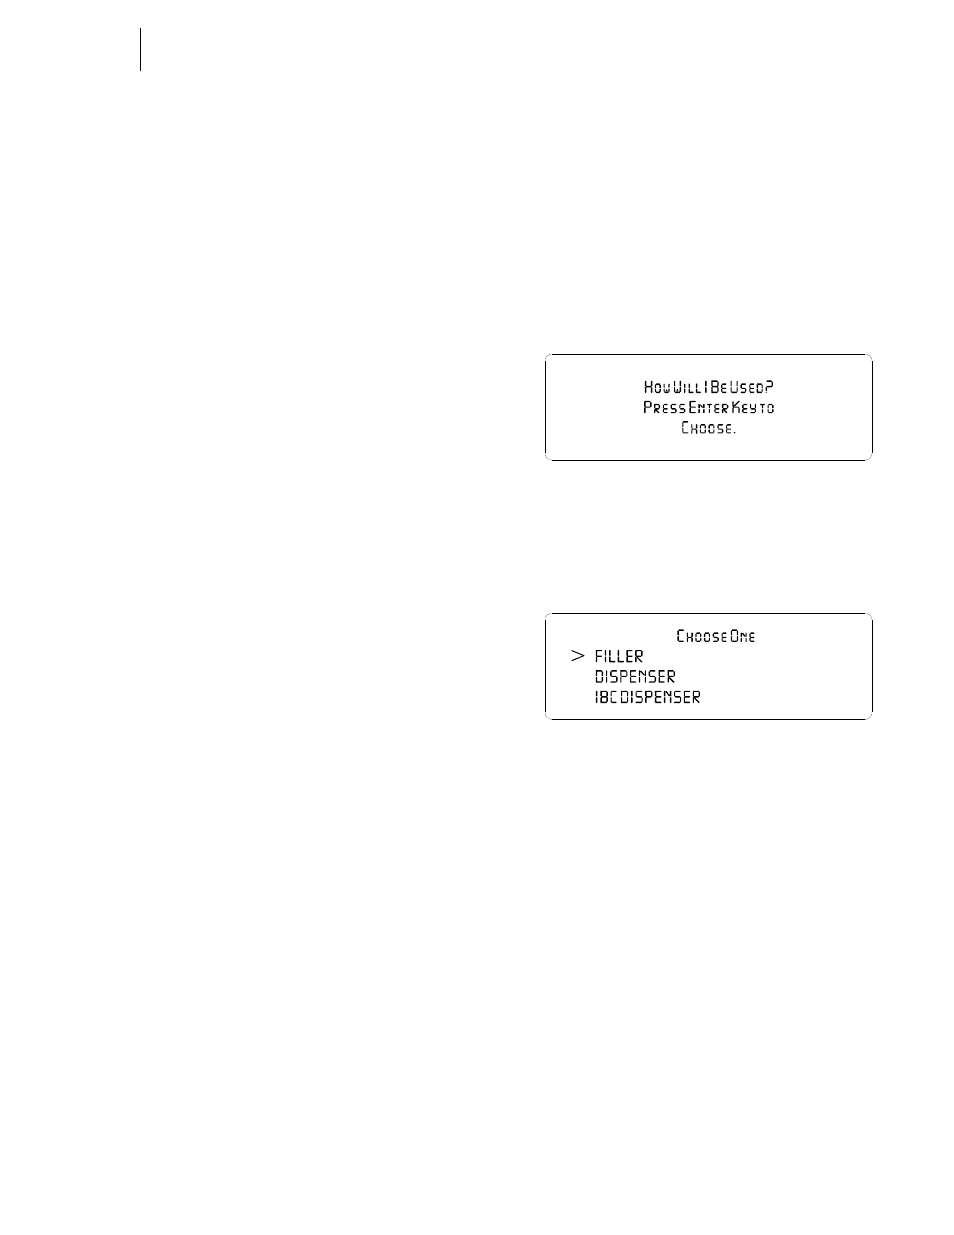
Step 1. The First display you will see on a product right
from the factory or when you change from a Filler
to a Dispenser, is the “How Will I Be Used?” Dis-
play asking you what you how to use the Filler/Dis-
penser. (See Fig. 3-5)
FIG. 3-5 FIRST DISPLAY
Step 2. Press the Enter Button from the Front Panel or left
mouse click in the Web Dialog Box. The “Choose
One” Screen appears. (See Fig. 3-6)
FIG. 3-6 INSTRUMENT SELECTION DISPLAY
Step 3. Use the up and down arrows to move the cursor in
front of the instrument you want to use. The Filler
Instrument is the default selection.
Step 4. Press on the Enter button. The Selection Alert dis-
play appears asking if you are sure you want this
instrument. (See Fig. 3-7)
•
If you are sure you want the Instrument
Selected, press the Enter Key from the
Front Panel or click on OK in Web Page.
The Standby Display appears.
•
If you are sure you DO NOT want this
instrument, or are uncertain about what
selection you have made, press the Exit
Key or left click on Cancel in the Web
Page. The Instrument Selection Display
reappears. Repeat Steps 2 and 3.