Hub removal – Cub Cadet ZT-3400 User Manual
Page 21
ZT-2800
®
/ZT-3100/ZT-3400™
19
do not use this procedure to remove the
drive wheel from the transaxle. remove the
drive wheel by removing the lug nuts.
desCripTiOn: Follow the directions below
for removal of flanged hubs from tapered axle
shafts to facilitate maintenance to bearings,
bushings and seals externally.
Note: Anytime a hub and/or hub nut is
removed, it is to be discarded and
replaced with a new hub and/or hub
nut.
warning
pOTenTiaL fOr seriOUs injUrY
inattention to proper safety, operation,
or maintenance procedures could re-
sult in personal injury, or damage to the
equipment. Before servicing or repairing
the transaxle, fully read and understand
the safety precautions described in the
transaxle service and repair manual that
pertains to the specific transaxle to be
repaired.
Note: Before using the appropriate Hub Re-
moval Tool, apply a thin coat of anti-
seize to the bolt threads. Thread the
bolt in and out of the Hub Puller prior
to using it for the first time.
1. With the vehicle engine placed in the “OFF”
position, chock the front wheels, engage the
parking brake. Raise the vehicle drive tires
off the ground and remove the lug nuts from
the vehicles’ drive wheel/hub studs.
2. Remove the hex retaining nut (3/4-16) from
the center of the axle hub and discard.
3. Back out the hub removal tool bolt with a
1-1/8” socket before installing the hub re-
moval tool to the axle hub.
HUB reMOVaL
4. Insert the hub removal tool over the flange
wheel hub studs. Install lug nuts and secure
evenly. Torque to 100 lb-in. (11.3 Nm).
5. Tighten the 1-1/8” socket head center bolt
evenly and slowly. Note: This pressure will
separate the hub from the tapered axle.
6. Remove the lug nuts and separate the hub
removal tool from the flanged hub and dis-
card the “old” flanged hub and replace with
a new flanged hub.
7. Refer to the appropriate manual / schemat-
ics for parts, repair procedures and proper
torque during reassembly of the flanged hub
to the tapered axle.
8. Install wheel and rim and torque lug nuts.
Reference applicable vehicle service man-
ual for proper lug nut torque.
9. Lower the vehicle to the ground, remove
chocks. Note: Brake will still be in engaged
mode.
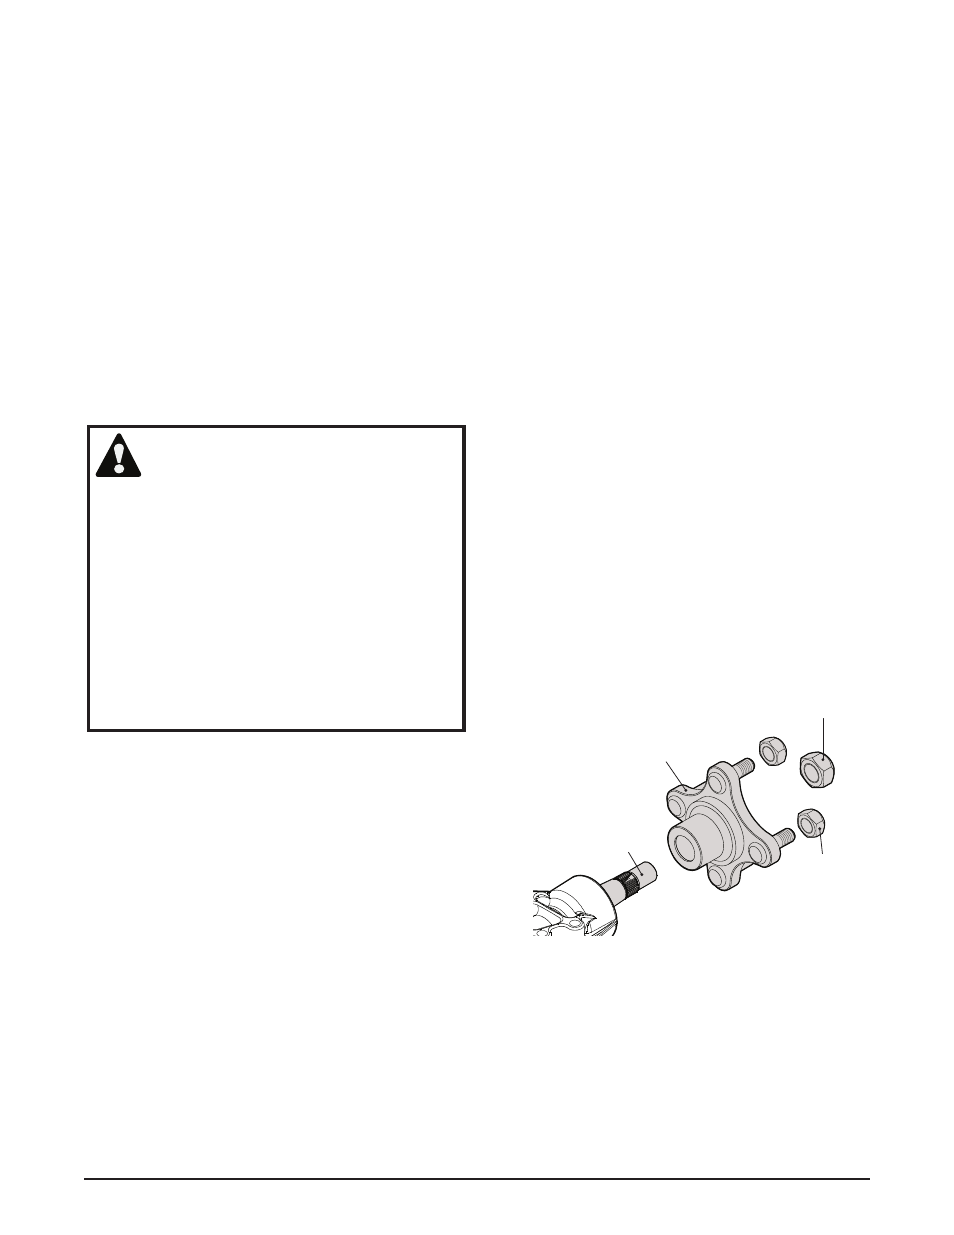
figure 14, Hub assembly
Hub Retaining Nut
Flanged Hub
Axle Shaft (94)
Lug Nut