Cannon Instrument CAV-2000 User Manual
Page 116
CANNON
®
Automatic Viscometer Models CAV-2100 and CAV-2200 with VISCPRO
®
Instruction & Operation Manual
Version 2g — May, 2009; CANNON
®
Instrument Company
2139 High Tech Road • State College, PA 16803 • USA
110
NOTE
For some data output options, you will need to select the desired output
field length using the spin controls
provided in the Format Data
Output window. Experienced users may type code directly into the text
box by placing the cursor at the appropriate point. The text box informa-
tion may also be manipulated using the mouse click-and-drag technique
to highlight data and then using standard Windows
®
cut (
C
C
C
C
C-X), copy
(
C
C
C
C
C-C), and paste (C
C
C
C
C-V) keyboard combinations. In this way, format-
ting data can easily be copied from one port configuration to another.
Adding a header
g. If you would like to include a header at the beginning of the
analysis, click the Header button and add the desired text string
via the keyboard. Format the entry as desired using the Carriage
Return (CR) and Line Feed (LF) options as necessary to indicate
line breaks. Then click OK.
Adding a footer
h. If you would like to include a footer at the end of the analysis,
click the Footer button and add the desired text string via the
keyboard. Format the entry as desired using the Space, Carriage
Return (CR) and Line Feed (LF) options. Then click OK.
(Space—Inserts a blank space, CR—Inserts a carriage return
code, and LF—Inserts a line feed code)
NOTE
If you have selected the Dynamic Update option using the Date tab
options, the footer will not be sent until the analysis window is closed.
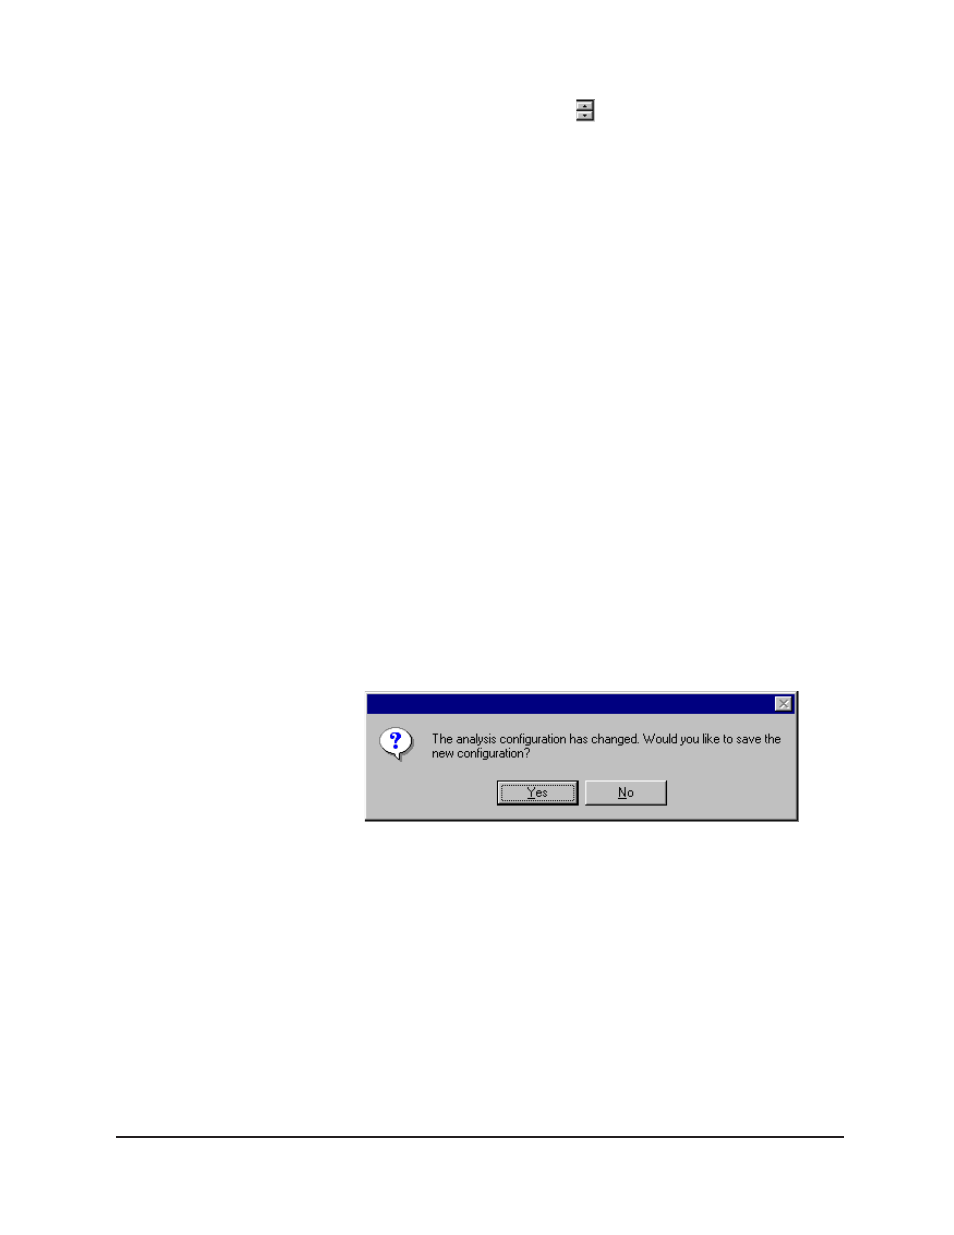
8. When you have completed the configuration, click OK. Serial data
will be routed to the appropriate ports/files and you will be prompted
to save the configuration.
9. If you do not wish to save the configuration, click No. The analysis
will be displayed and the data will be sent to the selected ports. If
you wish to save the configuration, click Yes. The Save Configura-
tion window will appear. Type the name of the new configuration in
the Save As: field. Or double-click the name of a preexisting
configuration in the Existing Configurations list box to replace the
existing configuration with the new configuration settings. Then
click OK. The saved analysis will be displayed using the selected
configuration settings, and the data will be sent to the selected ports.
NOTES
You may click Cancel from the Save Configuration window to exit without
saving configuration changes.