Unit and cassette information, Erase protection (record tab), Maximum record/playback time – Panasonic OMNIVISION PV-M2057 User Manual
Page 41: D.s.t. (daylight saving time), Spring (first sunday in april), Autumn (last sunday in october), Self-demo mode, Reset all combination vcr memory functions, Head cleaning, Head clog sensor
Attention! The text in this document has been recognized automatically. To view the original document, you can use the "Original mode".
Unit and Cassette Information
Erase Protection (Record Tab)
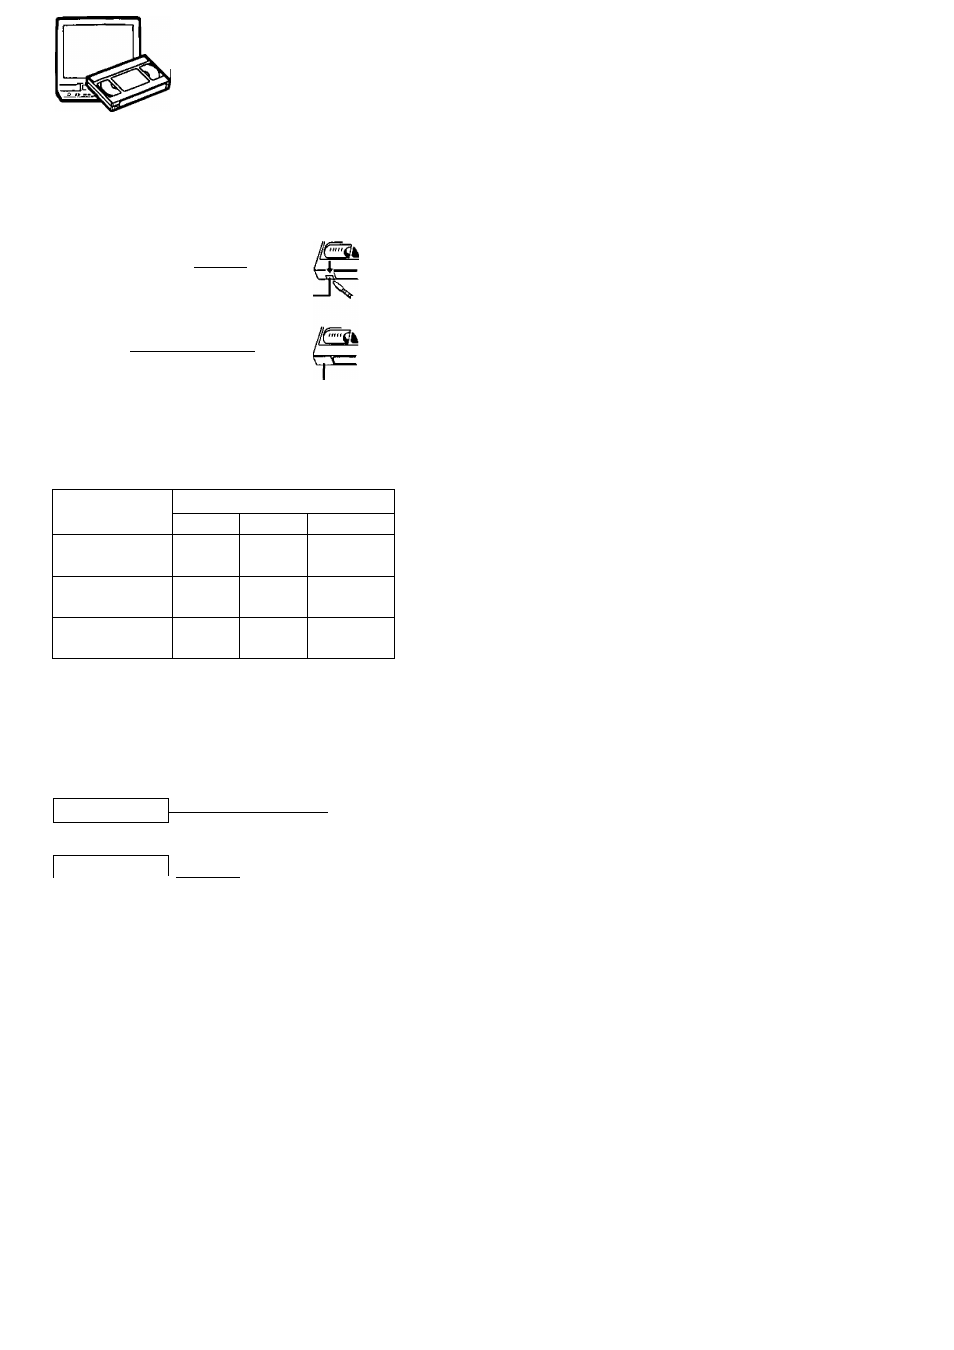
Cassettes have a record tab to ensure that
recordings are not accidentally erased.
To prevent accidental
erasure, break off the tab
with a screwdriver.
To record again, cover the
hole with cellophane tane.
[ Maximum Record/Playback Time
Only use tapes with theSySI mark in this unit.
Tape Speed
Setting
Type of Video Cassette
T60
T120
T160
SP
(Standard Play)
1 Hour 2 Hours
2 Hours
40 minutes
LP
(Long Play)
2 Hours 4 Hours
5 Hours
20 minutes
SLP
(Super Long Play)3 Hours 6 Hours
8 Hours
[ D.S.T. (Daylight Saving Time)
spring (First Sunday in April)
When the Combination VCR is set to DST:ON, the
clock is automatically advanced an hour.
NORMAL TIME
1:00
a.m.
2:00
a.m.
DAYLIGHT
-------
^
SAVING TIME
3:00 a.m. 4:00 a.m.
Autumn (Last Sunday in October)
When the Combination VCR is set to DST:ON, the
clock is automatically turned back one hour.
DAYLIGHT
SAVING TIME
1:00 a.m. 2:00 a.m.
NORMAL TIME
1:00 a.m. 2:00 a.m.
SELF-DEMO MODE
In Power ON condition, hold down PLAY/REPEAT
or VOLUME UP/DOWN on the Combination VCR,
with no tape inserted, for 5 seconds. The demo
screen appears.
To cancel: Repeat the above operation. The demo
screen disappears.
Reset all Combination VCR Memory Functions
Use when moving the Combination VCR to a new location, or if a
mistake was made in the One Time Setup section.
• Make sure a tape is not inserted in the Combination VCR.
1) Push POWER to turn the Combination VCR on.
2) Hold down both the PLAY and REW buttons on the
Combination VCR for more than 5 seconds.
• The power will shut off.
3) Turn the power back on and perform the One Time Setup
section on page 8.
Head Cleaning
Your Combination VCR will not normally require head cleaning,
however the heads may become clogged when playing an old
or damaged tape.
V I DEO HEADS MAY
NEED CLEANING
PLEASE INSERT HEAD
CLEANING CASSETTE
OR REFER TO MANUAL
END:PLAY KEY
Head Clog Sensor
If head cleaning becomes necessary,
the Combination VCR will display the
screen at right during playback of a
recorded signal. To exit this screen,
push PLAY on the remote control or
Combination VCR.
• Use “dry” type head cleaning cassette* only.
• Be sure to follow the cleaning cassette instructions carefully.
Excessive use of a cleaning cassette can shorten head life.
• If using a head cleaning cassette does not solve the
problem, contact your nearest Factory Service Center or
authorized Service Center. (See page 43.)
’Cleaning cassette part No. NV-TCL30PT is recommended.
Product Specifications
Display
Picture Tube:
VCR
Video Recording System;
Audio Track;
Tuner:
Broadcast Channels:
CATV Channels:
FM Radio
Band range:
20 inch measured diagonal 90'^
deflection Picture Tube
4 rotary heads helical scanning system
1 track
VHP 2-13, UHF 14-69
Midband A through I (14-22)
Superband J through W (23-36)
Hyperband AA-EEE (37-64)
Lowband A-5-A-1 (95-99)
Special CATV channel 5A (01)
Ultraband 65-94, 100-125
87.5-108.1 MHz
General
Power Source:
Power Consumption:
120V AC, 60 Hz
Approx. 110 watts (Power on)
Approx. 7 watts (Power off)
EIA Standard NTSC color
2 pieces
4rF-104°F (5°C-40°C)
10%-75%
51.7 lbs. (23.5 Kg)
20-3/10” (W) X 19-4/5” (H) X 19-1/10” (D)
515 (W) X 503 (H) X 484 (D) mm
Note; Designs and specifications are subject to change without notice.
Television System:
Speaker:
Operating Temperature:
Operating Humidity:
Weight:
Dimensions:
41