Audio dubbing, Preparations, Operations – Panasonic NV-HS950AM User Manual
Page 39: Display symbols, Note, Mn^j crcrccrccrrrcc, Nnnj
Attention! The text in this document has been recognized automatically. To view the original document, you can use the "Original mode".
Audio Dubbing
The audio dubbing is made on the normal audio track and
erases the original sound on this track. On Hi-Fi audio
tracks, however, the original sound is maintained.
Preparations
•Insert a recorded cassette with an intact erasure
prevention tab.
•Select the video source required by pressing INPUT
SELECT to set A1, A2 or A3.
A1: Through the AV1 (TV) socket.
A2: Through the AV2 (DECODER/EXT) socket.
A3: Through the AV3 {AUDIO IN) sockets.
1
m n n
3
4
nnnj'
\ i n
TO
E T g r c c r p c r r r g g
□ □ A.DUB
> A.DUB
I
Operations
Display Symbols
1
1
1
'mn^j
crcrccrccrrrcc
1
Search for the starting point for audio
dubbing.
CO
C
o
S
CD
§
CD
O
c
§
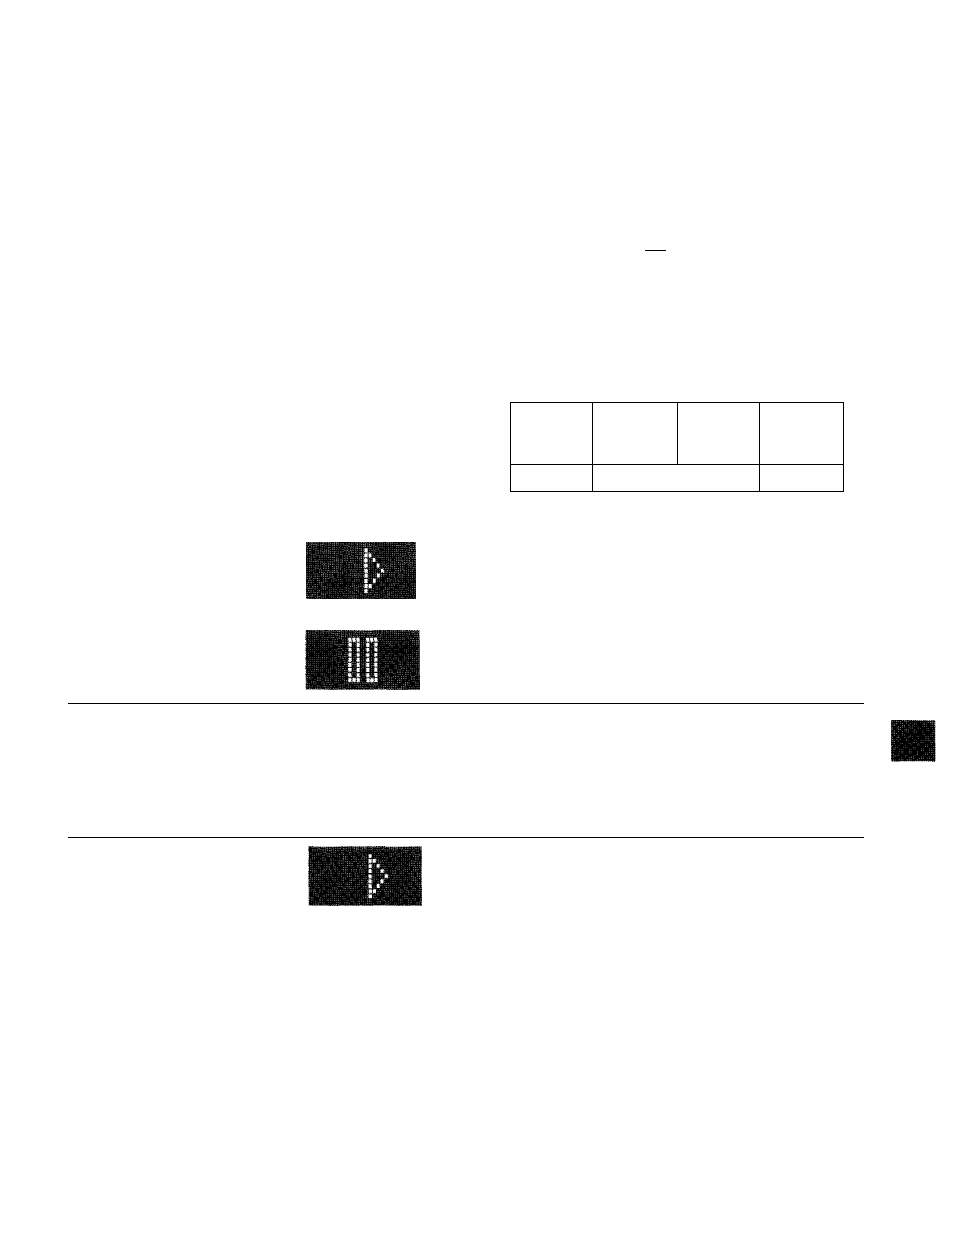
Press
11 (PAUSE/STILL)
at the starting
point.
3
Set for audio dubbing by pressing
AUDIO
AUOlO
DUB.
o
•On some televisions, the screen image may become
unstable or begin to scroll at this point. However, this is
not an indication of a malfunction,
•The AUDIO DUB indicator will light.
Start recording the new sound by pressing
II (PAUSE/STILL).
•Stop recording by pressing STOP.
Note:
The new sound will be recorded on the normal sound
track of the tape, and the original sound will remain on the
Hi-Fi sound track. Only monaural sound recording is
possible on the normal sound track.
To hear the new sound, select the normal sound track by
pressing AUDIO OUT.
To hear the new sound and original sound mixed together,
set Audio System to HIFI-MIX. (See page 23.)
39