Preparations, On screen display, Note – Panasonic NVHD650 User Manual
Page 28: Insert editing
Attention! The text in this document has been recognized automatically. To view the original document, you can use the "Original mode".
Insert Editing
This is used to substitute one scene for another providing.
Preparations
• Insert a recorded cassette with an intact erasure
prevention tab.
•Select the video source required by pressing INPUT
SELECT to set A1 or A2.
A1: Through the AVI (AUDIO IN/VIDEO IN) sockets.
A2: Through the AV2 (AUDIO IN/VIDEO IN) sockets on
front panel.
1
OD-
2
► DOO-.OO.OO
I I *
INSERT-
-OD
OD 0:00.00 B
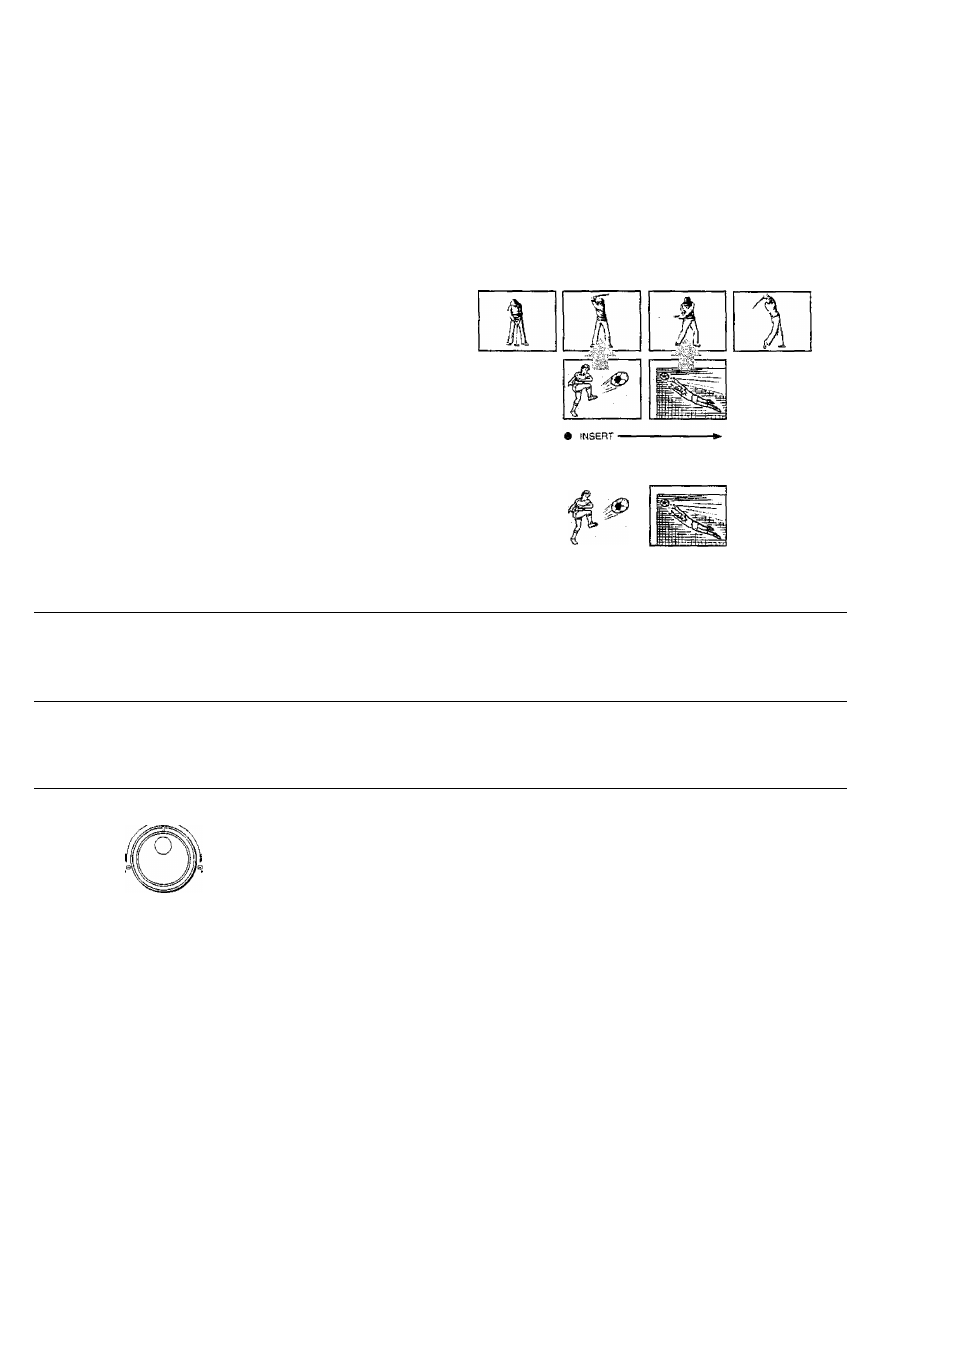
Operations
Display Symbols
1
Press
PAUSE/STILL
on recording the VTR.
2
4
Search for the Edit out (ending) point, and
set the counter to 0:00.00 by pressing
COUNTER RESET.
3
.0
On Screen Display
f A2
-0:00.22
INSERT
AV INSERT
-
0
:
00.22
■ ■•SPEiil
Search for the Edit in (starting) point, and
press
INSERT.
• If you want to replace the sound on the “normal” audio
track, press AUDIO DUB, too. (AV Insert Editing)
©
INSERT
-
0
:
00.22
• SPGS
AV INSERT
-0:00.22 ^
• SPSB
Start insert editing by pressing
PAUSE/
STILL.
•The insert editing will finish when the counter reaches
0
:
00
.
00
.
Note:
Insert Editing cannot be used on blank sections of a tape.
In this case use Assembly Editing first.
The new sound will be recorded on the Hi-Fi sound track.
If AUDIO DUB selected, the new sound will also be
recorded on the normal sound track.
Only monaural sound recording is possible on the normal
sound tracks.