Getting started with labquest 2, What’s included, Using labquest for the first time – Vernier LabQuest 2 User Manual
Page 5
1
I. GETTING STARTED WITH LABQUEST 2
What’s Included
• LabQuest 2 interface
• Rechargeable battery (in unit)
• AC power adapter
• Computer connection (USB) cable
• Quick-Start guide
• Stylus (in unit)
• Stylus tether
Using LabQuest for the First Time
Install the Battery
LabQuest ships with the battery in place; however, there is protective sticker covering the battery
contacts that needs to be removed before the first use:
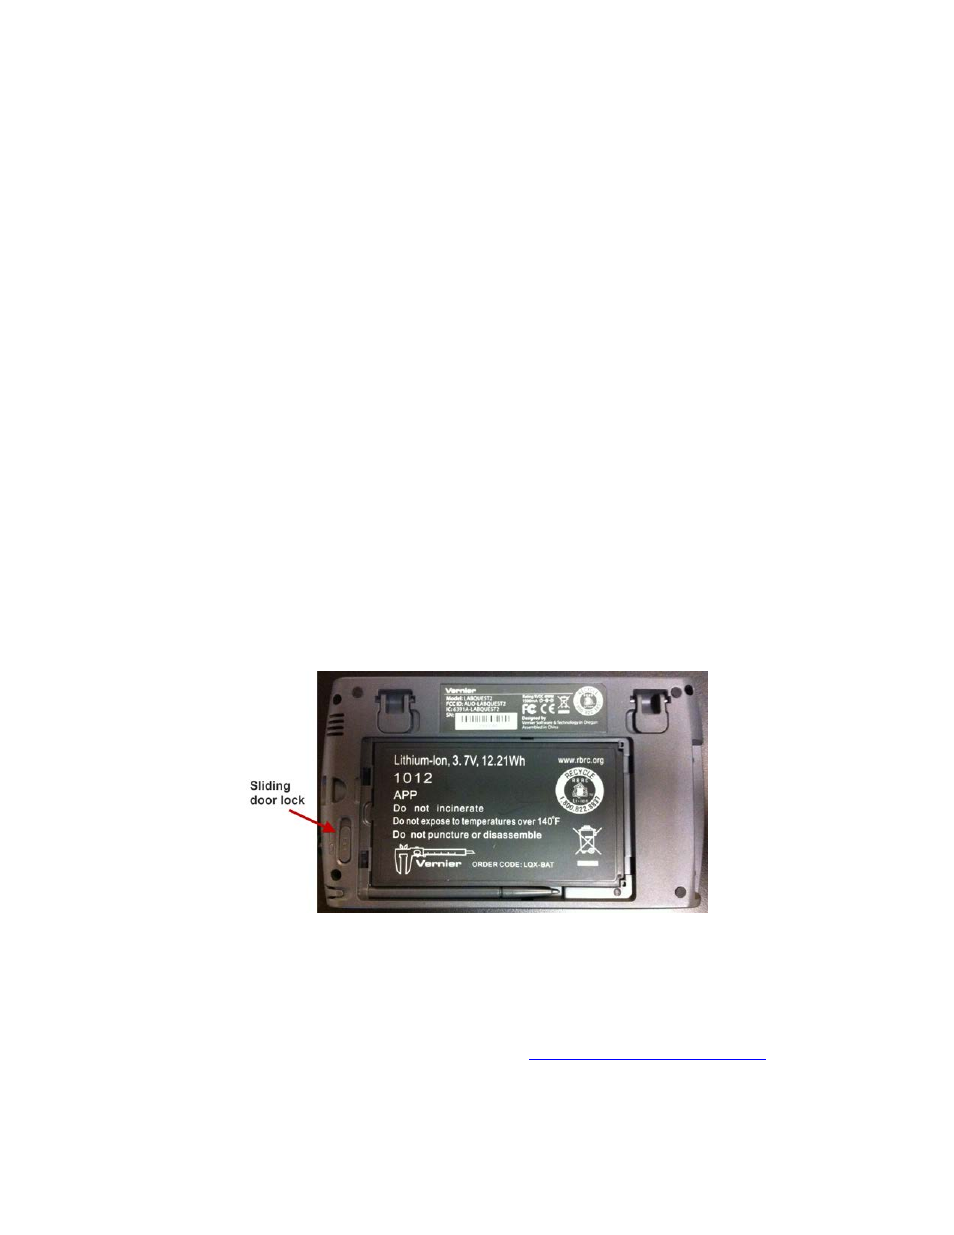
• Turn LabQuest over and open the battery door by sliding the door lock and lifting the
battery cover.
• Remove the battery and remove the small protective sticker covering the battery contacts.
• Reinstall the battery with the label side up, ensuring the battery contacts align with the
LabQuest contacts.
• Replace the battery door.
LabQuest with battery door removed
Charge Overnight
We recommend charging the battery for at least 12 hours prior to using LabQuest for the first
time on battery power. To do this, connect the included power adapter to LabQuest and an AC
power source. You can also charge LabQuest using the
(order
code LQ2-CRG, sold separately).