Prepare window, History, Serato playlists – Rane TTM 57SL Manual for Serato Scratch Live 2.44 User Manual
Page 29: History 29 serato playlists
RANE TTM 57SL MIXER FOR SERATO SCRATCH LIVE • OPERATOR’S MANUAL 2.4.4
29
Prepare Window
The prepare window is a holding area for
tracks, much like preparing a set by lifting
records part way out of your record bag.
You can drag tracks (or whole crates)
from the main track list into the prepare
window, or simply drag them onto the
prepare button. These tracks will be
removed from the prepare window once
they have been played. All tracks in the
prepare window will be discarded when
you exit Scratch Live.
TIP: Use the keyboard shortcut ctrl-p to
add tracks to the prepare window.
TIP: Select the contents of the prepare
window and drag them onto the new
crate button (+) to save your selection
as a crate.
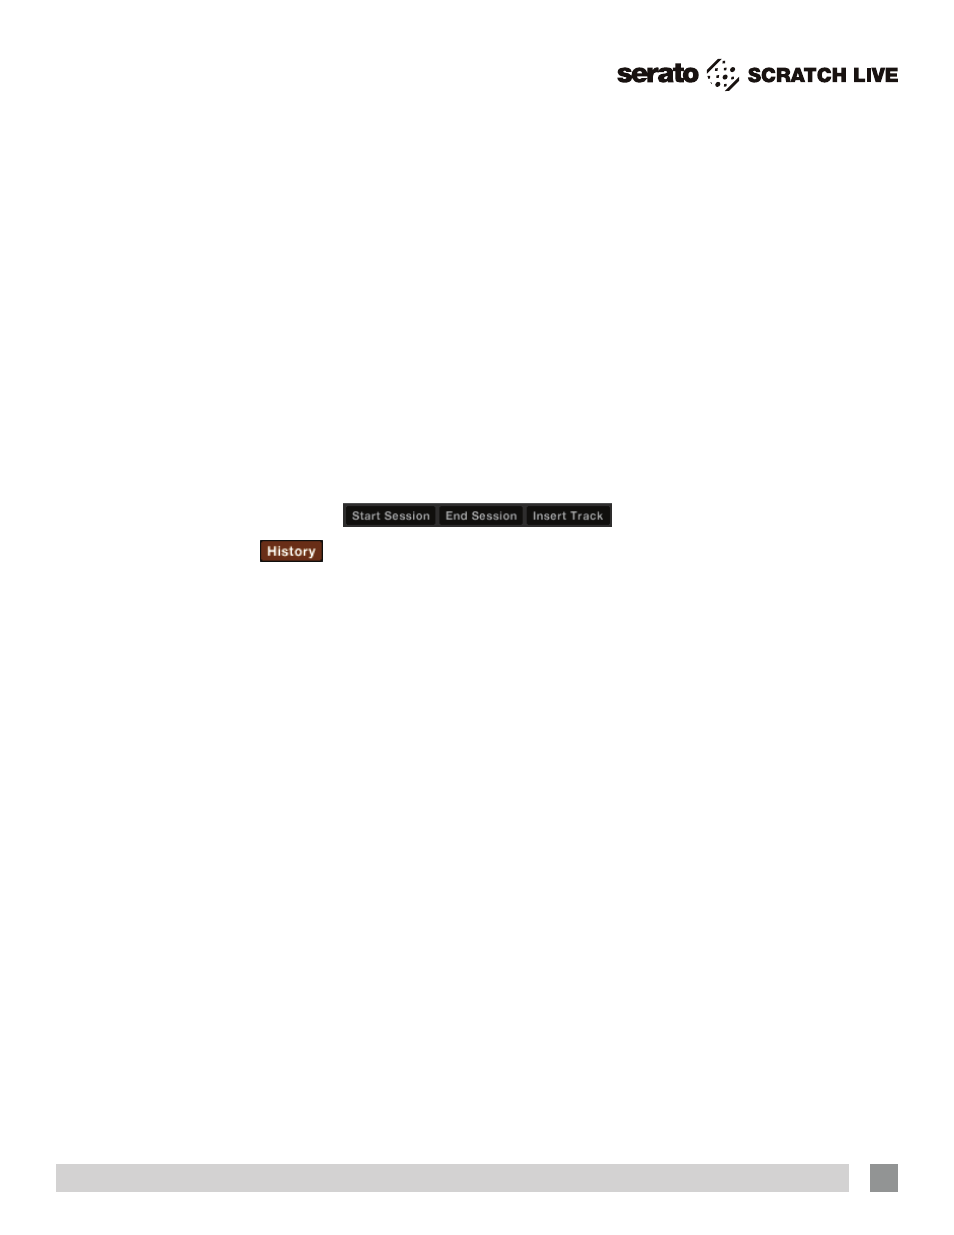
History
The history button opens a
complete log of all the tracks
you have played and allows exporting
Scratch Live session information as a data
file.
Each session is catalogued by date
and time. Using the drop down arrow,
you can navigate to and view detailed
information of any previous sessions.
There are columns for the period (i.e.,
date of session), name of track and artist
name. In addition, these other categories
listed below will give you more detailed
information about your sessions:
Start Time: When viewing a song row, the
start time of the song is displayed. When
viewing a session row, the start time of the
session is displayed with the date (in real
time value).
End Time: When viewing a song row, the
end time of the song is displayed. When
viewing a session row, the end time of the
session is displayed with the date (in real
time value).
Playtime: When viewing a song row, the
total played time of the song is displayed
(i.e., 00:03:00). When viewing a session
row, the total elapsed time of the session
is displayed with date (i.e., 10/09/08
01:38:16).
Deck: The virtual deck the song was
played on will be displayed under the
deck column. In the song row, either left
or right is displayed. The offline player will
be listed as offline.
Notes: Use this field to list particular
information about your songs and each
session (i.e., note how you transitioned
from one track to another).
Start Session / End Session: To start or
end a session, click the corresponding
button.
Insert Track: If you wish to add
information for tracks not played in
Scratch Live into your session (e.g., if
you played one of your favorite vinyl or
CD), select the song you want to insert
after and click the Insert Track button.
Double click the inserted track fields and
edit your information accordingly. (Note
that when exporting an m3u playlist [see
exporting below] “inserted tracks” will not
be present.)
Export: You can export each session as
a data file using the export button. Select
a session, then choose your preferred file
format, and click export. There are three
possible export formats:
• text: to create a simple text file with your
session information contained within.
• csv: to create a file for use in
spreadsheet software.
• m3u: to create a playlist file, which can
be imported into media players. Note
that an m3u does not contain audio
itself, it only points to the location of
your audio files. (Inserted tracks within
sessions will not be included in an m3u
playlist.)
•
Serato Playlist: see “Serato Playlists”
on page 29.
Delete: To delete a history session,
highlight the session, then press ctrl + del.
TIP: To make a new Scratch Live
crate containing your session
information, select a session and drag
it to the + plus crate button. (This will
automatically name the crate with the
session date).
Listing Behavior - only the tracks you
actually play are listed in history. This is
done using an A-B algorithm, meaning
a track on deck A is only listed once the
track on deck B has been changed or
ejected.
You can choose to show tracks which
you have auditioned, but not actually
played, by checking the show “unplayed
tracks” box. The session will then also
list these tracks in grey, along with actual
played tracks.
Alternatively, you can mark or unmark
tracks as played manually. Select a track
(or a group of tracks) and click the mark
played / mark unplayed button. This may
be useful if you play a track off regular
vinyl or CD - breaking the A-B algorithm).
Songs that you have played are marked
as green in your library. Click on the
button marked ‘clear’ to reset the list of
recently played tracks and turn the color
of your library back to white.
Serato Playlists
The Serato Playlists plugin allows you
to upload your history sessions to your
serato.com profile for viewing, sharing and
editing. You can upload your playlist once
your session is complete, or by using
the Live Playlists feature to update your
playlists online in real time!
To enable this plugin, go to the Plugins
tab on the Setup screen and check the
Enable Serato Playlists Plugin option.
Open the History panel and you will
now have access to the Serato Playlists
options.