Sr 2 – Rane SR 2 User Manual
Page 2
Manual-2
SR 2
SMART REMOTE OPERATORS MANUAL
Quick Start
Who would guess that a little box with one knob could have such a thick
manual? At least read this section for the basics.
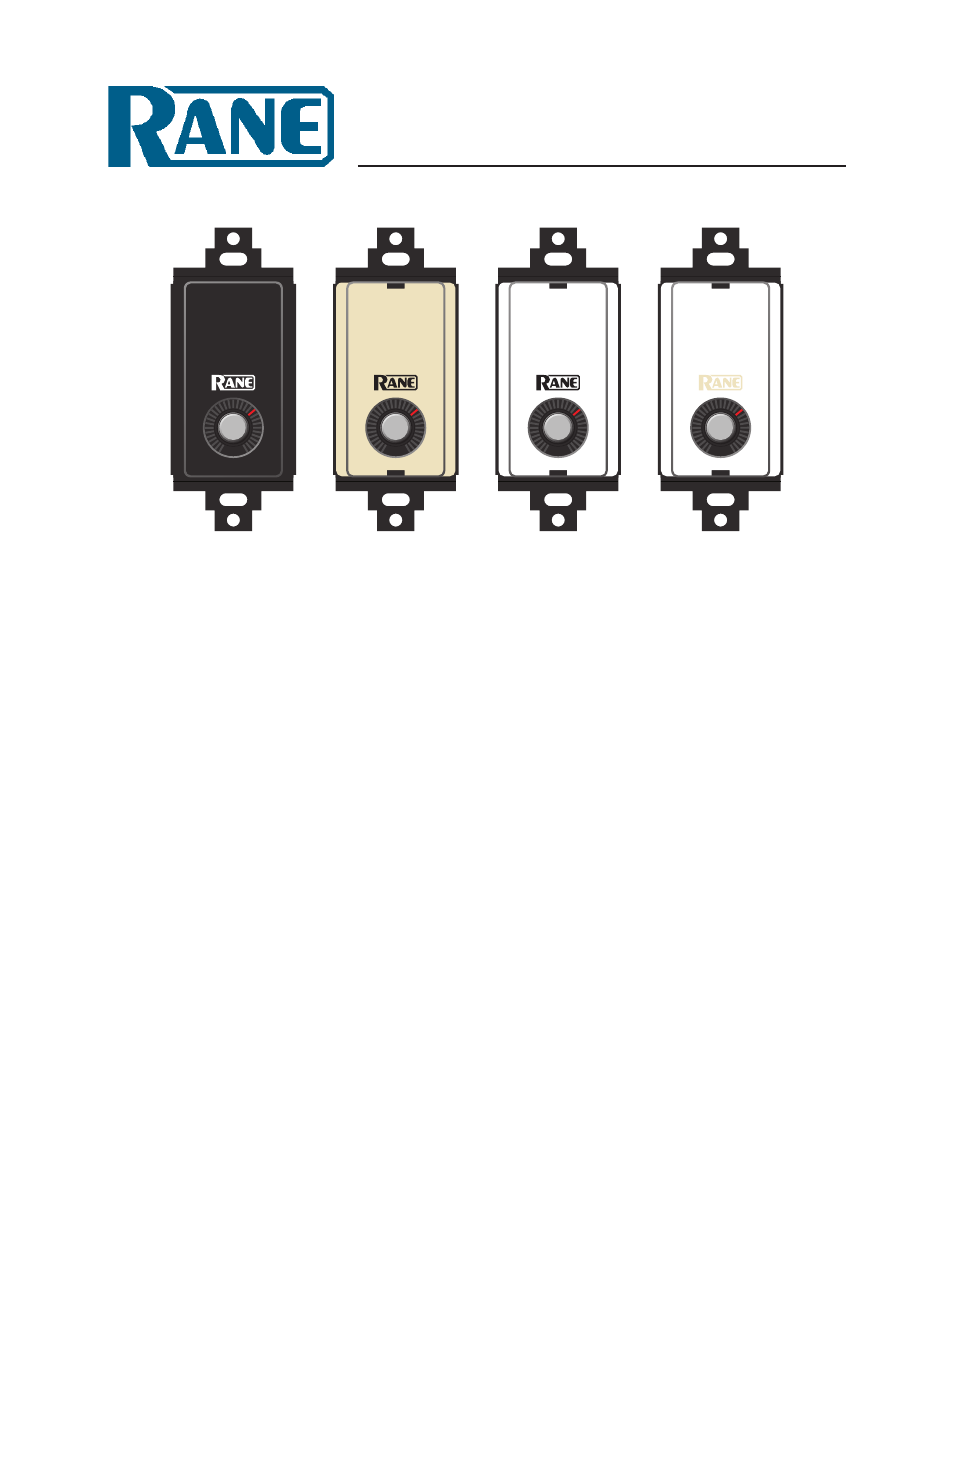
Architectural look.
Since Decora plates come in different colors, each
SR 2 is shipped with 4 different color inserts for installation behind the lens
(we ship them without an insert installed). Colors included are white (w/ black
logo), white (w/ almond logo), almond (w/ black logo) and black ( w/ white
logo) which accommodate most applications. If the architect or interior deco-
rator requires a custom color, a template is available on the SR 2 page at www.
rane.com/sr2.html allowing a custom insert to be printed and cut to the proper
size. (No, you cannot return the unused inserts for credit. Please recycle them,
keep them as backups or build a house of cards with them).
Address.
Set the Device Address rotary switch on the side of the SR 2;
addresses from 0 through 7 are valid. Each device connected to the same RS-
485 bus must have a unique address.
Wiring.
Use CAT 5 cable with a minimum of 2 twisted pairs to connect
to the SR 2. The use of DOG 4 cable may cause random barking in high
traffic areas. Connect one twisted pair of wires to the “-V” and “+V” terminals
– “-V” must connect to the power supply ground and “+V” must connect to
+8 to +15 volts. Connect the second twisted pair of wires to the “A” and “B”
terminals; “A” connects to the RS-485 “data +” connection and “B” connects
to the RS-485 “data –” connection.
Setup software.
The SR 2 is configured using Drag Net software included
in the box or available at www.rane.com/dragnet. See “Working with Smart
Remotes” on page 5.
WEAR PARTS: This product contains no wear parts.