Routine maintenance, Pretest tymp checks, 5 - routine maintenance – Welch Allyn TM286 Auto Tymp - User Manual User Manual
Page 47
5
43
Routine Maintenance
PreTest Tymp checks
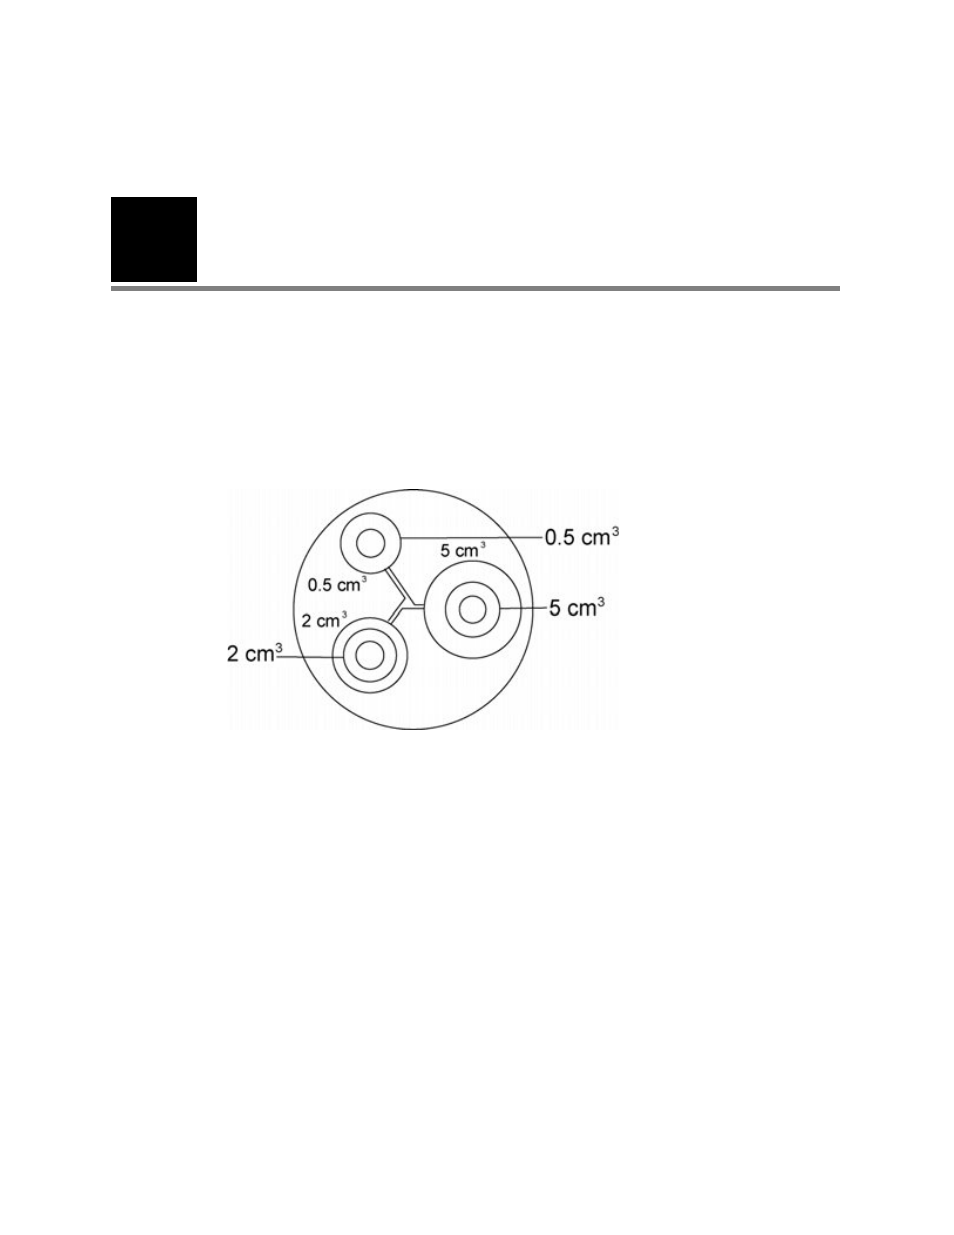
A test cavity is provided with this instrument. This test cavity enables the ability to quickly
verify, on a daily basis, the proper calibration of the unit. Welch Allyn strongly
recommends that this quick check is a part of the daily routine.
Figure 16. Test cavity
Calibration Quick Check for Tymp/Reflex
To initiate the quick check, select the Tymp only mode and insert the probe into the 0.5
cm
3
opening on the test cavity. See
.
The instrument is designed to start automatically, it is important that the probe is inserted
as quickly and as smoothly as possible. During the calibration check, the probe must be
held carefully and without movement. Do not place the probe on the same counter as the
instrument or any moving object during this check as mechanical noise may be picked up
by the probe and interfere with the calibration check.
The calibration check will start automatically if the probe has been inserted into the cavity
properly. This is confirmed by the green lamp changing from blinking to a steady
condition. If the orange lamp is illuminated, the probe is not properly positioned within
the cavity so that a large pressure leak exists. If the yellow lamp is illuminated, the probe
tip has been occluded. In either case, remove the probe and wait for the blinking green
lamp. Insert the probe once again. If necessary, clean the probe tip as described later in
this chapter.
The green lamp will resume blinking when the probe is removed from the test cavity. The
tympanogram on the display represents the response from the 0.5 cm
3
hard walled
cavity. The ECV (ear canal volume) should read 0.5. The letters NP will appear alongside
the pressure (daPa) and compliance (cm). Three dashed lines - - - will appear alongside the