Chapter 6: unpacking and getting started – Torbal ATS120 User Manual
Page 11
- 10 -
Instruction Manual – ATS / BTS Moisture Analyzers
1.
Carefully remove the Moisture Analyzer and all its components from the packaging and place them on a
stable base where the unit will not be affected by any mechanical vibrations or air movements.
2.
After removing the Pan Shield (4), Pan Support (5), and Pan Handle (6) from their packaging, open the
Drying Chamber (3) and carefully install the Pan Shield (4) on the three Pan Shield Posts (8).
3.
Once the Pan Shield is installed on the shield posts, gently insert the Pan Support (5) into the opening of the
Analyzer’s mechanism.
4.
After installing the Pan Support, place a Disposable Pan (7) on the Pan Handle (6), then place it on the Pan
Support so that the handle rests on the Pan Shield without touching the Pan Support.
5.
After installing all pan components, close the Drying Chamber and level the Analyzer by adjusting the
leveling feet until the level indicator shows the “air bubble” is in the center position of the sight glass. The
level indicator is located on the rear left side of the unit.
6.
After leveling the scale, plug the power supply cable into the power supply socket (Marked 110V) located
in the rear of the Analyzer.
7.
Make sure the drying chamber is closed, and then plug the power cable into the wall outlet.
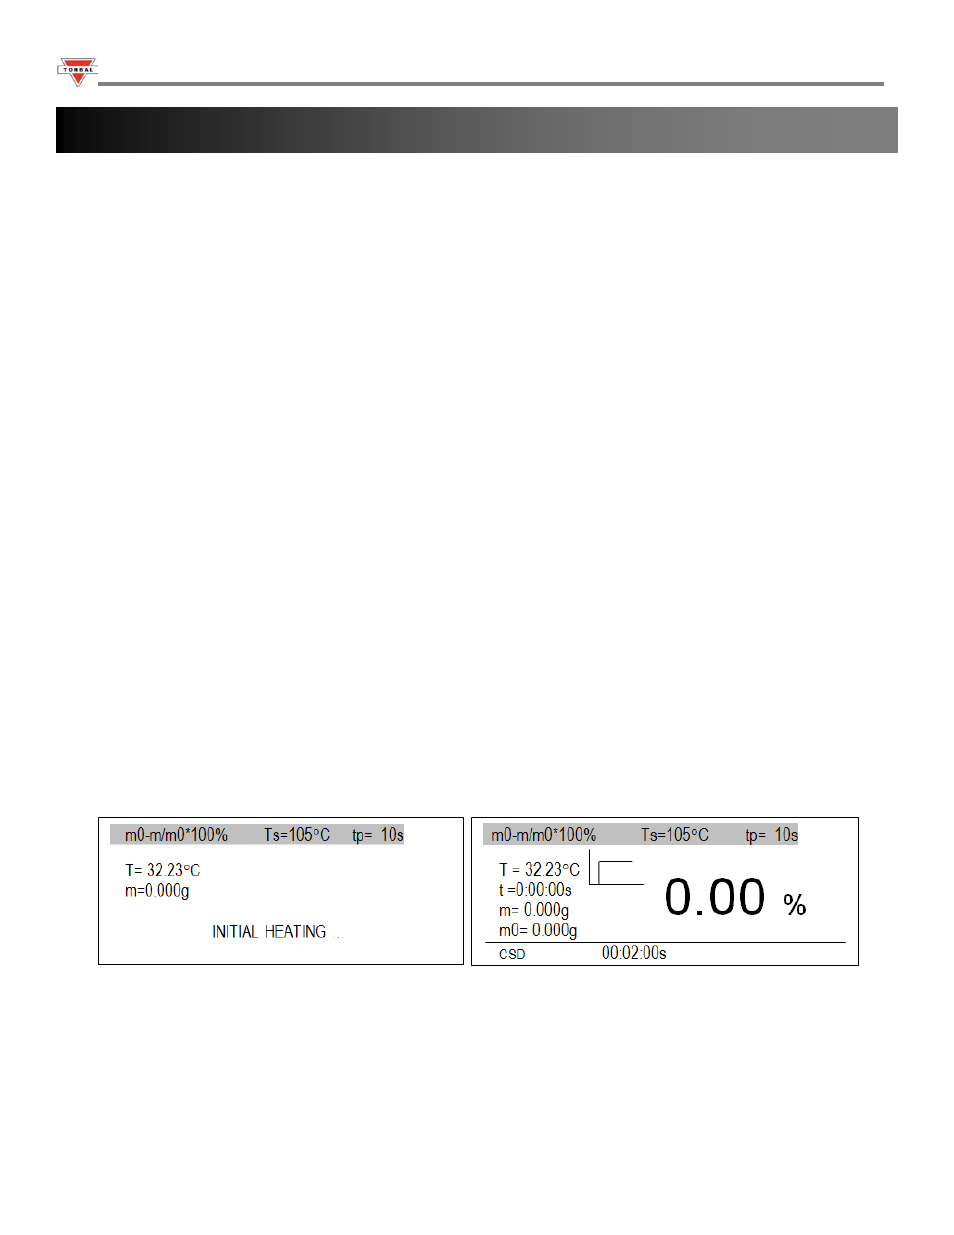
8.
When the cable is plugged into the wall outlet, the Analyzer will turn “ON” automatically and initialize
itself. The Initial Heating is designed to drive any residual moisture from the heating chamber. The internal
temperature is raised to 105°C.
9.
Upon completion of the power-up sequence, the unit comes up in the Moisture Analyzer Mode and is then
ready to be used.
WARNING: Please be careful and remember the drying
chamber has been heated and will retain heat for some time.
Chapter 6: Unpacking and getting started