Canon E 333 D User Manual
Canon
Attention! The text in this document has been recognized automatically. To view the original document, you can use the "Original mode".
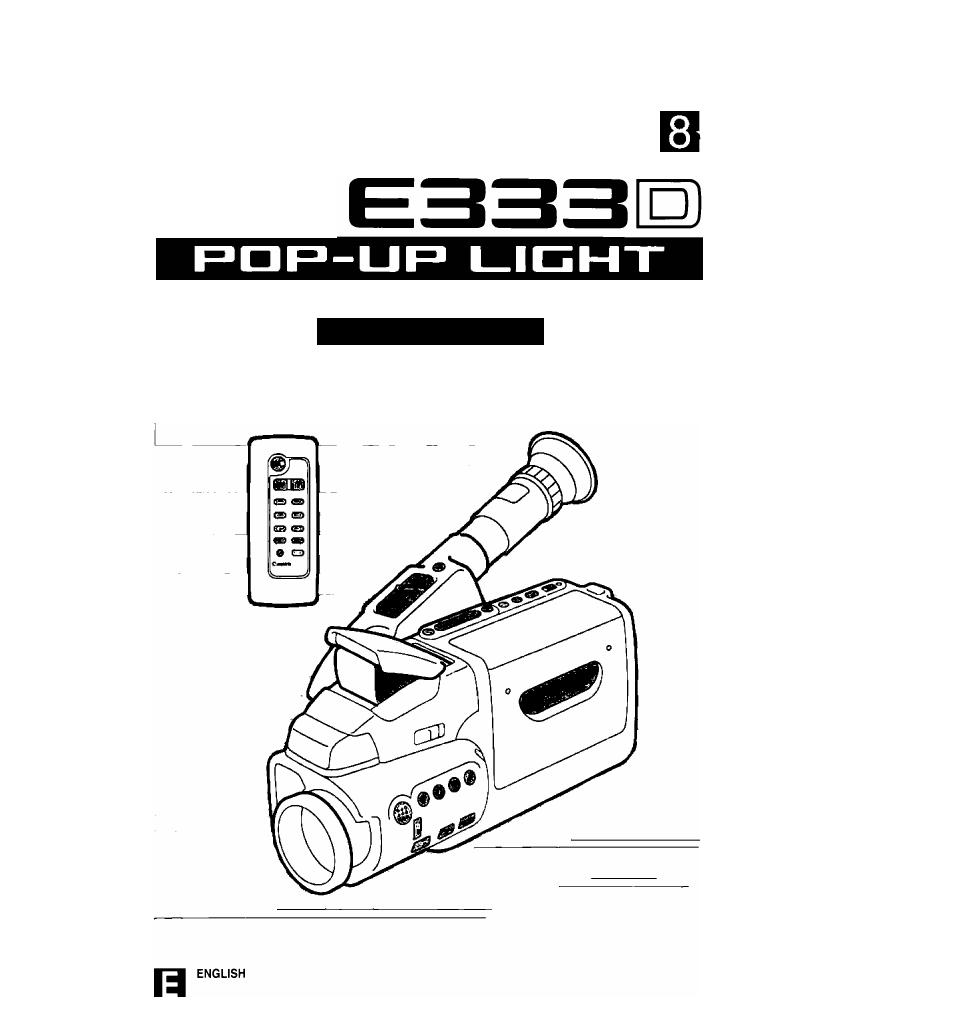
Table of contents
Document Outline
- Table of Contents
- Nomenclature
- Basic Recording
- 1. Attach a power source.
- 2. Turn the camera on.
- 3. Load a cassette.
- 4. Press the SP/LP button to select the tape speed.
- 5. Pull out the finder.
- 6. Turn the grip to the desired position.
- 7. Press the start/stop button.
- 8. Press the start/stop button again to pause recording. IWil
- 9. When recording has ended, remove the cassette.
- 10. Turn the camera off.
- Tape Counter
- Recording Reminder
- Vídeo Cassette Warnings i3-a
- Battery Pack Warning 13-b
- Recording Using Tripod 13-c
- Viewfinder Dispiays
- Power Sources
- Using AC Power
- CA-100 Compact Power Adapter iEffi
- Using Car Battery
- CB-110 Car Battery Adapter (option)
- Attaching DC Coupler lEiSI
- 1. Insert the DC-100 DC Coupler into the power source compartment.
- 2. Connect the DC-100 cable to the compact power adapter (or car battery adapter).
- Attaching Battery Pack 1^1
- 1. Slide the battery pack into the power source compartment.
- 2. Press the battery pack until it clicks and locks in place.
- Removing Battery Pack ICT51
- 1. Slide and hold the ВАТТ EJECT switch.
- 2. Pull the battery pack out as shown.
- Charging Battery Pack KTTO
- Using Your Battery Packs Effectively
- Keep the following in mind:
- Charge the battery pack before using:
- Observe the following:
- To charge battery packs effectively:
- COLD WEATHER USE:
- To use the battery pack effectively:
- Terminology
- Loading and Unloading Video Cassettes
- Camera Preparations
- Attaching Straps
- SS-300 Shoulder Strap I3!gl
- WS-20 Wrist Strap (option) BB151
- Adjusting the Grip Belt 25-c
- Attaching the Lens Cap Cord 26-a
- 1. Pass the cord through the eyelet on the lens cap.
- 2. Pass the grip belt through the loop on the cord as shown.
- Removing and Attaching the Lens Cap and Lens Hood 26-b
- Using the Finder 26-c
- Adjusting the Dioptre 27-A
- Adjusting the 180° FlexiGrip 27-B
- Removing and Attaching the Finder
- Zooming
- Setting Date and Time
- 1. Turn the camera on by pressing the OPERATE button.
- 2. Press and hold the DATE button for more than 3 seconds. Bigi
- 7. Press the + and - buttons to scan the day display.
- 8. Press the SHIFT button when the correct day is
- shown.
- 9. Press the + and - buttons to scan hour display.
- 10. Press the SHIFT button when the correct hour is shown.
- Age Insert
- Registering a Birthday
- 1. Turn the camera on.
- 2. Press and hold the AGE button for more than 3 seconds. ИК1
- 3. Press the + and - buttons to scan the year display. KCgi
- 4. Press the SHIFT button when the correct year is
- shown.
- 5. Press the + and - buttons to scan the month display, ictga
- 6. Press the SHIFT button when the correct month is shown.
- Recording an Age
- 1. While recording or in record pause mode, press the AGE button.
- 2. Press the AGE button again to end age recording.
- WL-52 Wireless Controller
- Playback Connection
- Using a TV (or VCR) with a SCART Terminal
- Connection Procedure ITW
- Using a TV (or VCR) with Audio/ Video Input Terminals
- Connection Procedure tTilSl
- Selecting the Video Channel (European model)
- 1. Turn the TV on.
- 2. Turn the camera on.
- (STOP) button to select playback
- 4. Press the M (PLAY) button to start playback.
- 5. Set the RF unit’s G/l selector using flat-edge screwdriver.
- 6. Set the TV and the video channel selector to the video channel (the video channel selector is factory-set to CH 32).
- Selecting the Video Channel (Australian model)
- 1. Turn the TV on.
- 2. Turn the camera on.
- (STOP) button to select playback
- 4. Press the M (PLAY) button to start playback.
- 5. Set the TV and the video channel selector to the video channel (the video channel selector is factory-set to 1CH) using a flat-edge screwdriver.
- Playback Procedure
- 2. Load the cassette.
- 3. Press the ■ (STOP) button to select playback mode.
- 4. Locate the playback start point.
- 5. Press the PLAY button to start playback.
- 6. Press the ■ (STOP) button to end playback.
- 7. Turn the camera off.
- High-Frequency Feedback
- special Playback Methods
- A. Fast Forward Playback
- B. Rewind Playback
- C. Still Playback
- Focusing
- Autofocus
- Subject Not Suitable for Autofocus
- Manual Focus
- 1. Press the FOCUS [A]/M button to select manual
- focus.
- 2. Press the T button to zoom into the telephoto end.
- 3. Look through the viewfinder and rotate the focusing ring to focus on the subject.
- 4. Use the zoom buttons to frame the subject properiy.
- Focus Lock
- Macro Recording
- Program AE
- Shooting with Pop-up Light
- 1. Place the camera in record pause mode.
- 2. Slide the POP-UP LIGHT switch.
- 3. Make your recording.
- 4. When recording is complete, push the pop-up light down.
- Replacing Bulb ss-a
- 1. Loosen the screw of the protector.
- 2. Remove the protector.
- 3. Remove the old bulb and gentry insert the new bulb as shown.
- 4. Attach the protector.
- 5. Tighten the screw.
- High-Speed Shutter
- Fade
- Fade Out
- 1. Press and hold the FADE button during recording.
- 2. Press the start/stop button when the scene has disappeared completely.
- 3. Release the FADE button.
- Wireless Fade
- 1. Place the camera in record pause mode.
- 2. Press the F. START/STOP button.
- 3. When the scene is recorded, press the F. START/ STOP button again.
- To Resume Recording
- Record Search
- 1. Place the camera in record pause mode. BRl
- 2. Press the REC SEARCH + or - buttons to scroll forwards or backwards to locate the recording start position.
- 3. Press the start/stop button.
- Record Review
- 1. Place the camera in record pause mode. BgW
- 2. Press the © button.
- 3. Press the start/stop button to resume recording.
- Record search (to resume recording)
- Record review BSgSl
- Edit-erase
- 1. Make sure that ^ (asterisk) is displayed, then press the start/stop button to pause recording.
- 2. Press the E. ERASE button.
- 3. Press the start/stop button to resume recording.
- Tape Return
- Adding Titles to Recordings
- Creating Character Titles
- 1. Press the C. TITLE button for more than 3 seconds to display the title lines in the viewfinder.
- 2. Press the SHIFT button to move the cursor to the position where you want to start the title.
- 3. Use the + and - buttons to scan the list of title characters.
- 4. When the character you want is displayed, press the SHIFT button again to move to the next cursor position. QQ
- Carrying Cases
- Optional Accessories
- BP-E718
- BP-E722
- BP-E722D
- MC-100
- CB-110 Car Battery Adapter
- BP-E718 Battery Pack
- BP-E722 Battery Pack
- BP-E722D Battery Pack
- MC-100 Multi-battery Charger
- RS-500 Rain Shield
- VL-20 Battery Video Light
- TL-37 Tele-converter
- WD-37 Wide-converter
- WA-37 Wide Attachment
- FS-37 Filter Set
- FS-37U Filter Set
- SA-1 Adapter Bracket
- Problems and Troubleshooting
- Condensation (DEW)
- Cautions
- F. Always Replace the Lens Cap.
- G. Do Not Expose the Camera to Shock or Vibrations.
- H. Avoid Sudden Changes in Temperature.
- I.
- Do Not Disassemble the Camera.
- J. Use the Battery Pack Correctly, and Only Use Recommended Accessories.
- Maintenance
- Keep the Heads Clean.
- Clean the Camera with a Soft, Dry Cloth.
- Store the Camera Properly.
- Store Cassette Tape Properly.
- Check the Operation of Each Component.
- Specifications
- Canon