Installing the power distribution board, Figure 3-34, D from the system chassis. see figure 3-34 – Dell PowerEdge 2900 User Manual
Page 112
112
Installing System Components
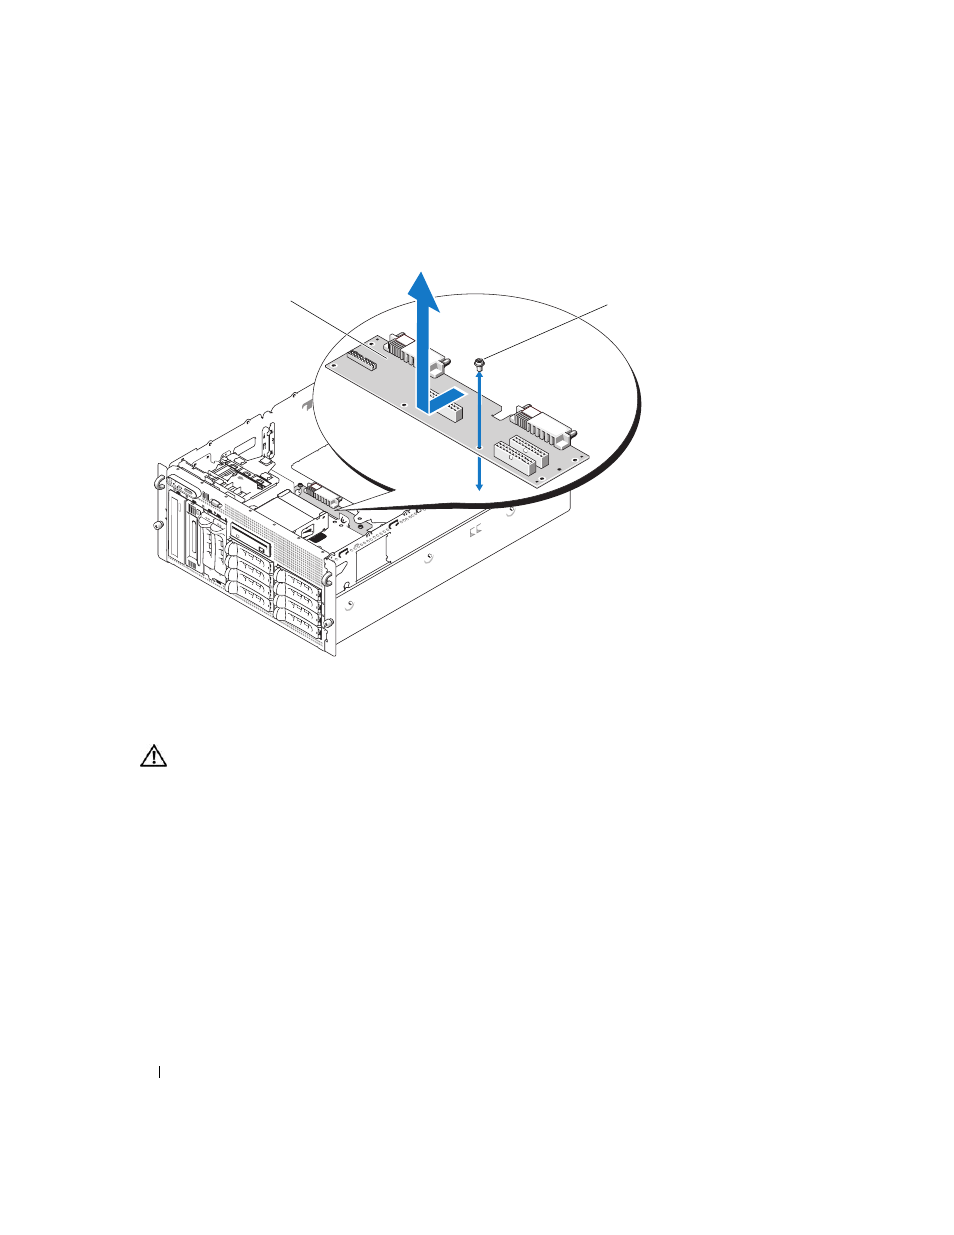
Figure 3-34.
Removing the Power Distribution Board
Installing the Power Distribution Board
CAUTION:
Only trained service technicians are authorized to remove the system cover and access any of the
components inside the system. See your Product Information Guide for complete information about safety
precautions, working inside the computer, and protecting against electrostatic discharge.
1 Unpack the new power distribution board.
2 Holding the power distribution board by its edges, carefully lower the board into the chassis and
align the board with the fastener holes at the bottom of the chassis. See Figure 3-34.
3 Using a #2 Phillips screwdriver, install the five screws to secure the power distribution board to the
system chassis. See Figure 3-34.
4 Attach the power cables to the power distribution board.
5 Reinstall the system board. See "Installing the System Board" on page 109.
6 Attach the cables from the power distribution board to the system board.
7 Attach the cables from the power distribution board to the SAS backplane board.
1
power distribution board
2
screws (5)
2
2
1